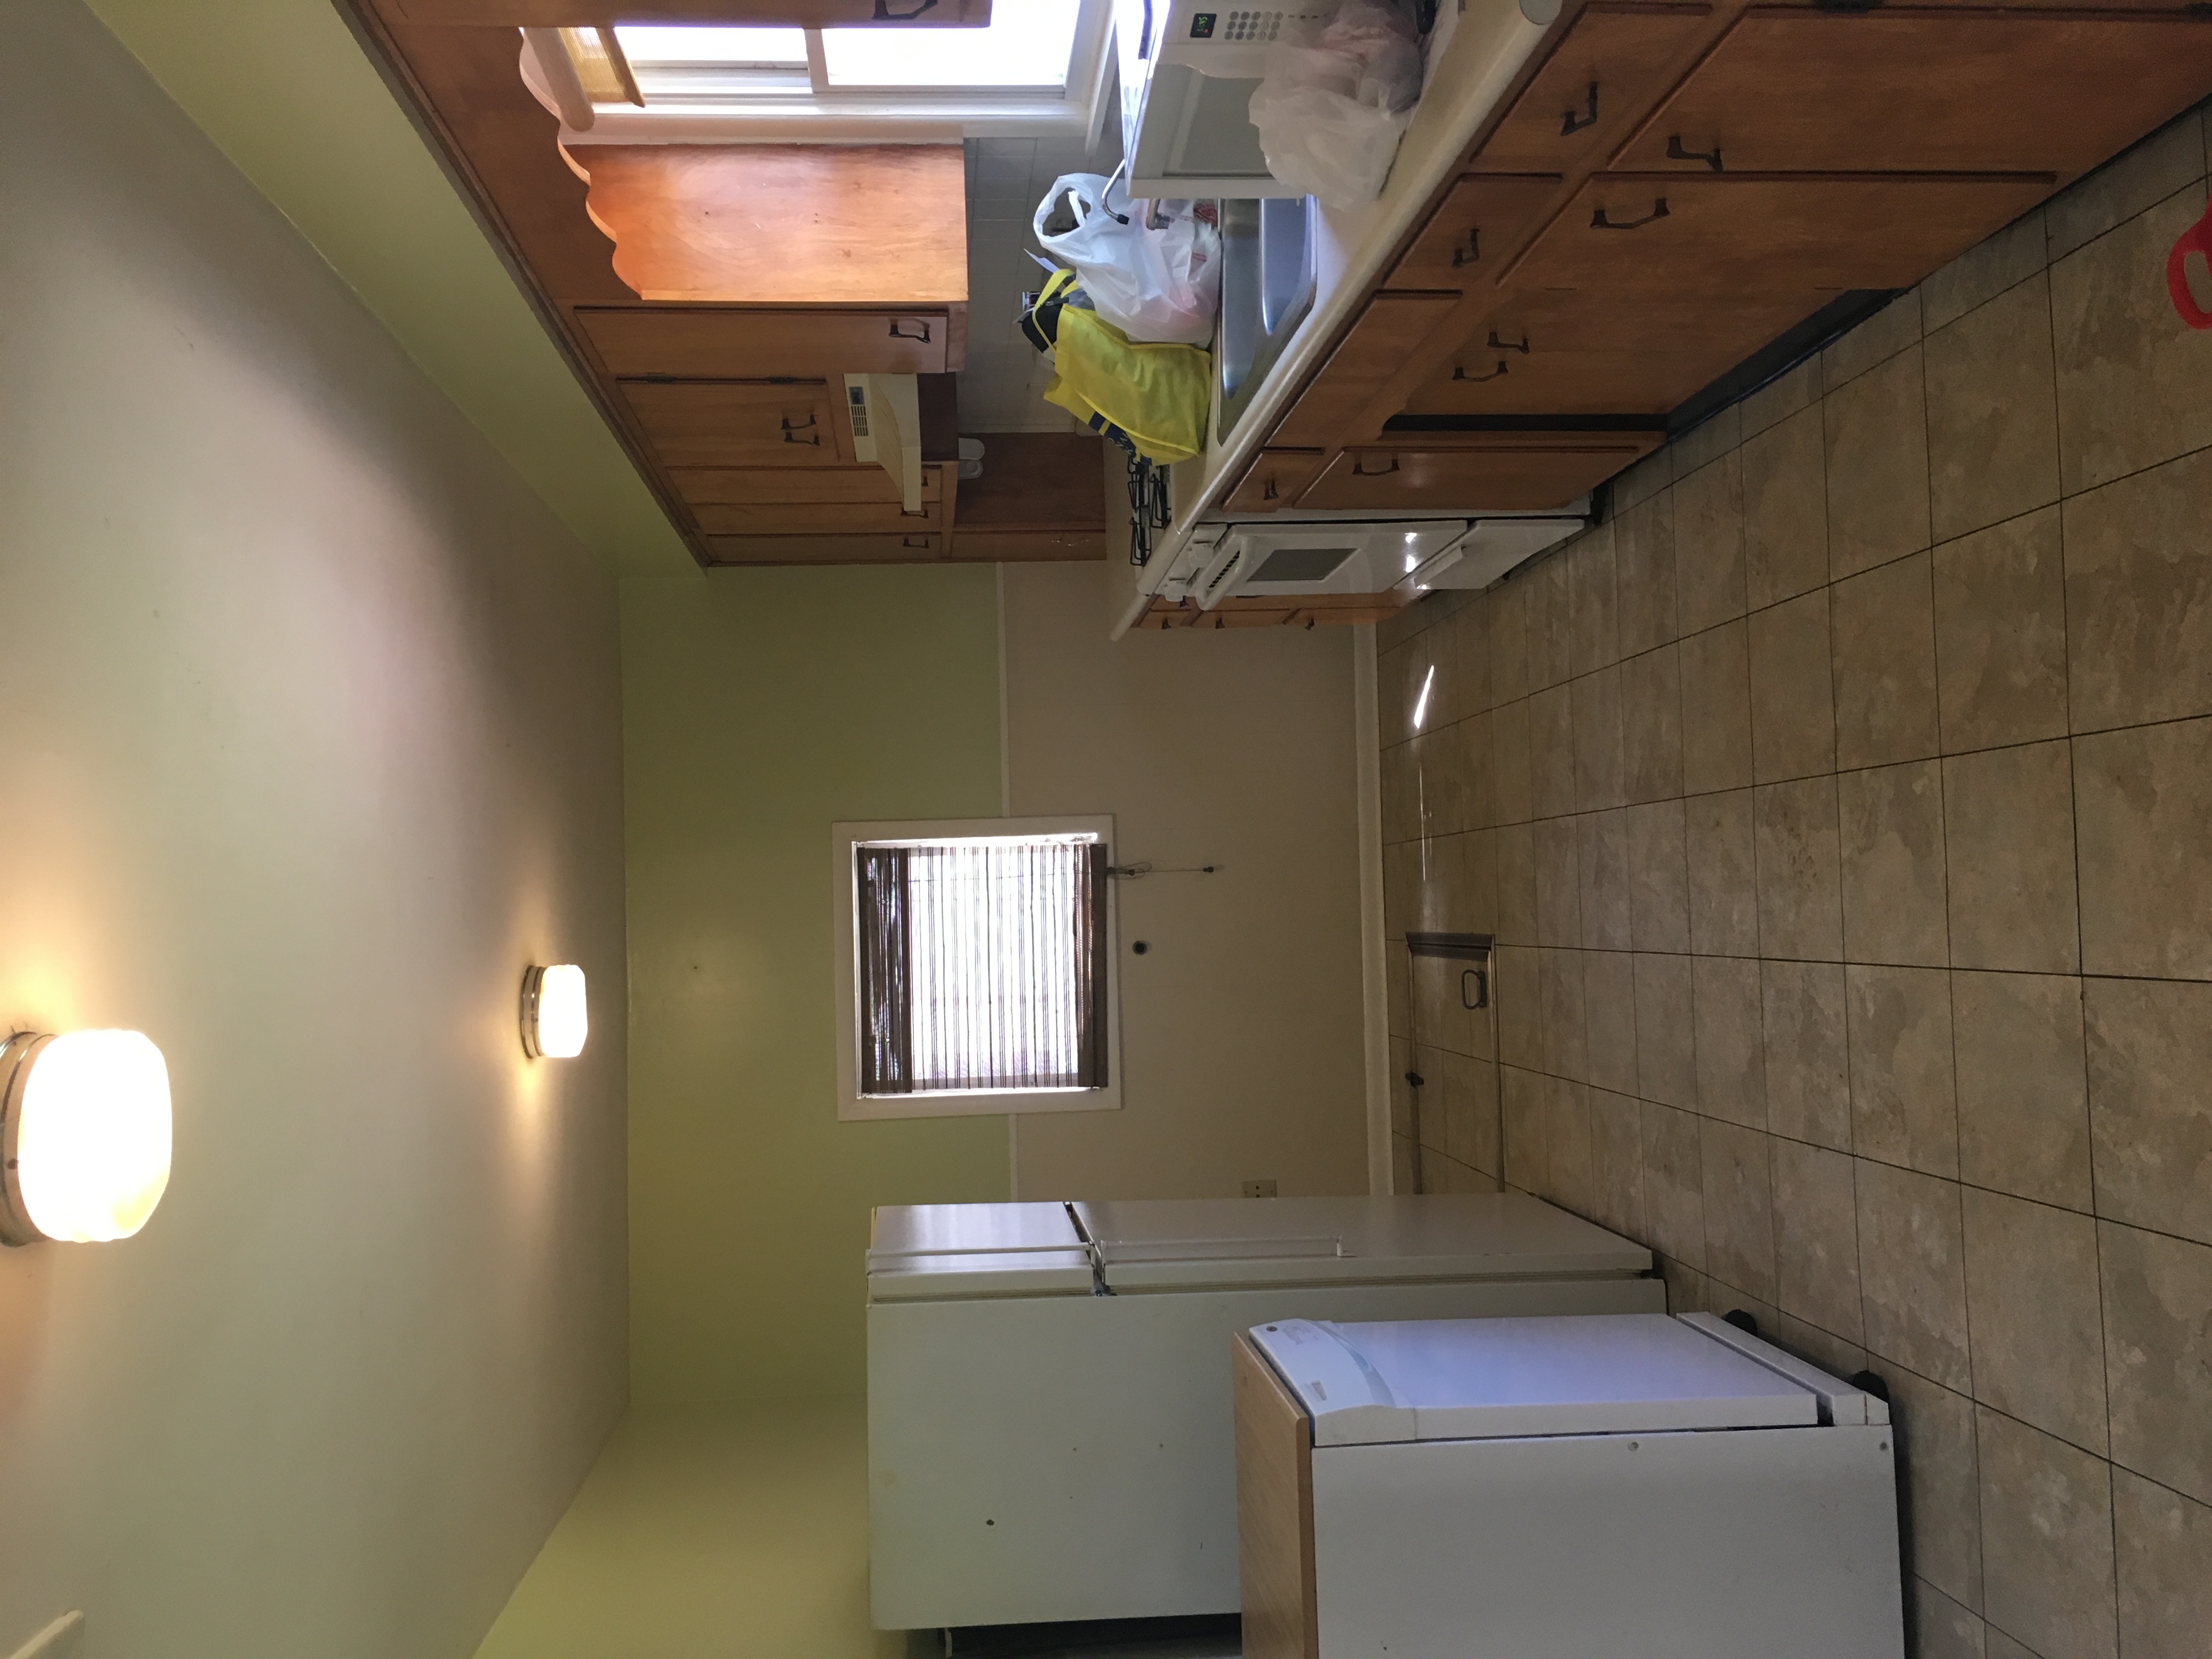
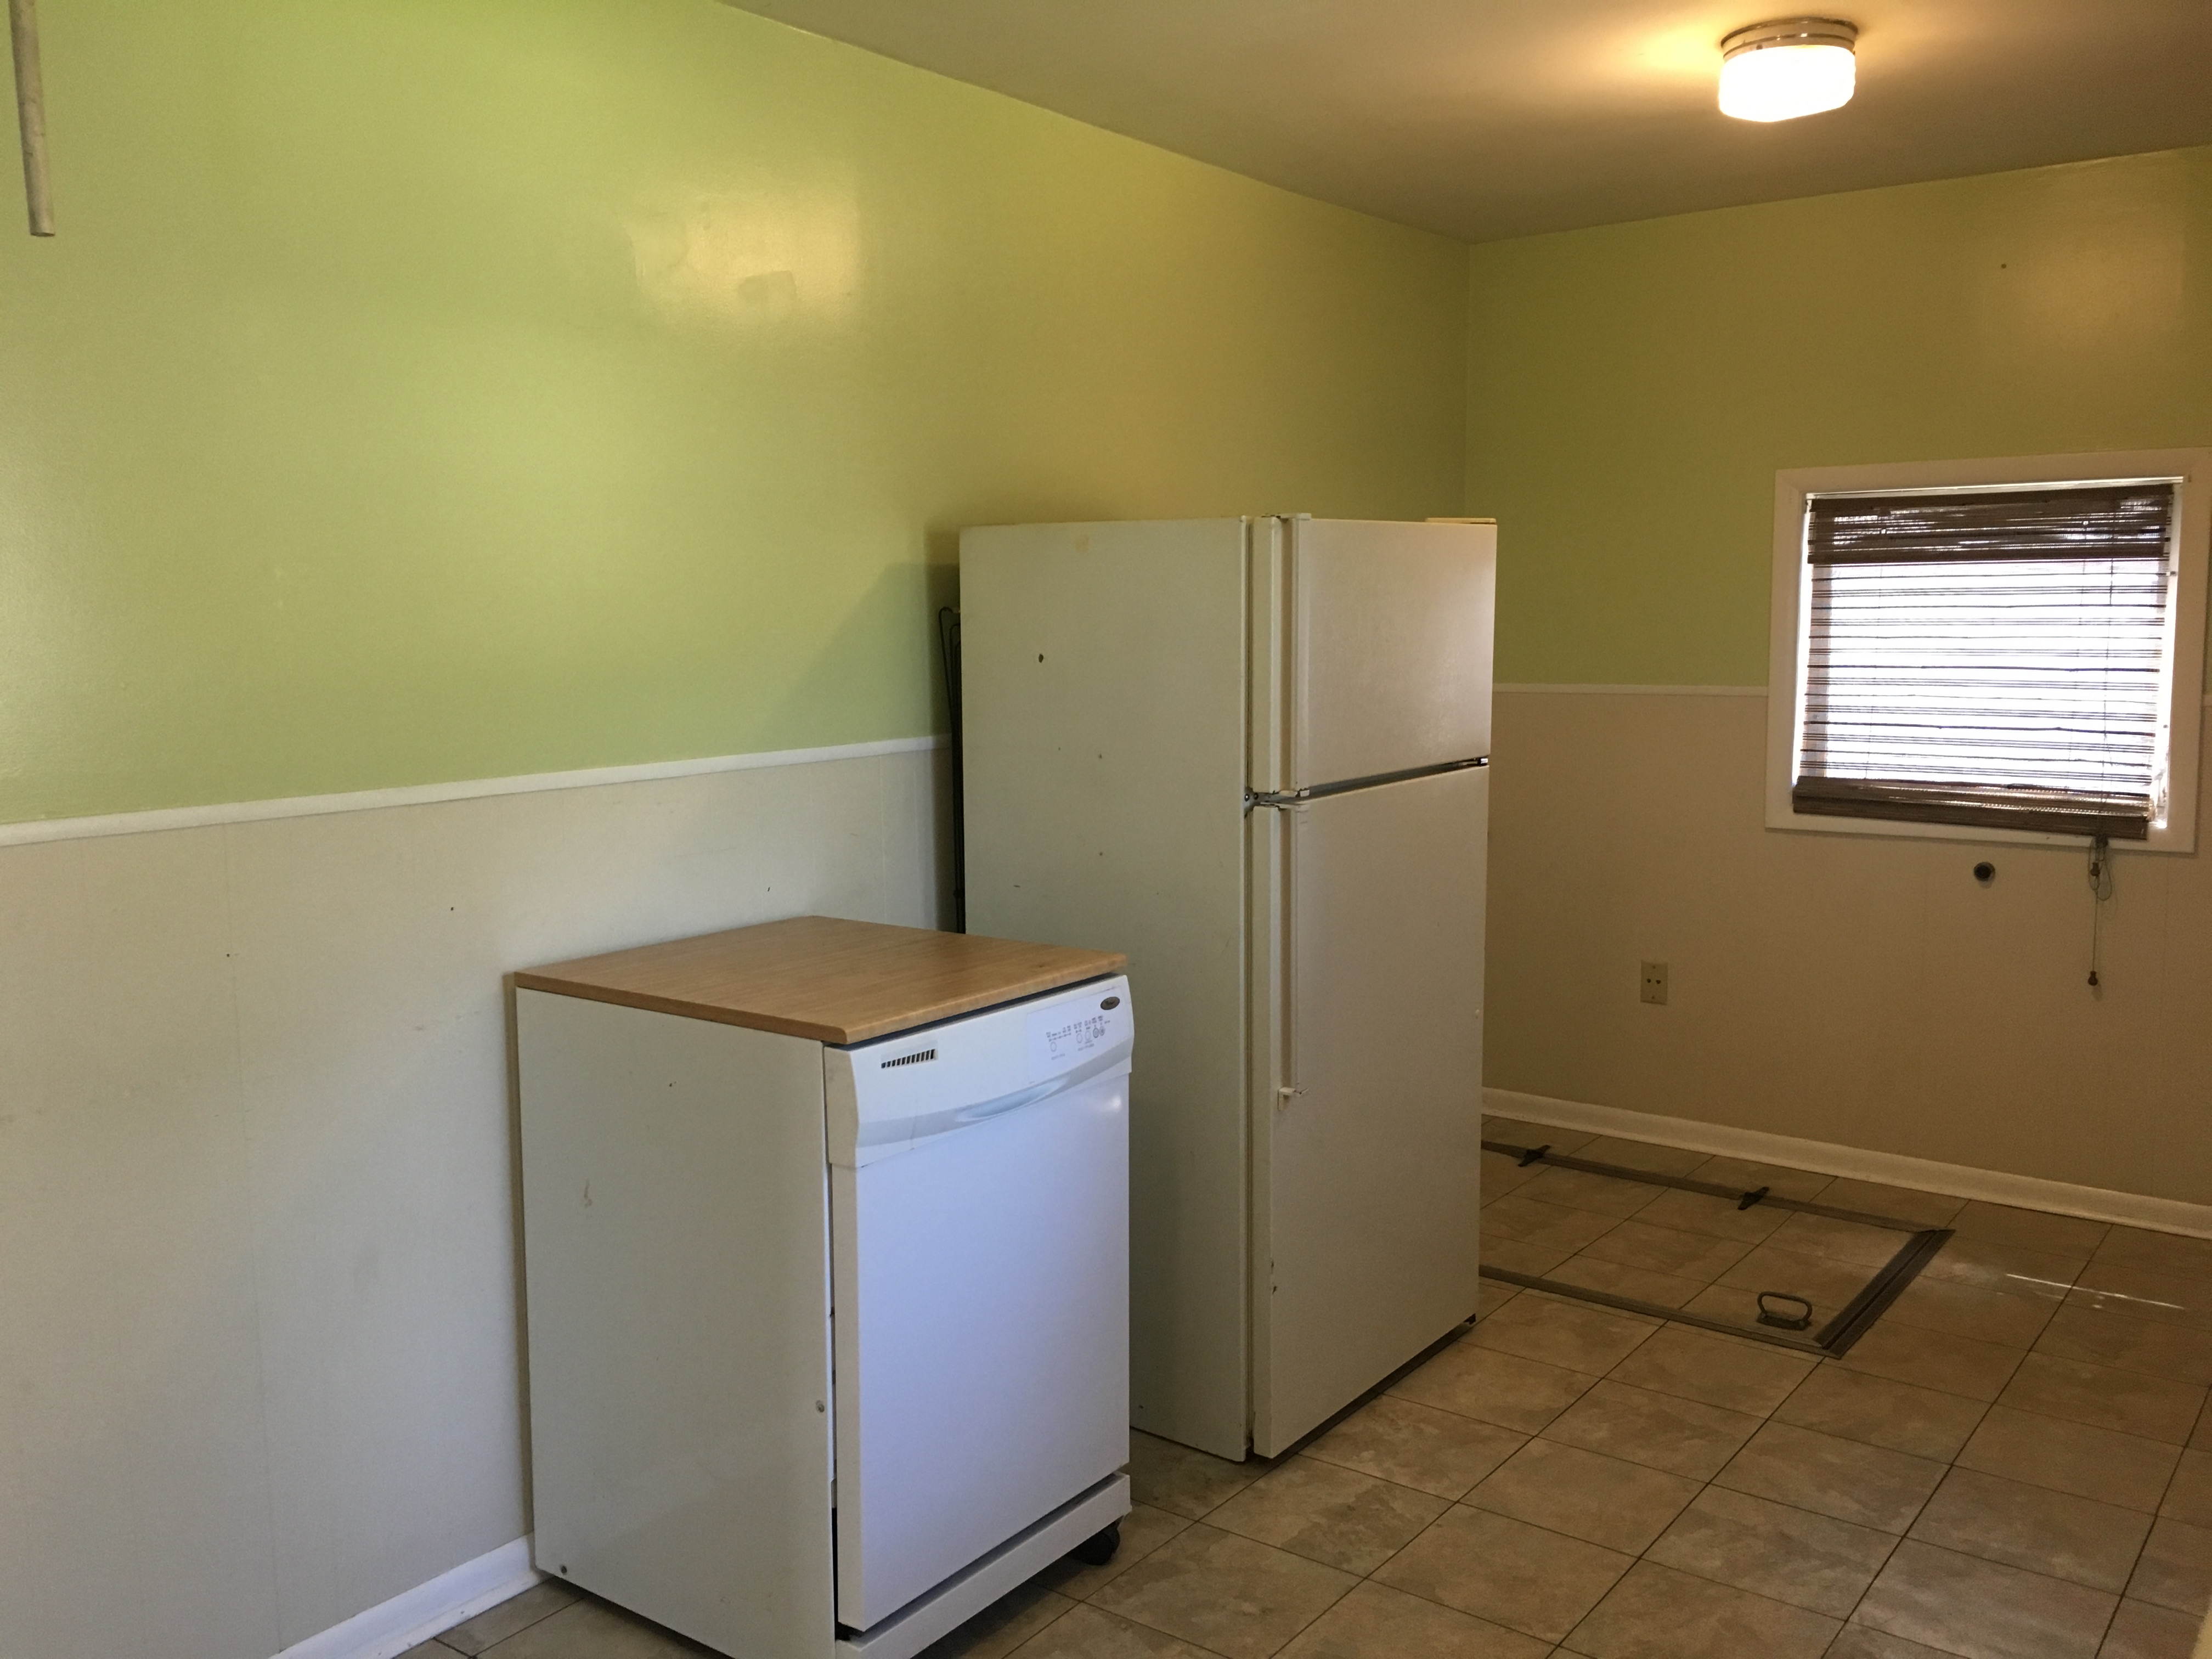
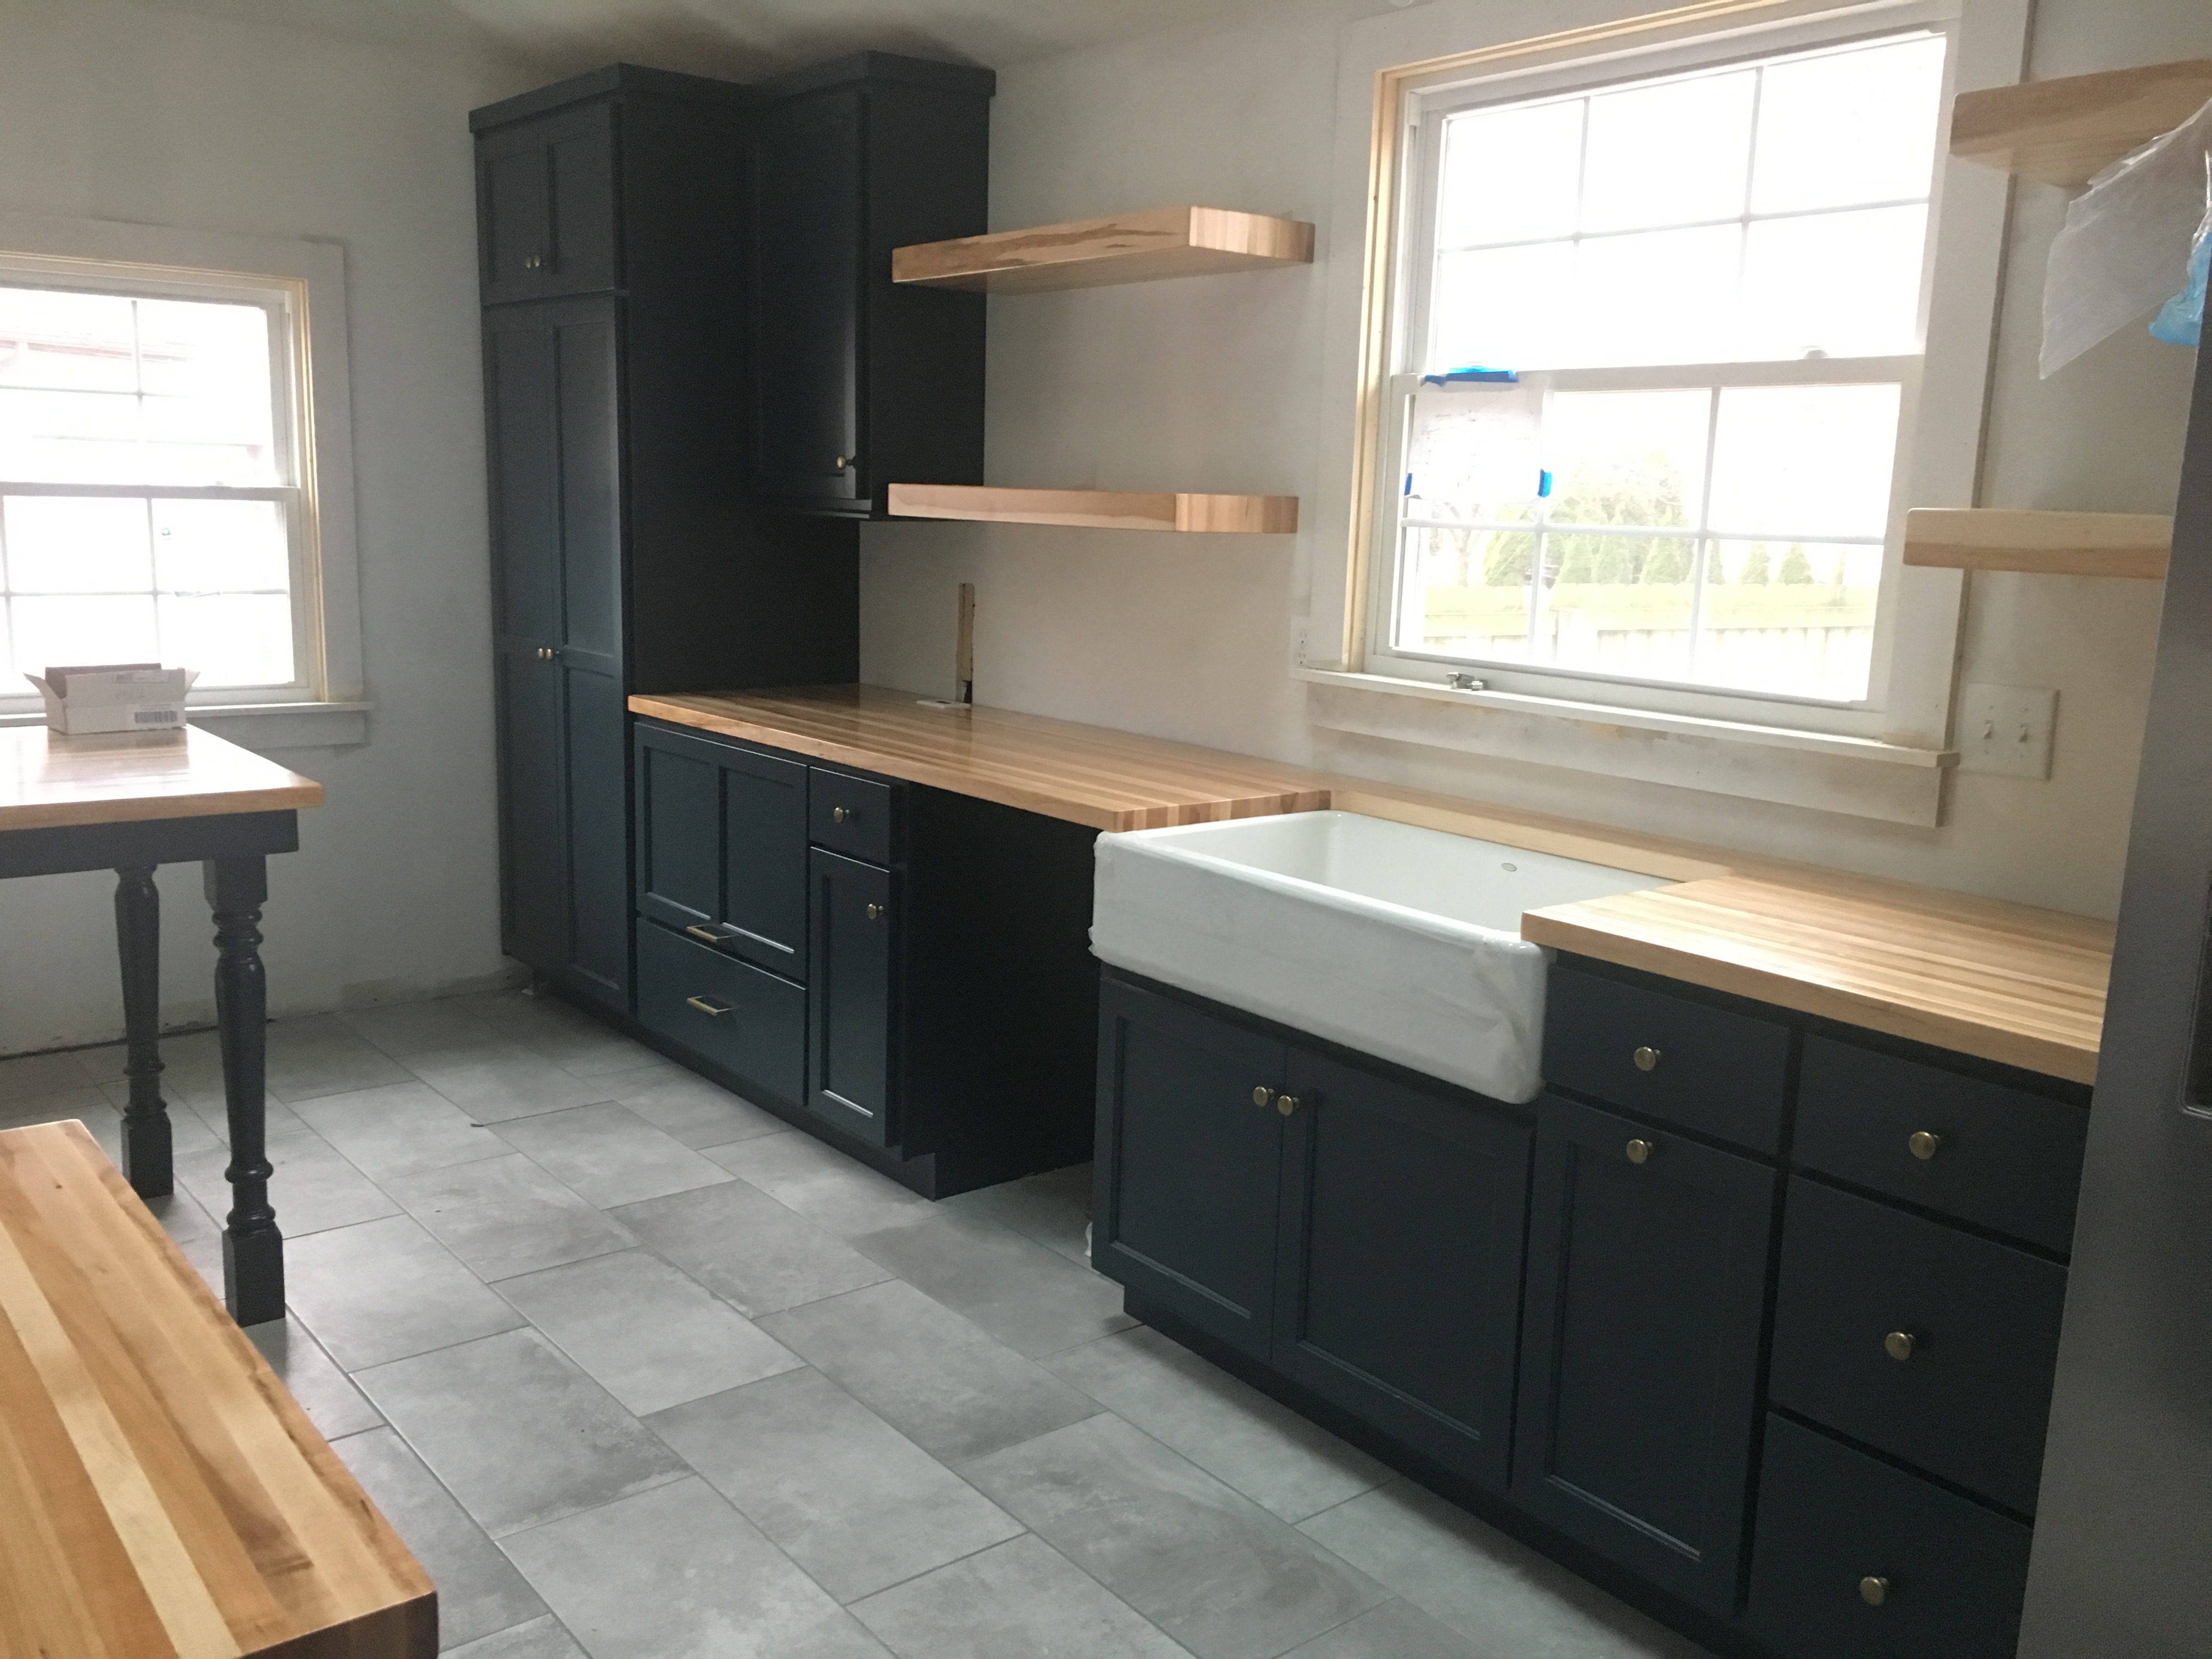
This month it has been one year since I bought my home in the Holy Rosary neighborhood in Fletcher Place in downtown Indianapolis. It has been a somewhat slow-moving process, but I can finally say I’m (for the most part) complete with my major projects! I would love to work more on the outside of the house, but right now I’m keeping my focus on the inside mainly. I would love to share the progress I have made because I’m honestly very proud of it. I created all the design of what I wanted the space to look like, and it was executed by a mixture of contract workers, cabinet makers, friends, family, myself, and mainly my father:) Now presenting the room with the most major changes: the kitchen.
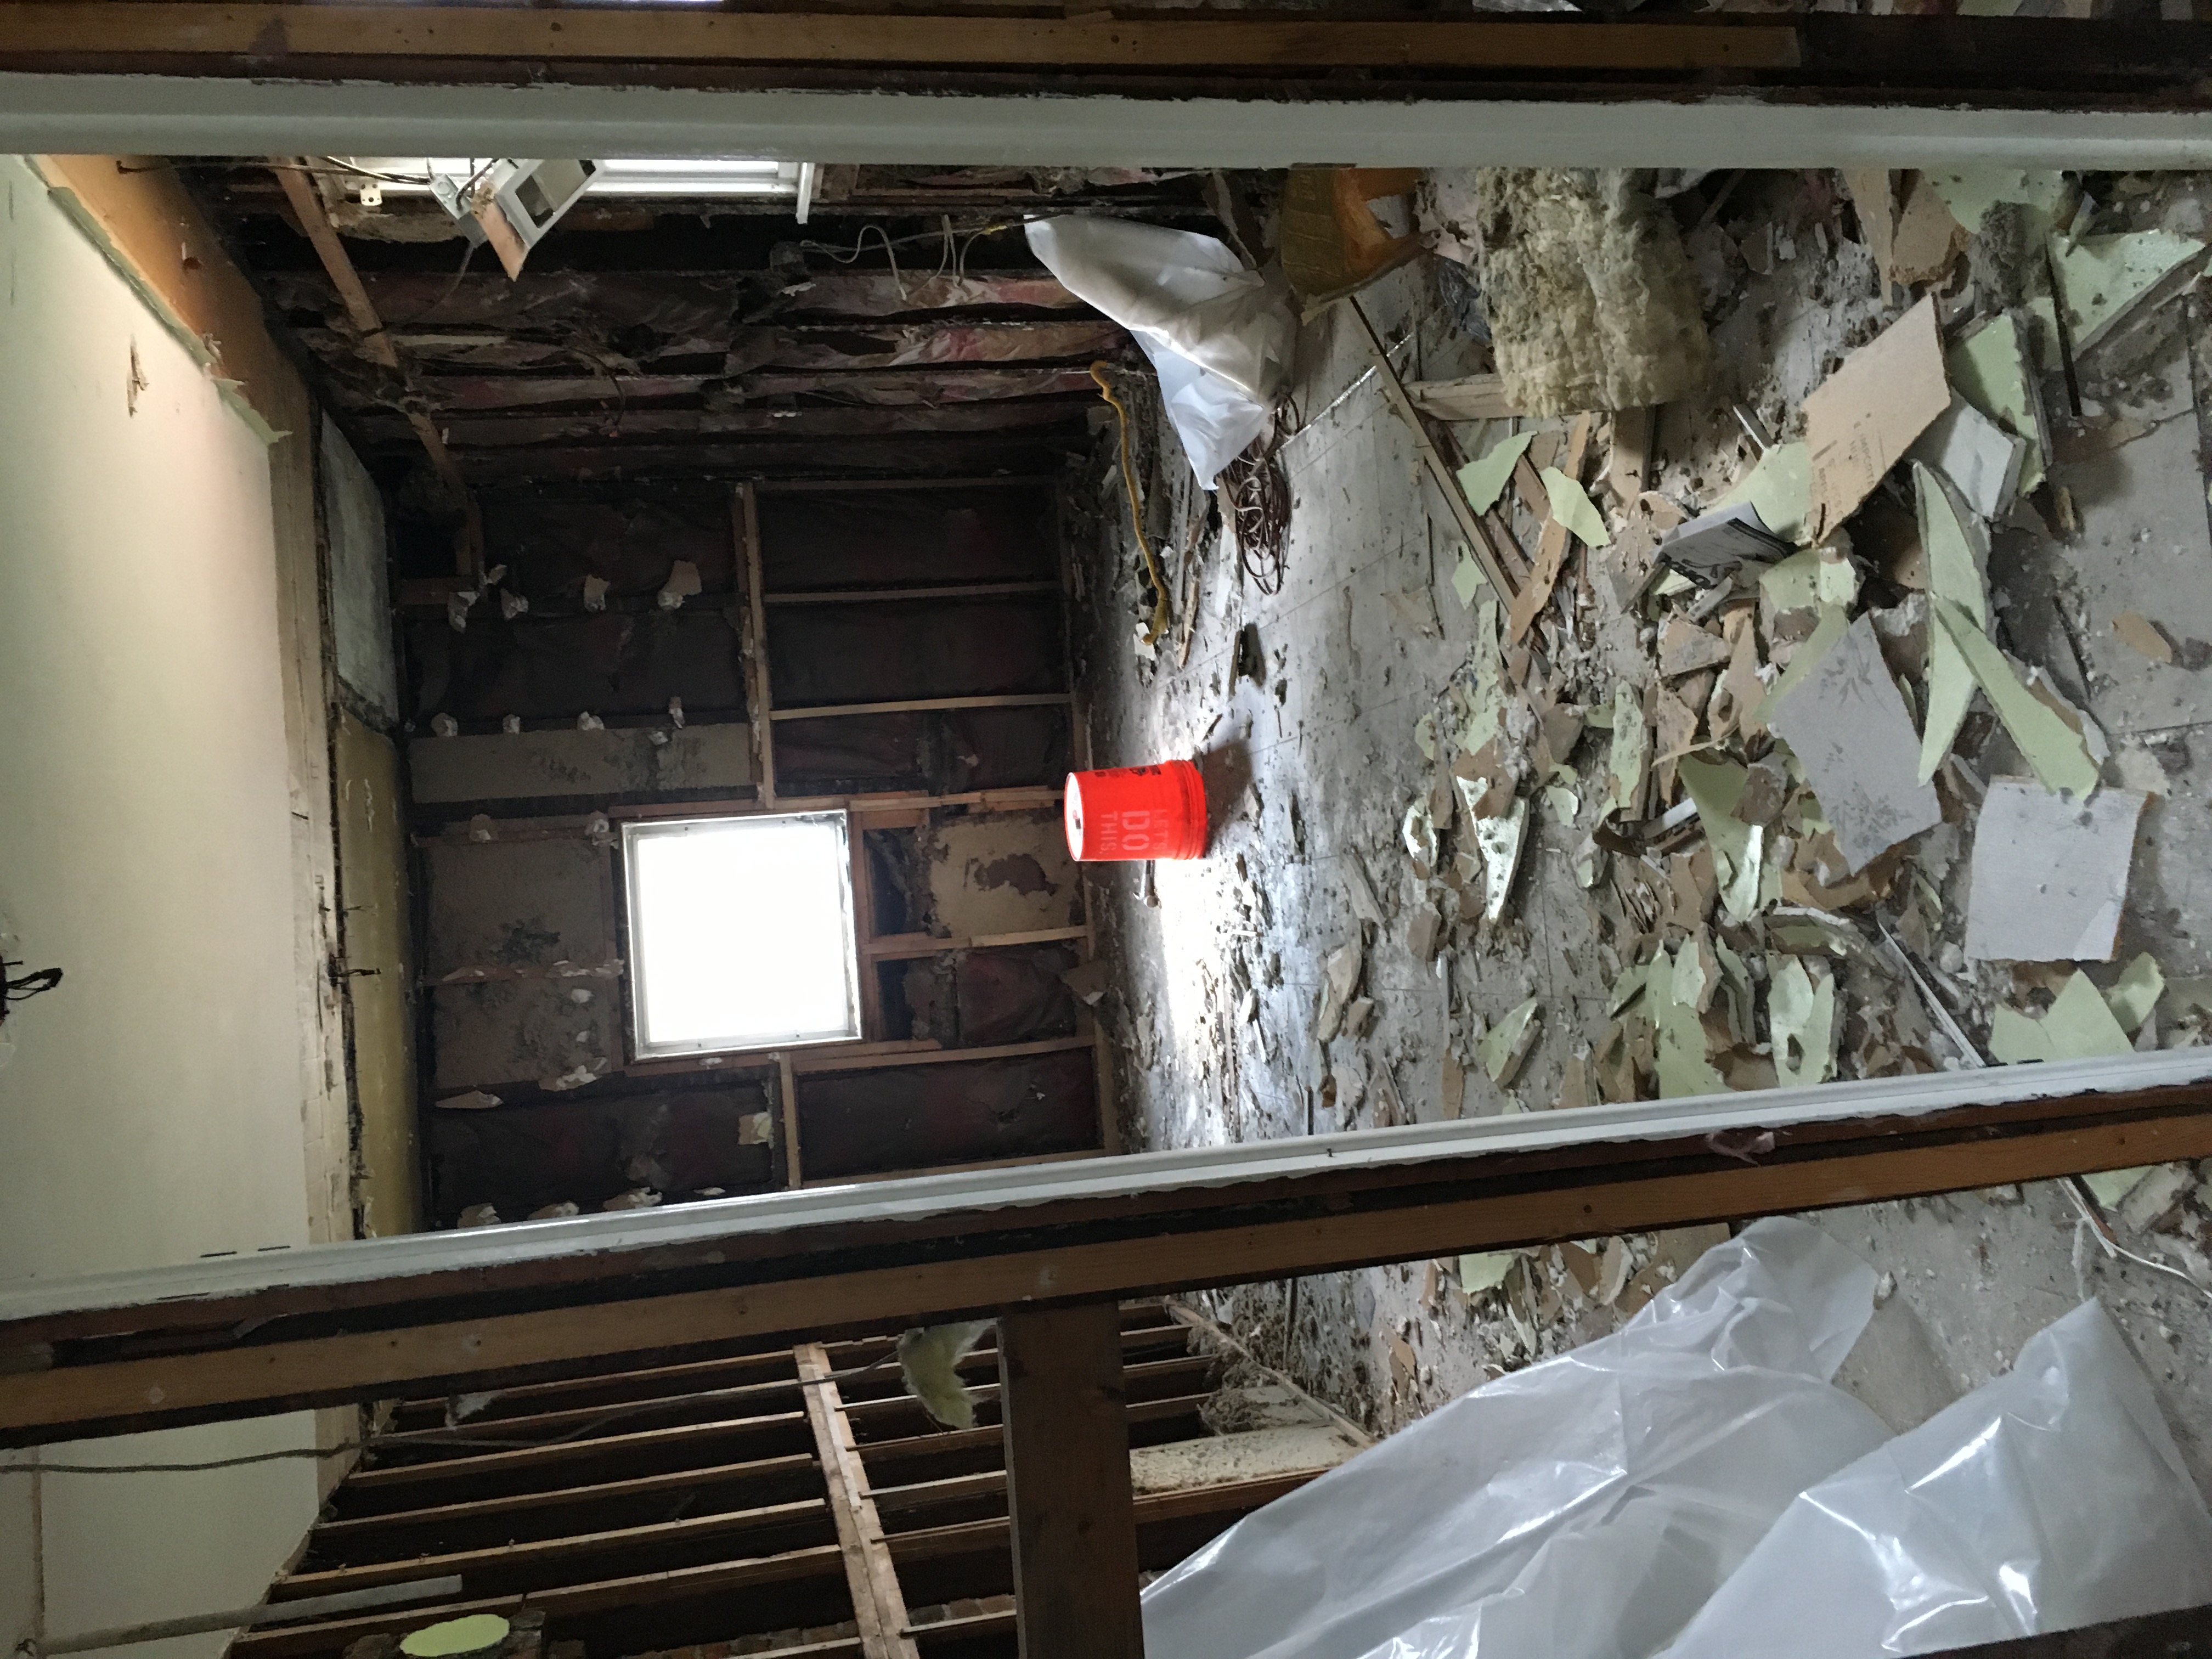
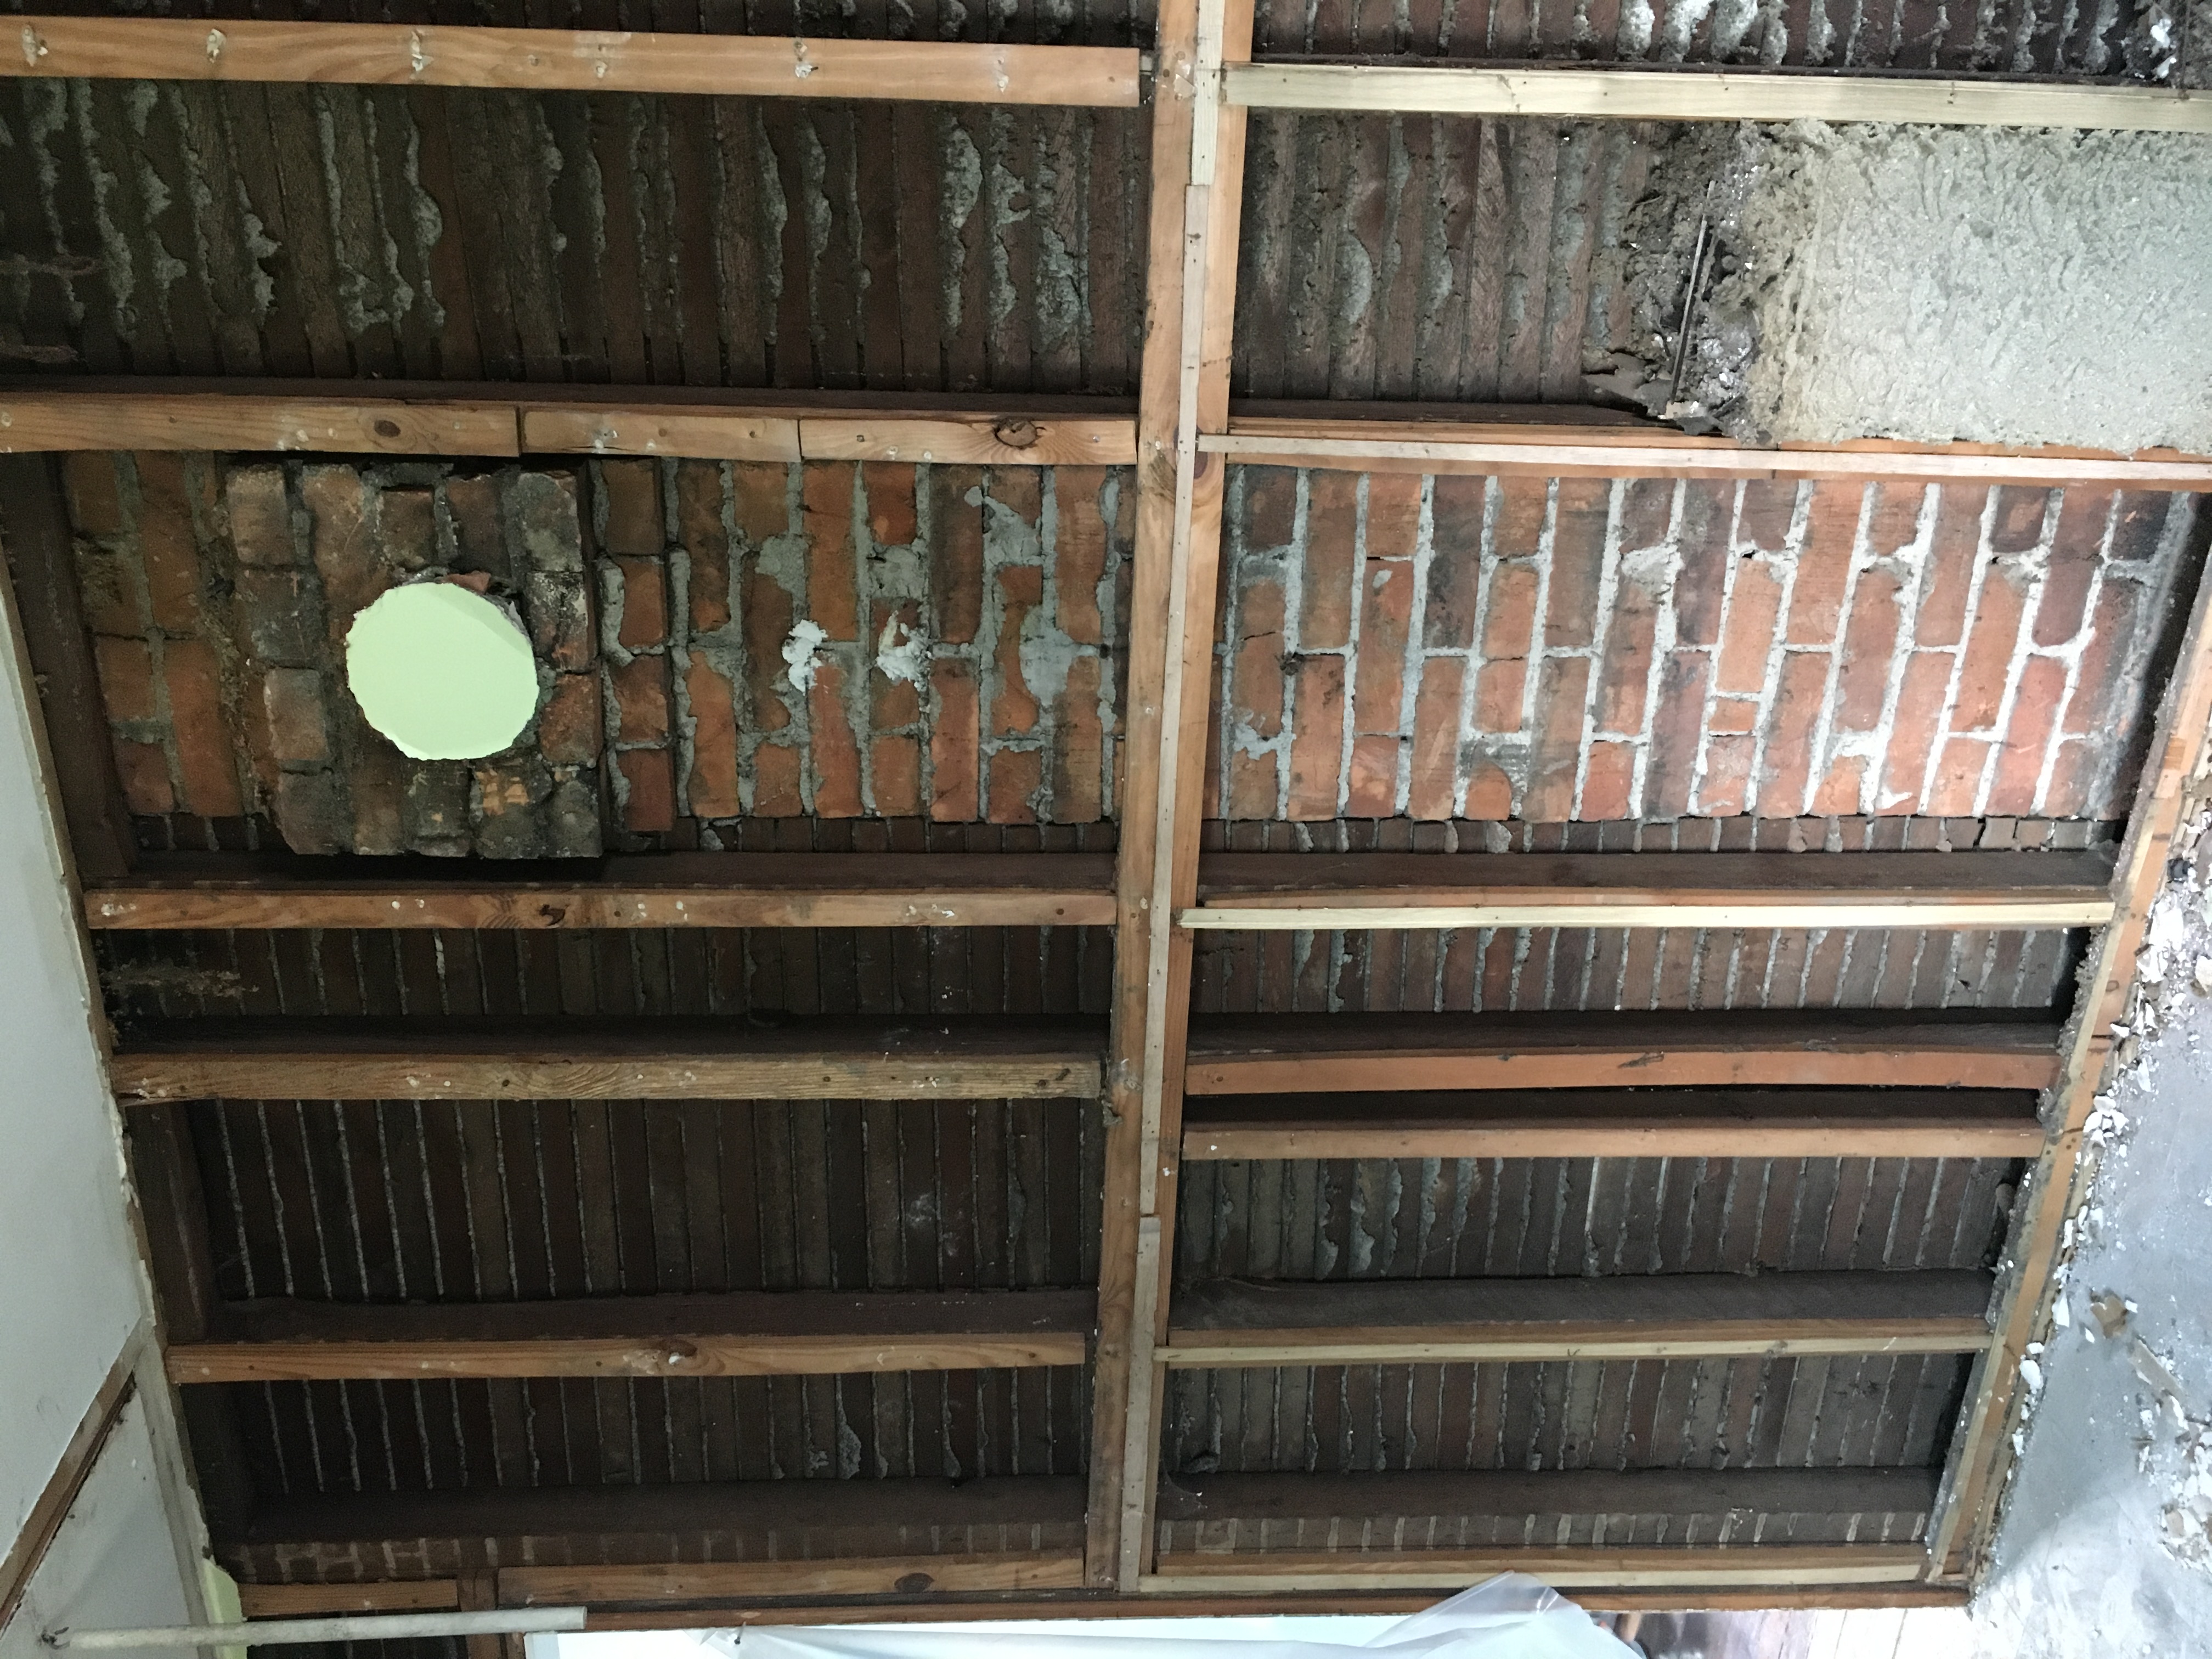
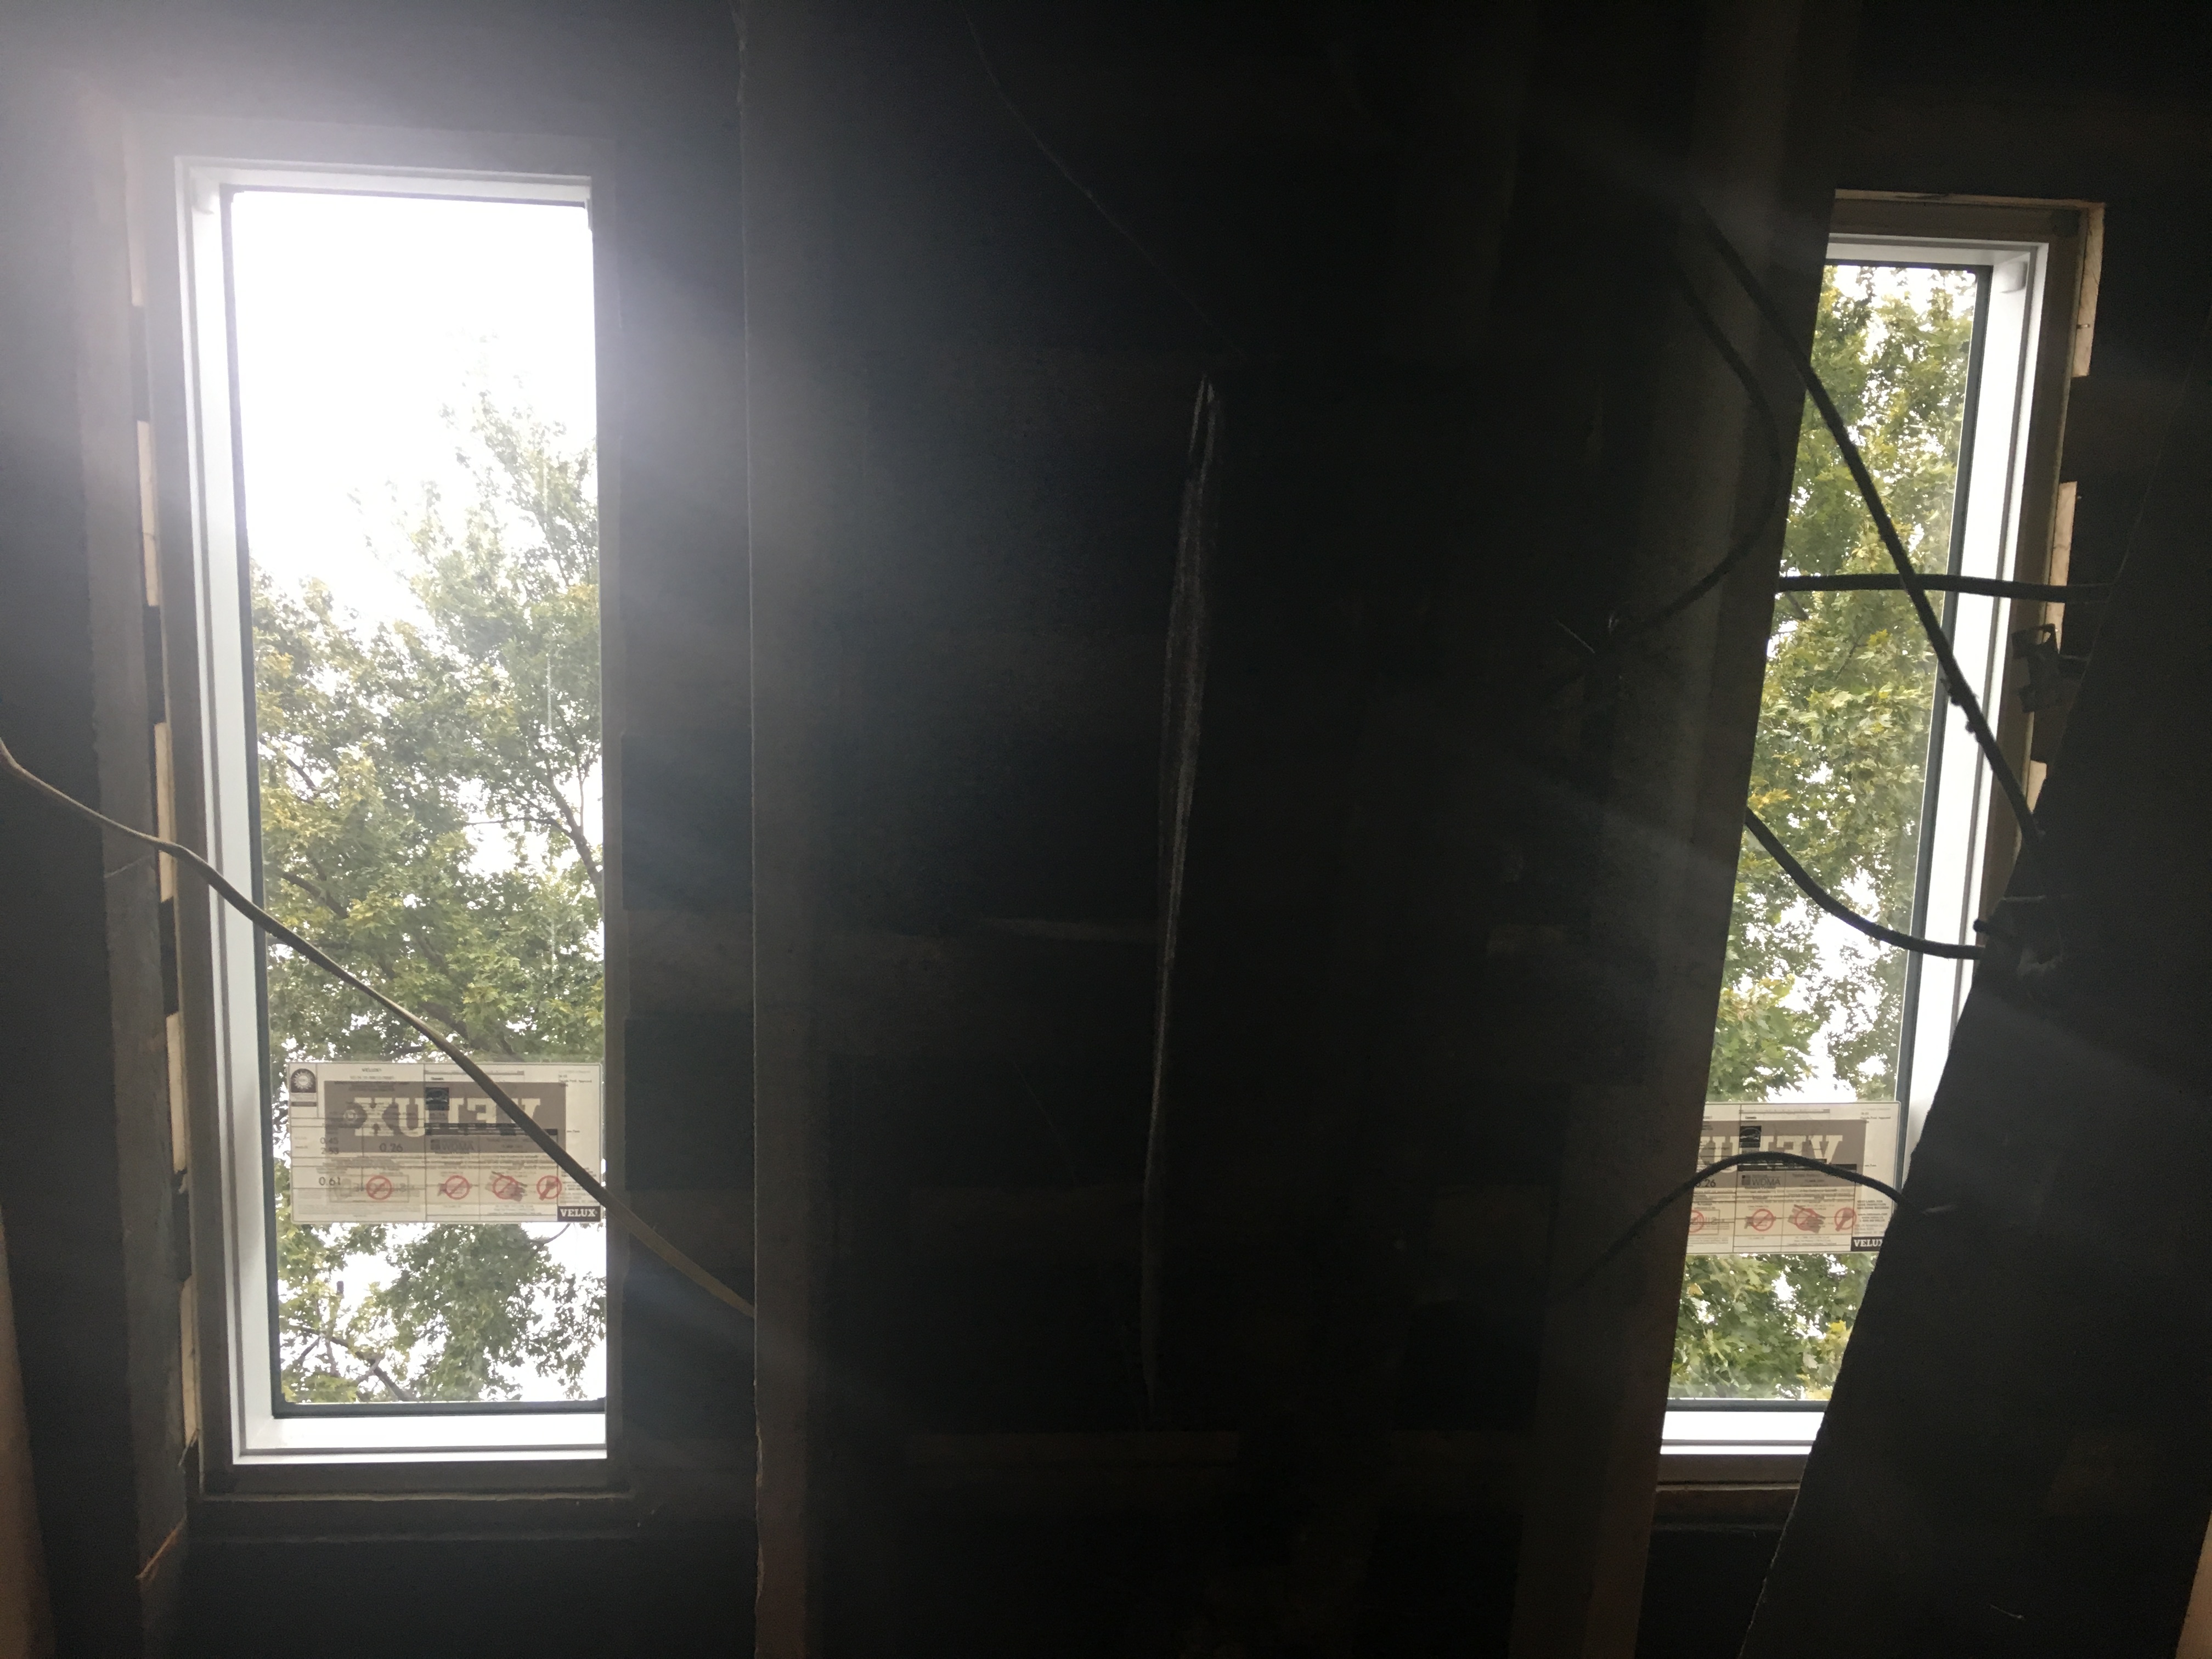
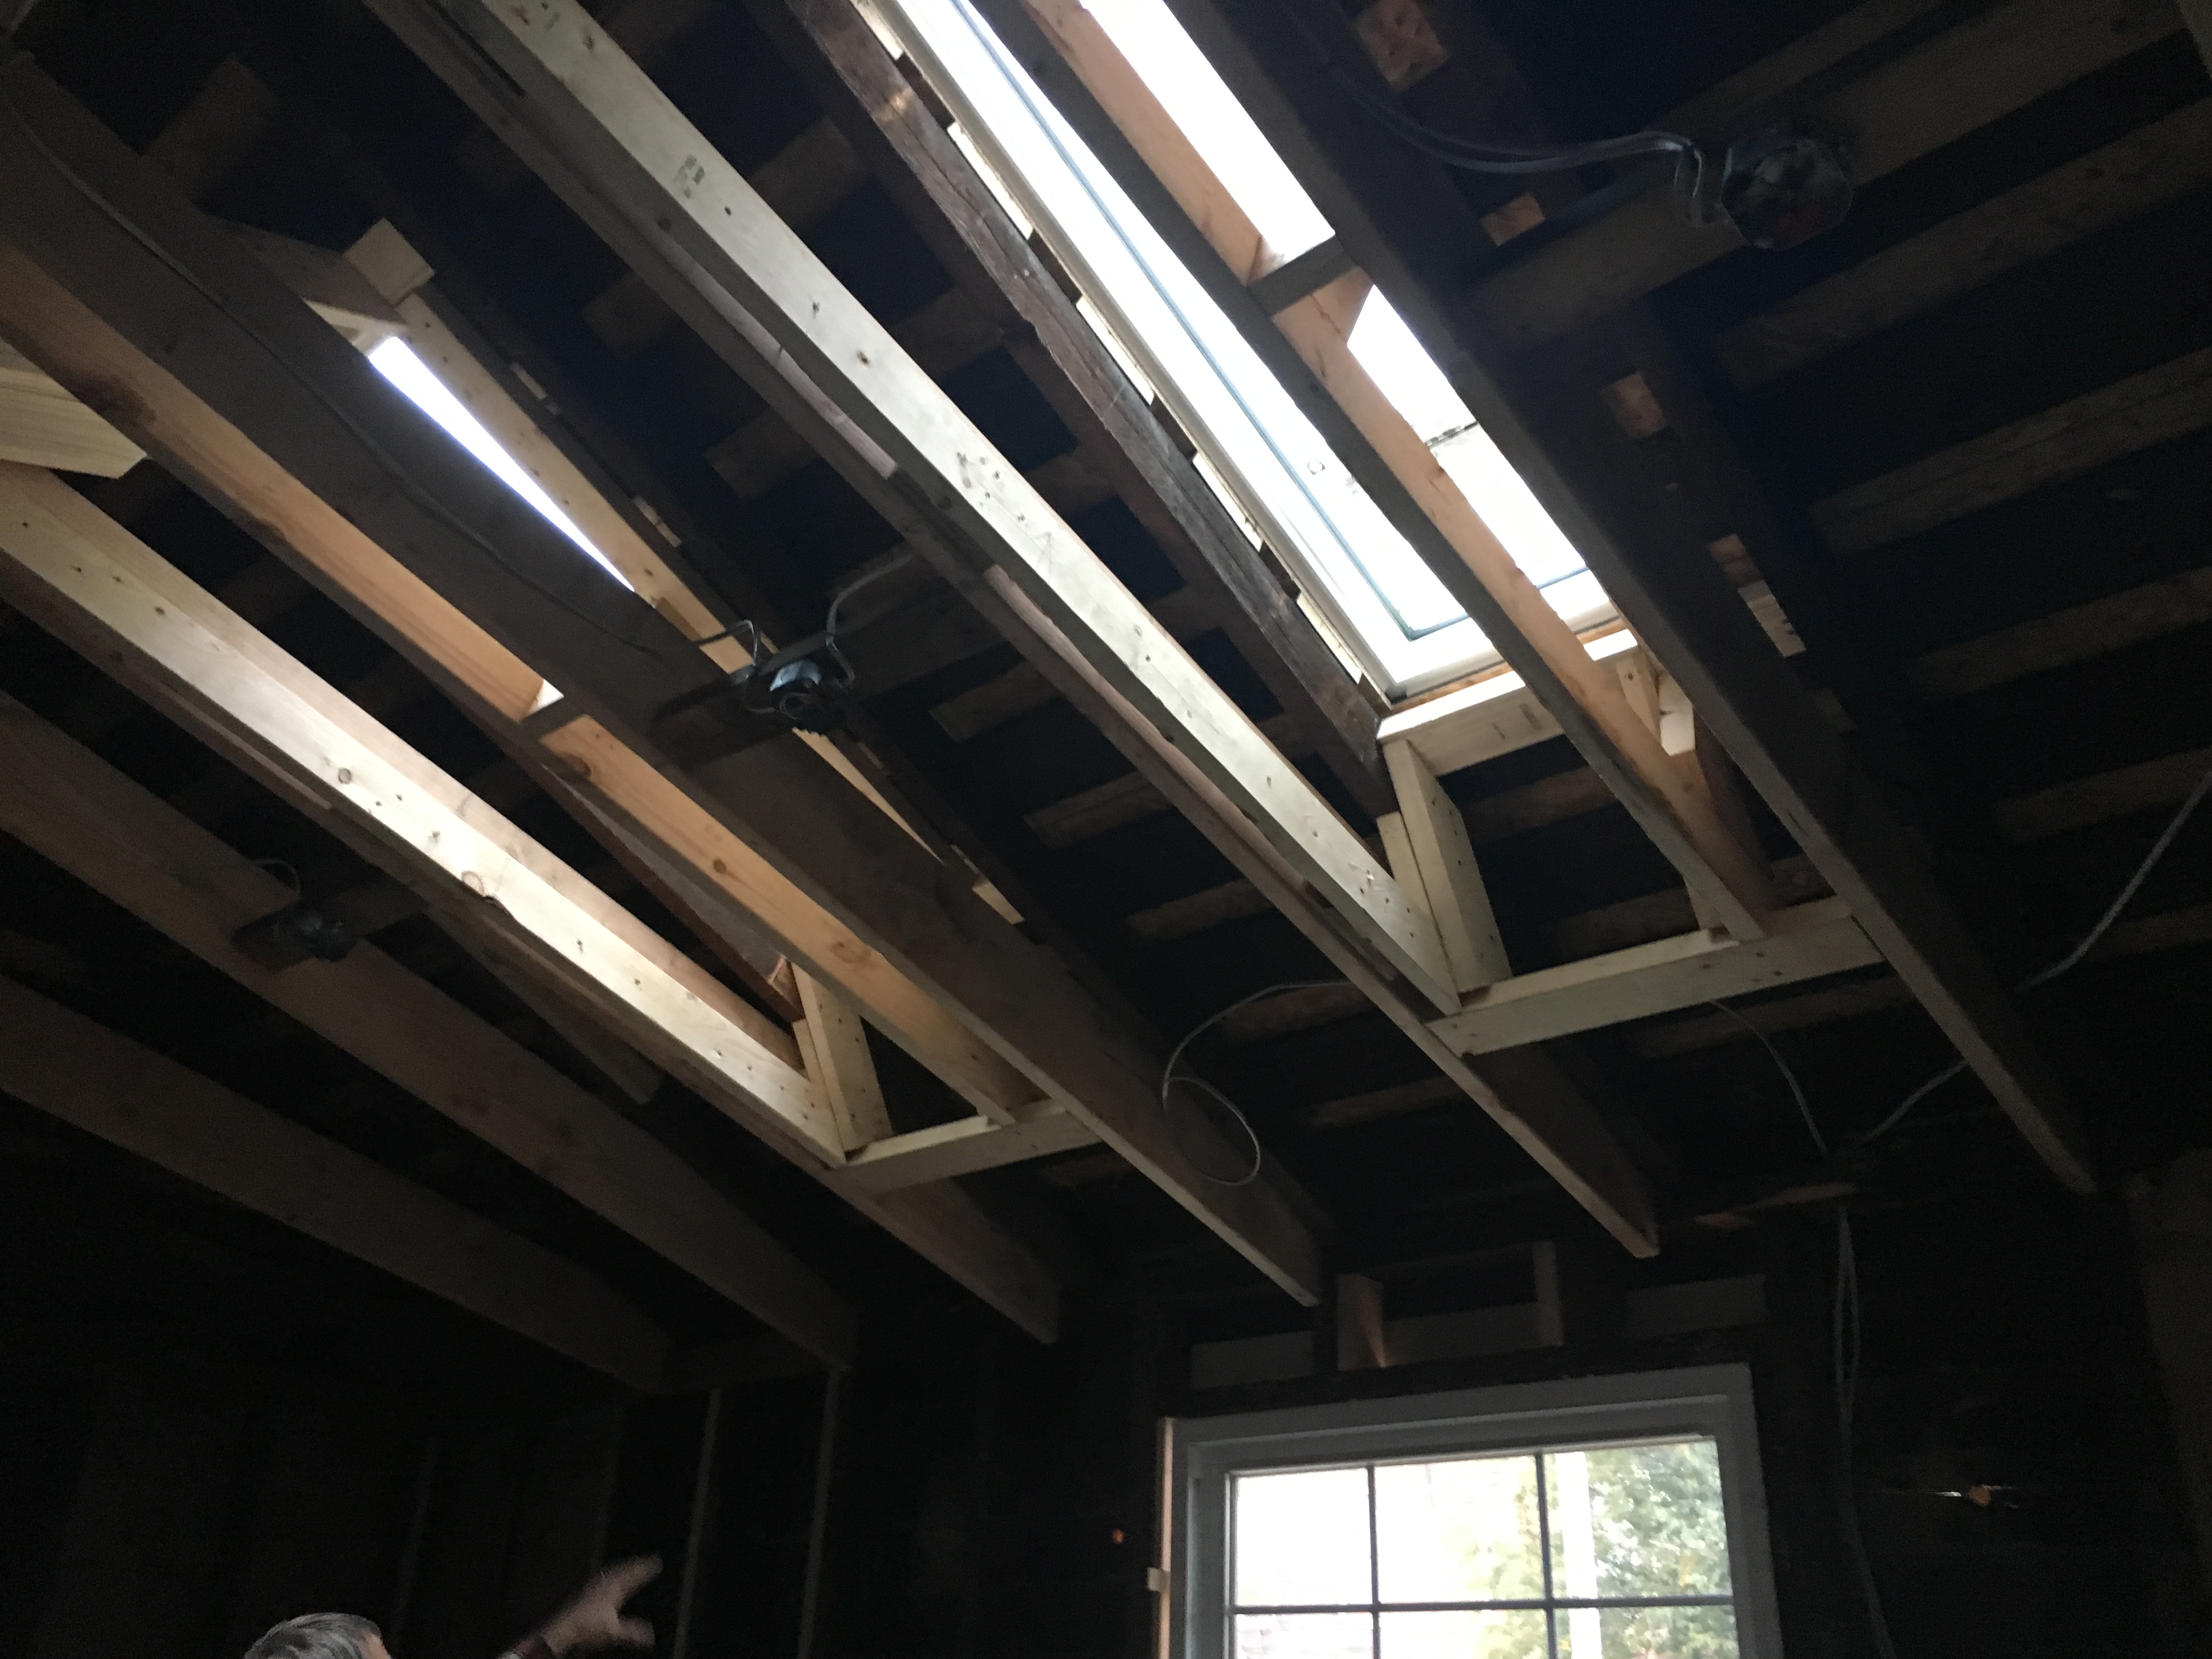
BEFORE:

 AFTER:
.jpg "Tessa Tillett Photography (9 of 101)")
.jpg "Tessa Tillett Photography (15 of 101)")
.jpg "Tessa Tillett Photography (11 of 3)3")
.jpg)
.jpg "Tessa Tillett Photography (2 of 101)")
.jpg "Tessa Tillett Photography (16 of 101)")
.jpg)
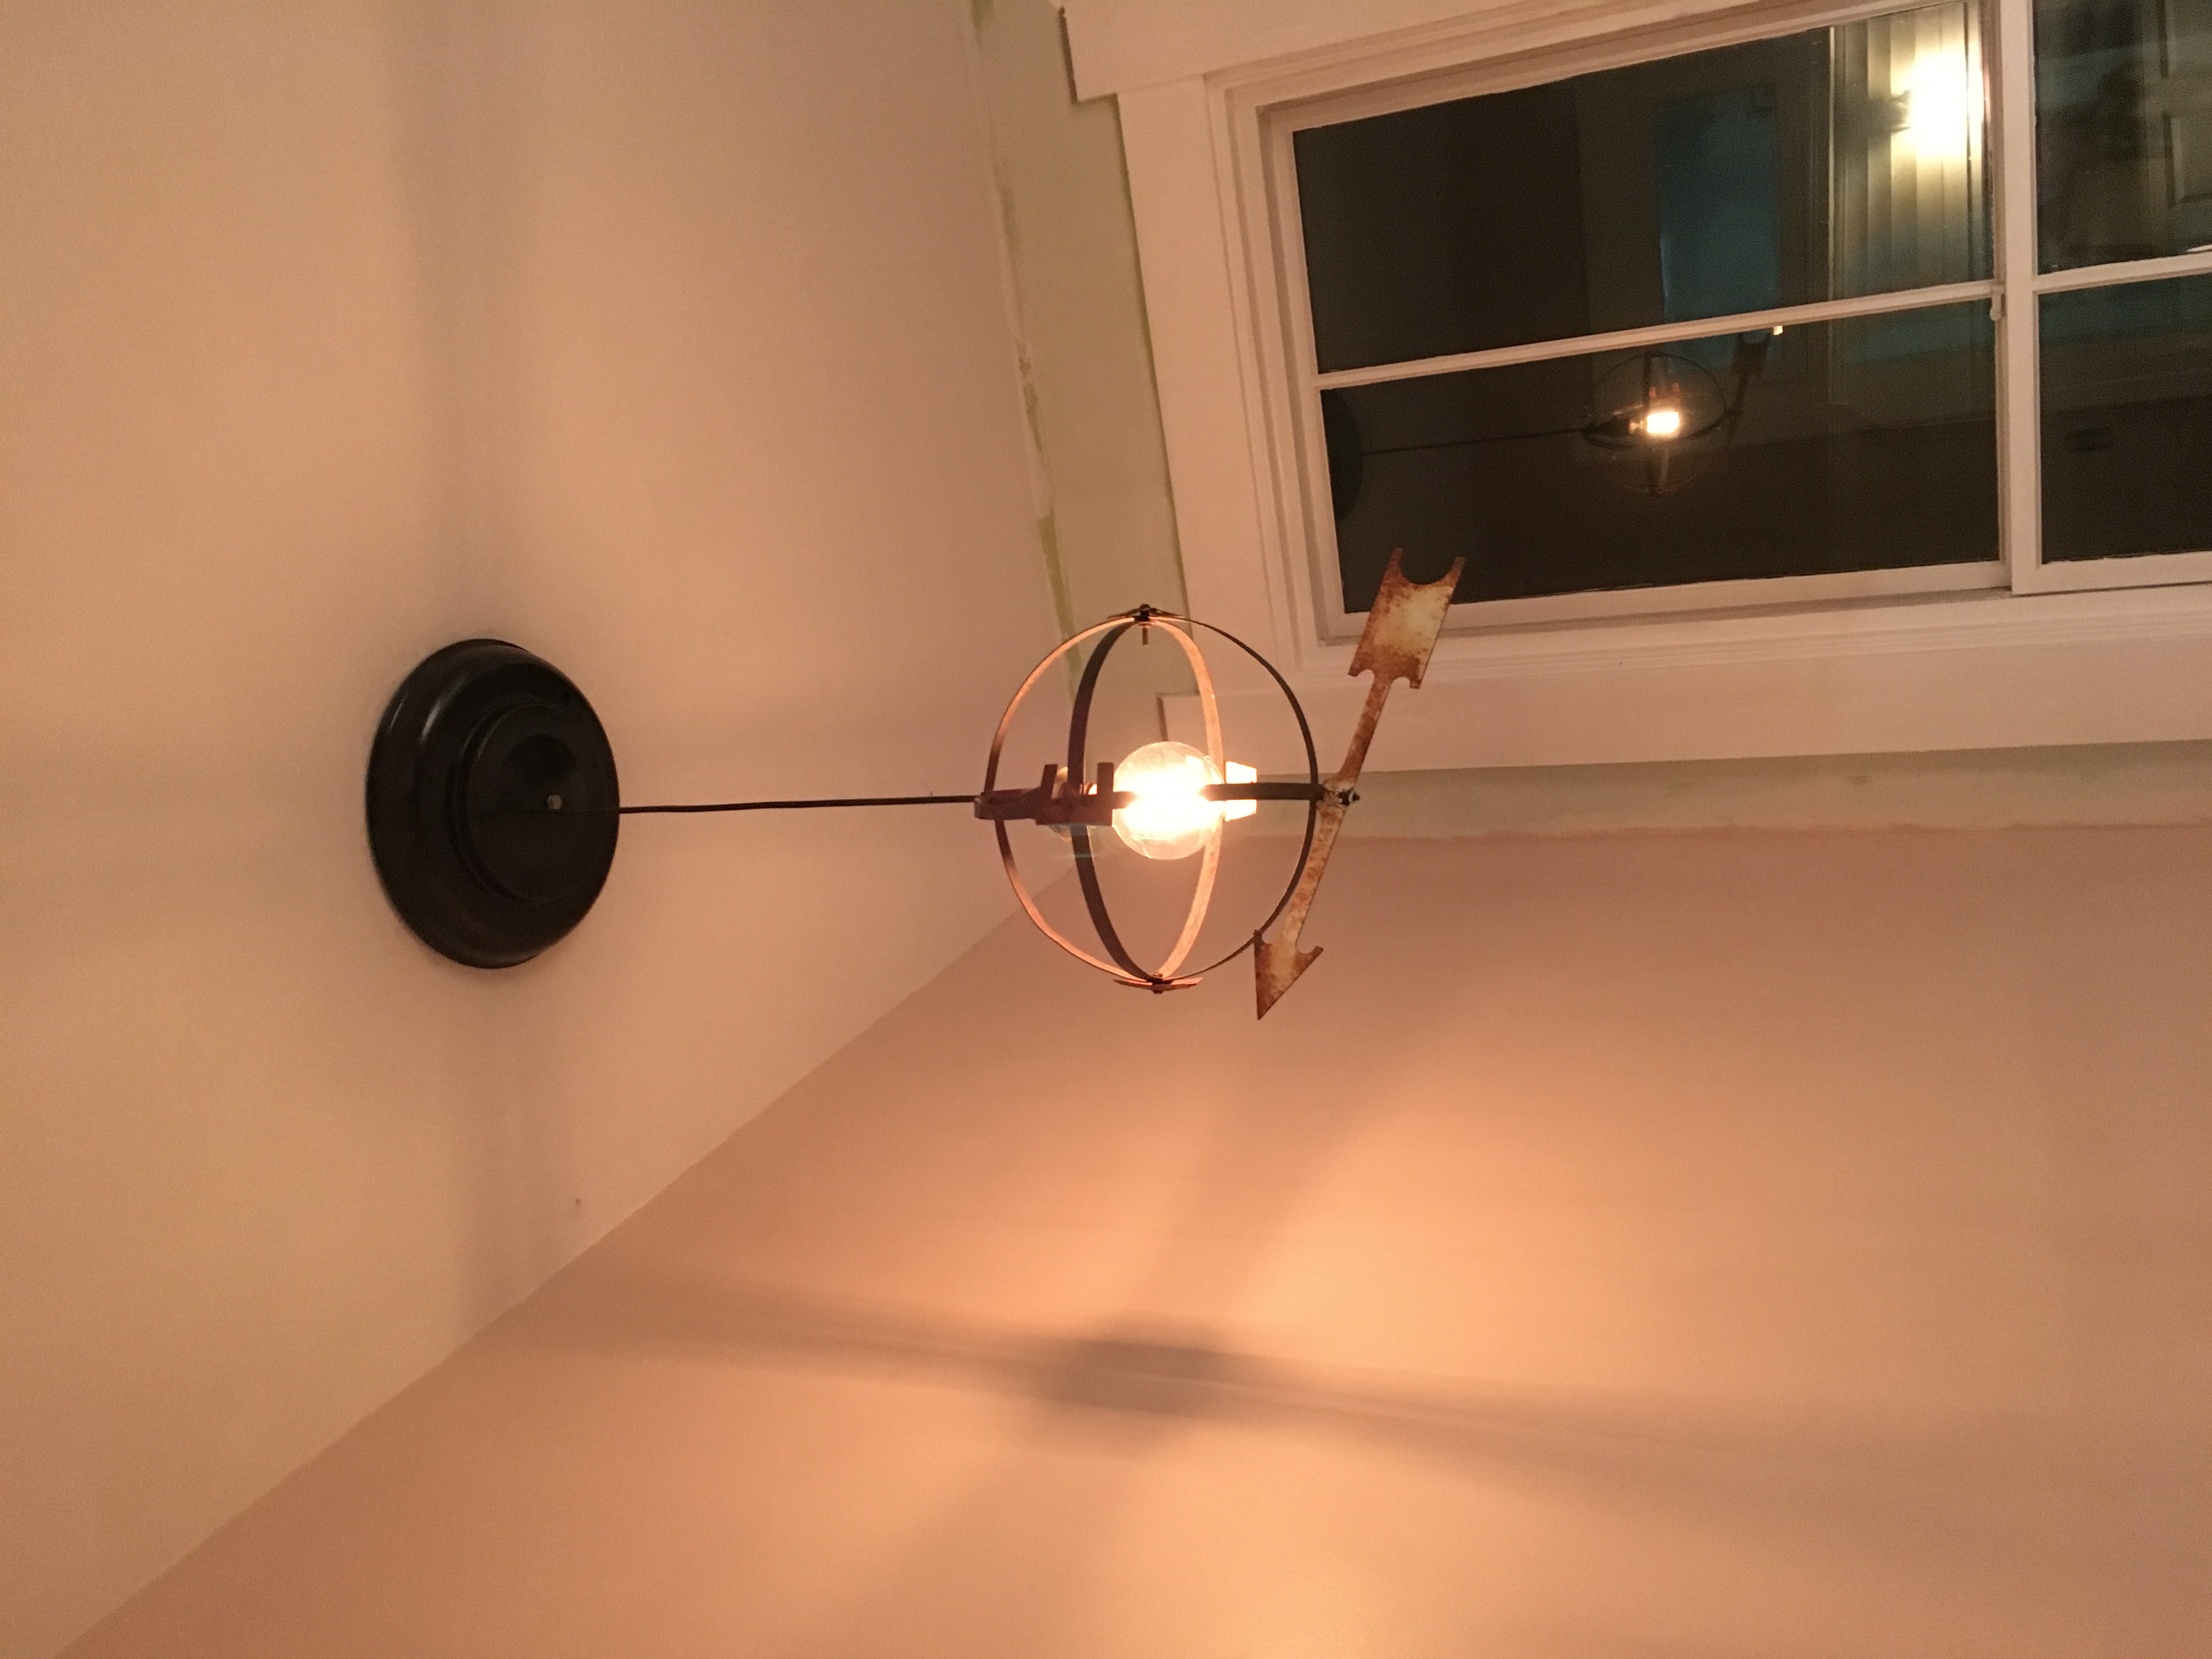
The center light was designed and crafted by LightingAlchemy of Etsy, but I wanted two triangular ones on each side, so I designed them in Illustrator and their shop executed the design. It took almost 6 months to receive, so that was not great cooking in darkness half the time, but they were worth the wait!
.jpg "Tessa Tillett Photography (5 of 101)")
.jpg "Tessa Tillett Photography (40 of 3)1")
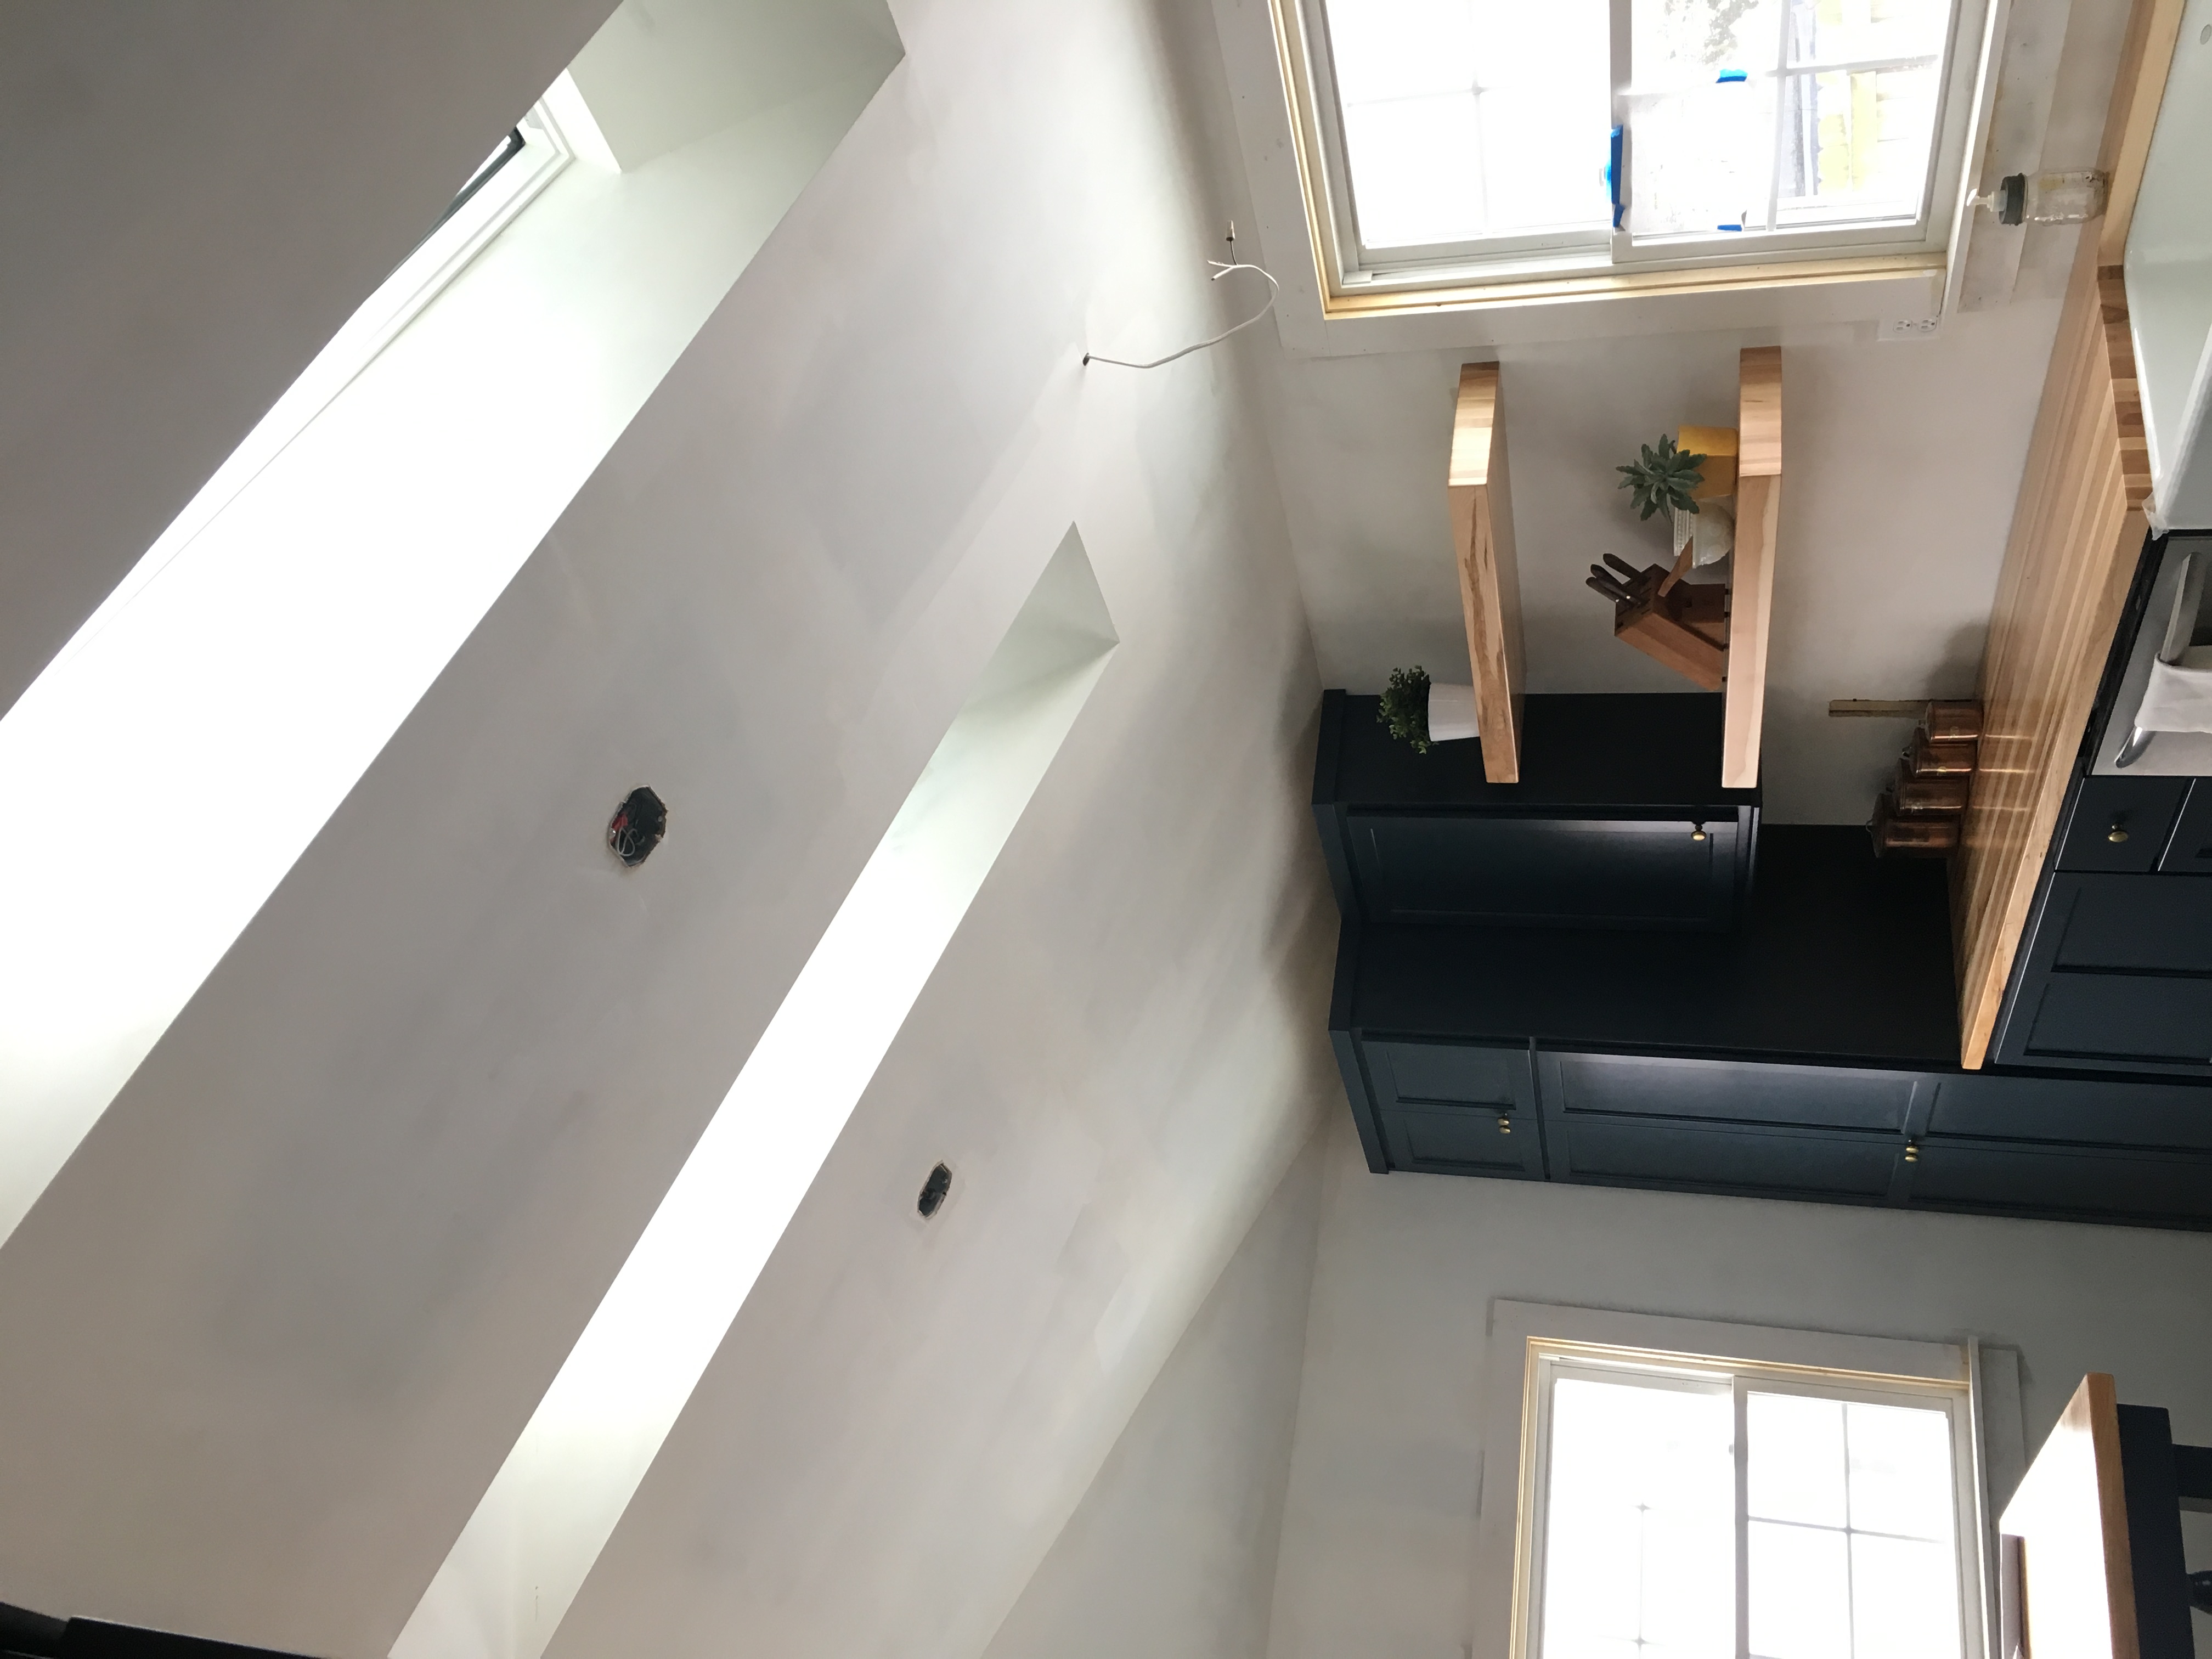
Velux skylights. Insane how much raising the ceiling to the roofline and adding these lights brightened the room and made the space appear bigger..jpg)
.jpg "Tessa Tillett Photography (11 of 101)")
.jpg)
.jpg)
.jpg "Tessa Tillett Photography (98 of 101)")
.jpg "Tessa Tillett Photography (82 of 101)")
.jpg "Tessa Tillett Photography (83 of 101)")
.jpg)
Prints: bycamimonet on Etsy
Frame hangers: Spoolandgrovecrew on Etsy
.jpg "Tessa Tillett Photography (93 of 101)")
.jpg "Tessa Tillett Photography (96 of 101)")
A couple of my favorite kitchen features: a built-in utensil drawer.jpg)
A drawer just for my Tupperware! :)
.jpg "Tessa Tillett Photography (88 of 101)")
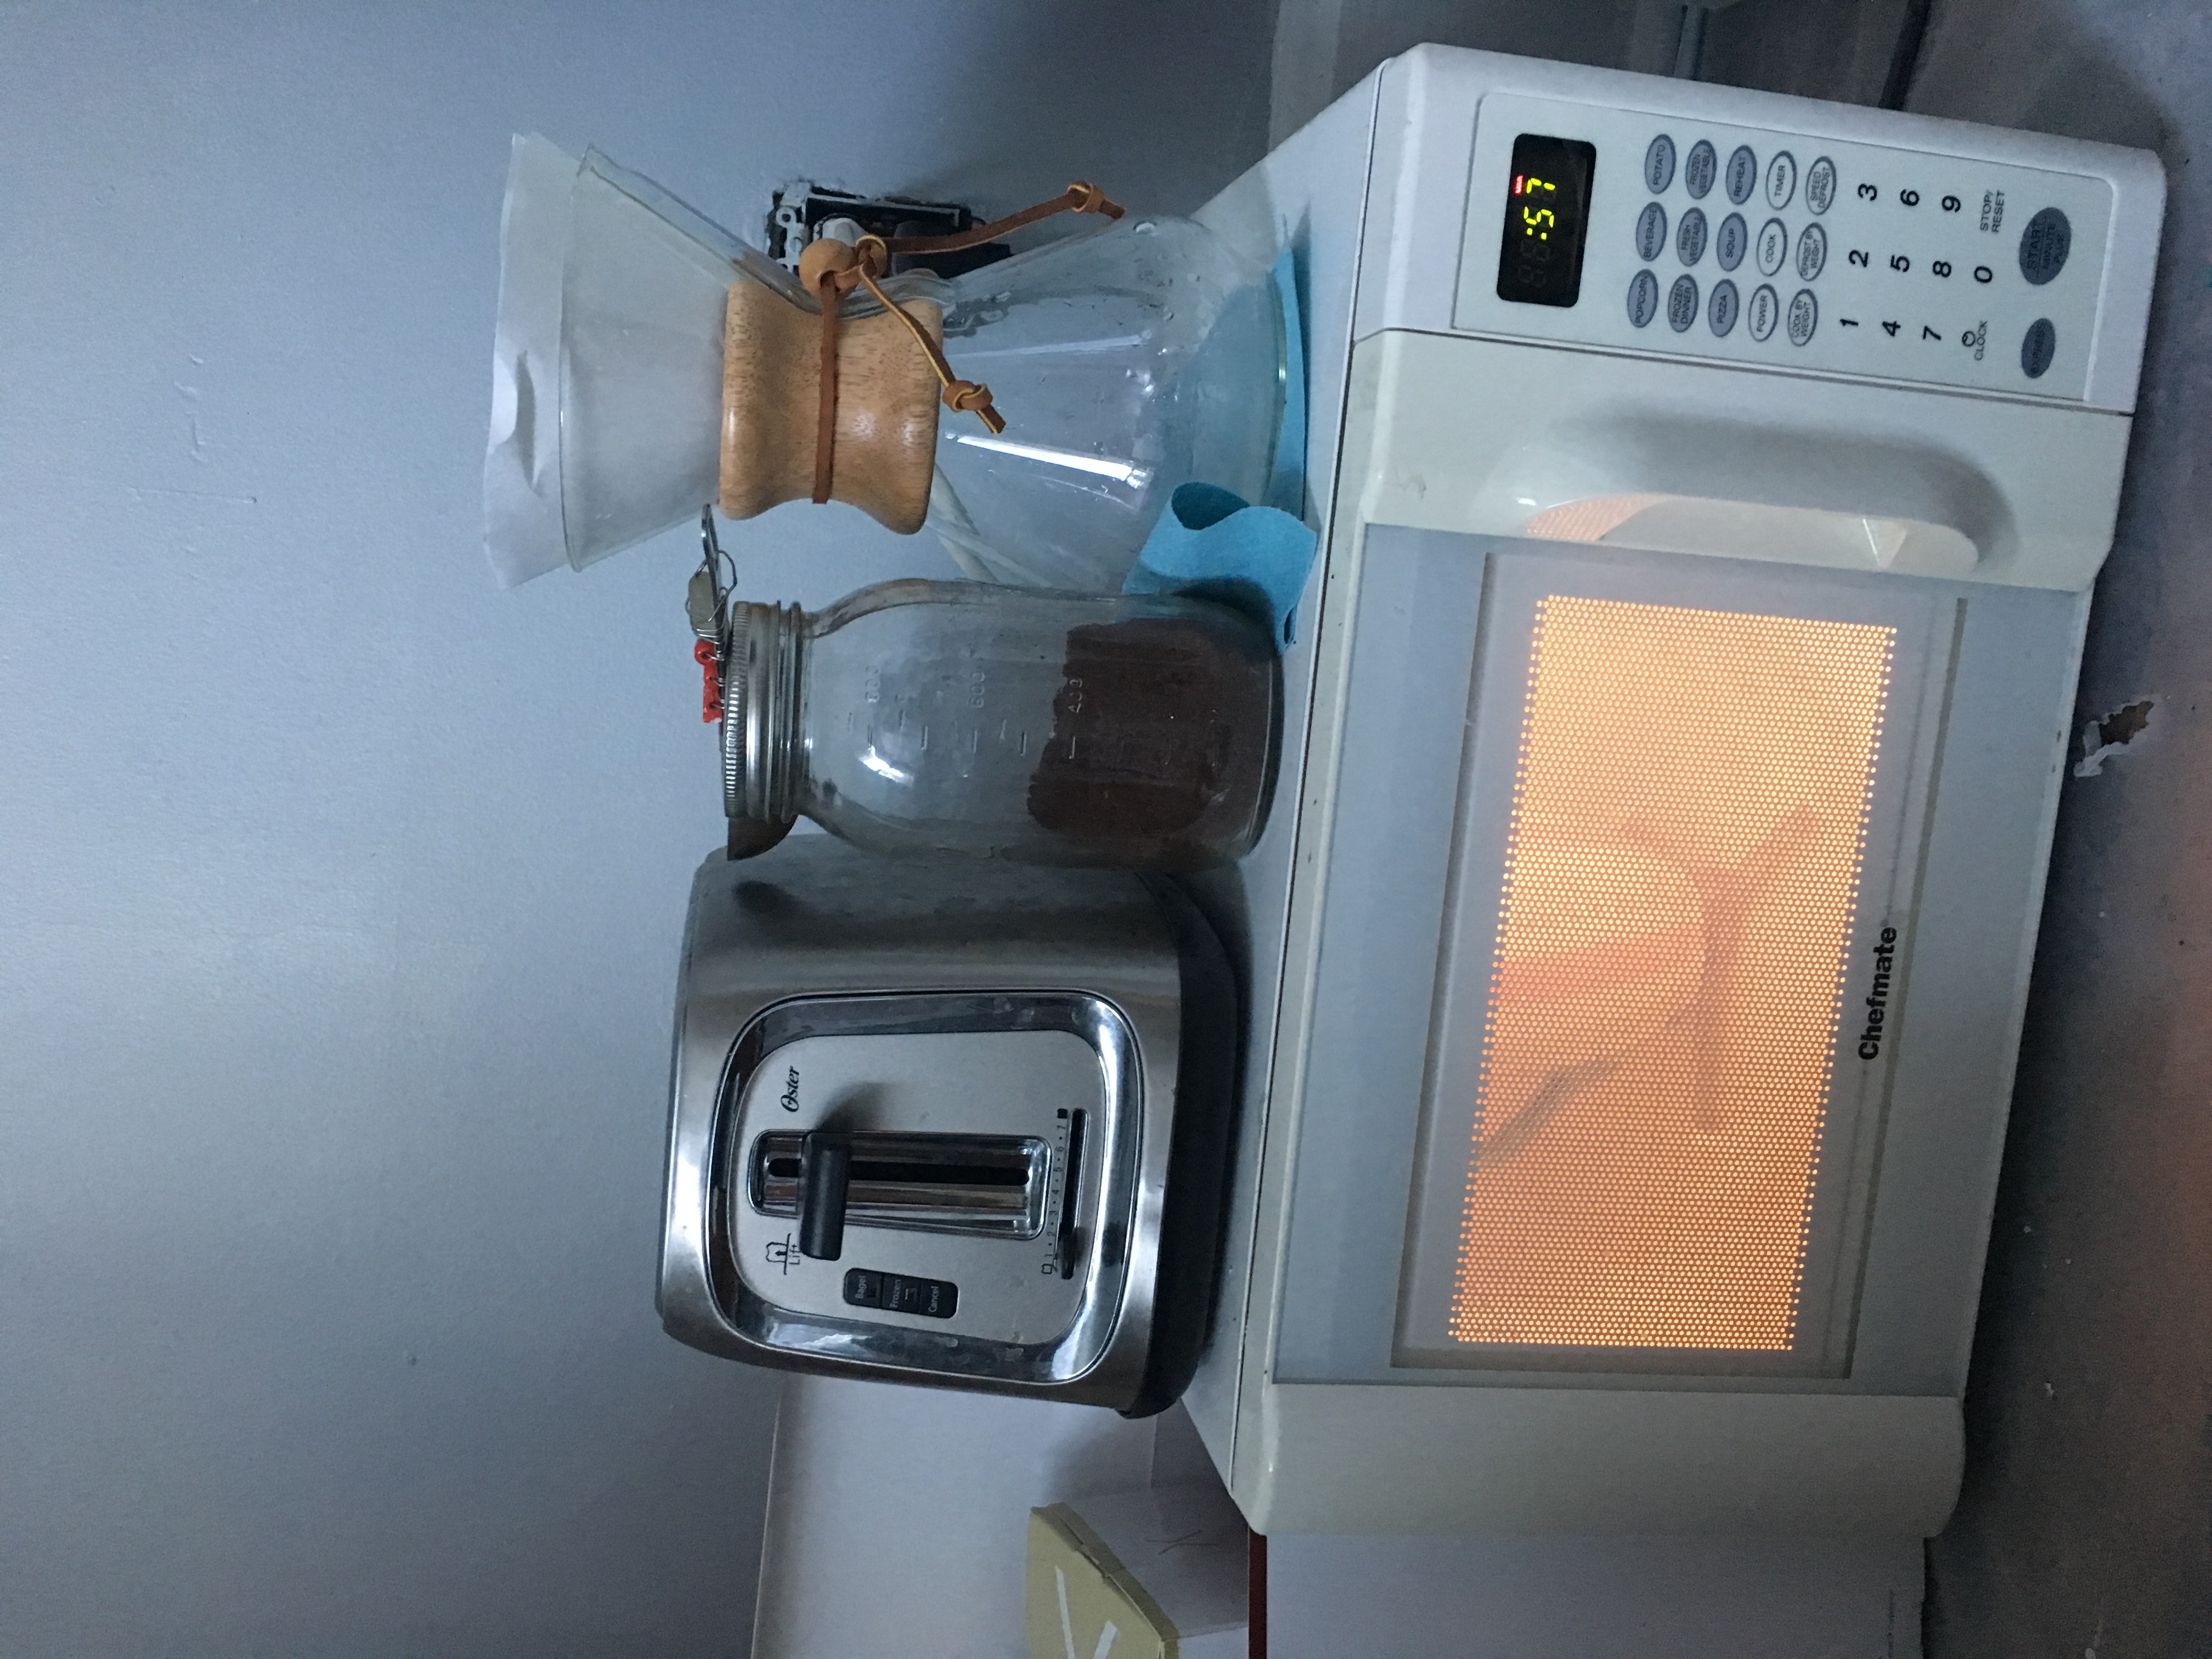
Hiding that ugly microwave and coffee grinder..jpg)
Slats for cutting boards and cookie sheets/Pantry pull-out shelves
.jpg)
The door to the cellar is in the corner of the kitchen, so my cabinet maker and I had to find a creative solution to still be able to utilize the space. The peninsula leg folds up when I need to get in the basement and a middle leg folds down so there is not too much weight on just one leg.
.jpg)
WHAT WAS DONE:
- Well, everything.
- Ripped out the old cabinets
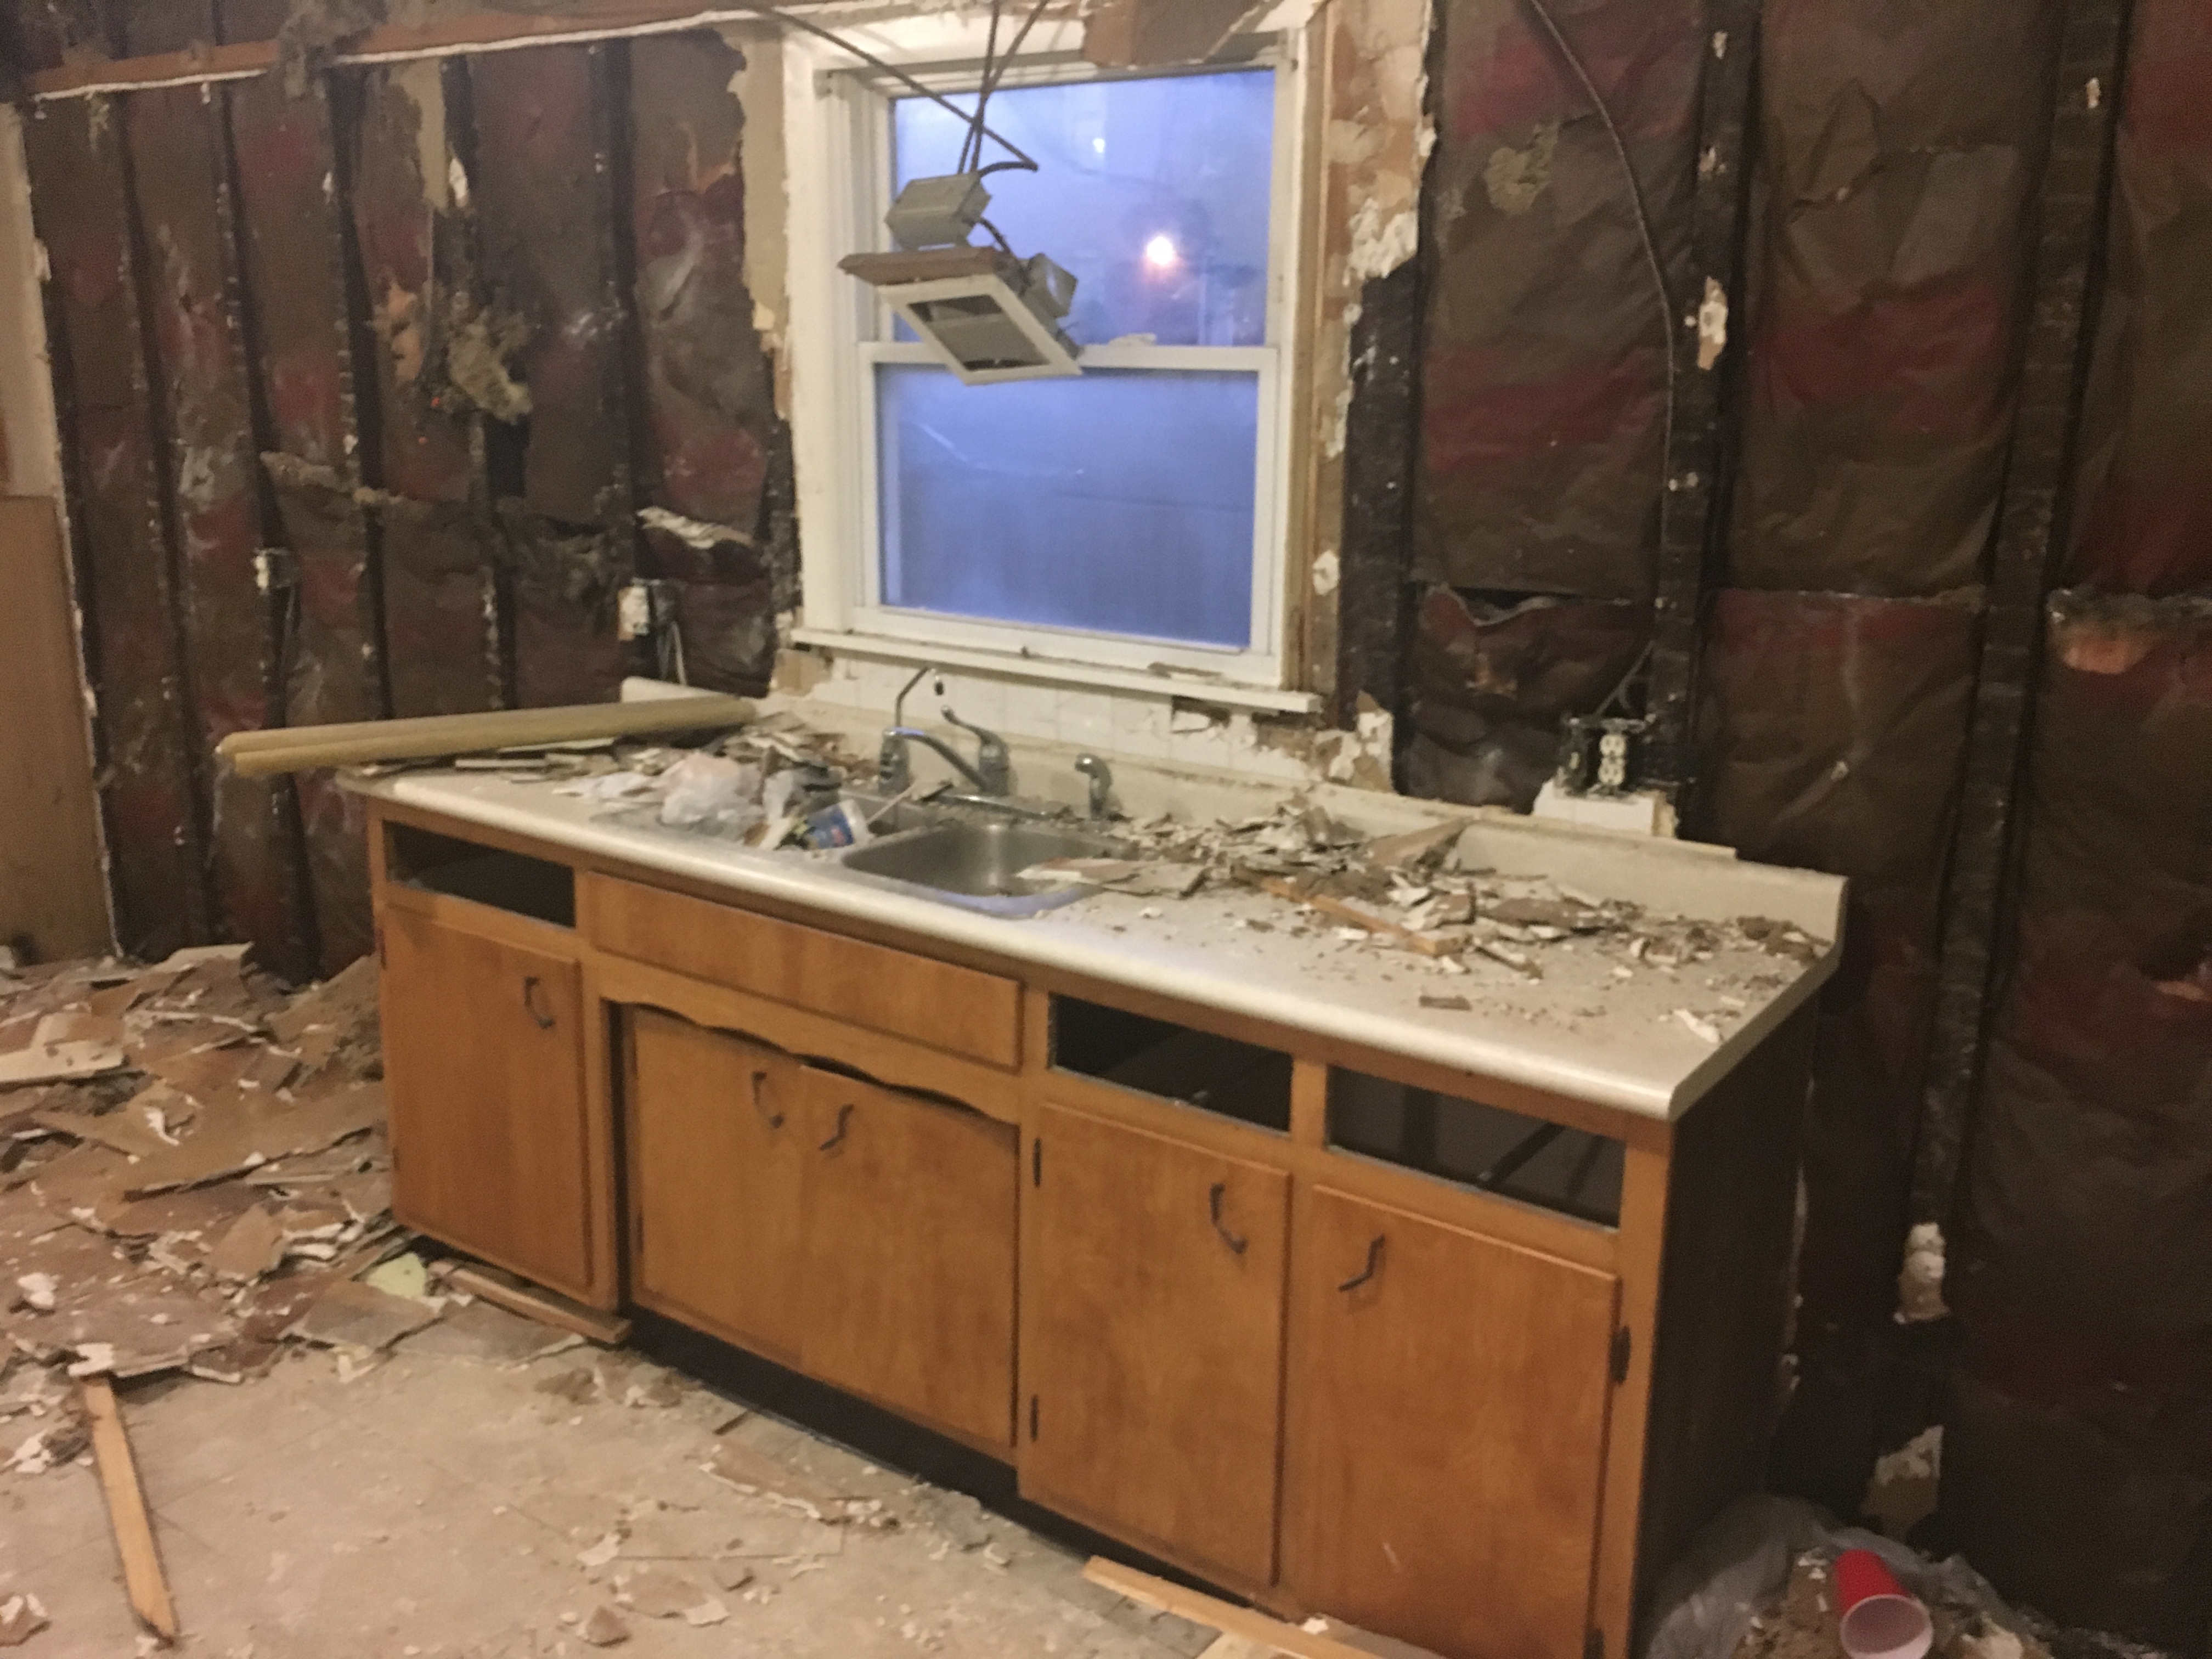
- Re-dry walled
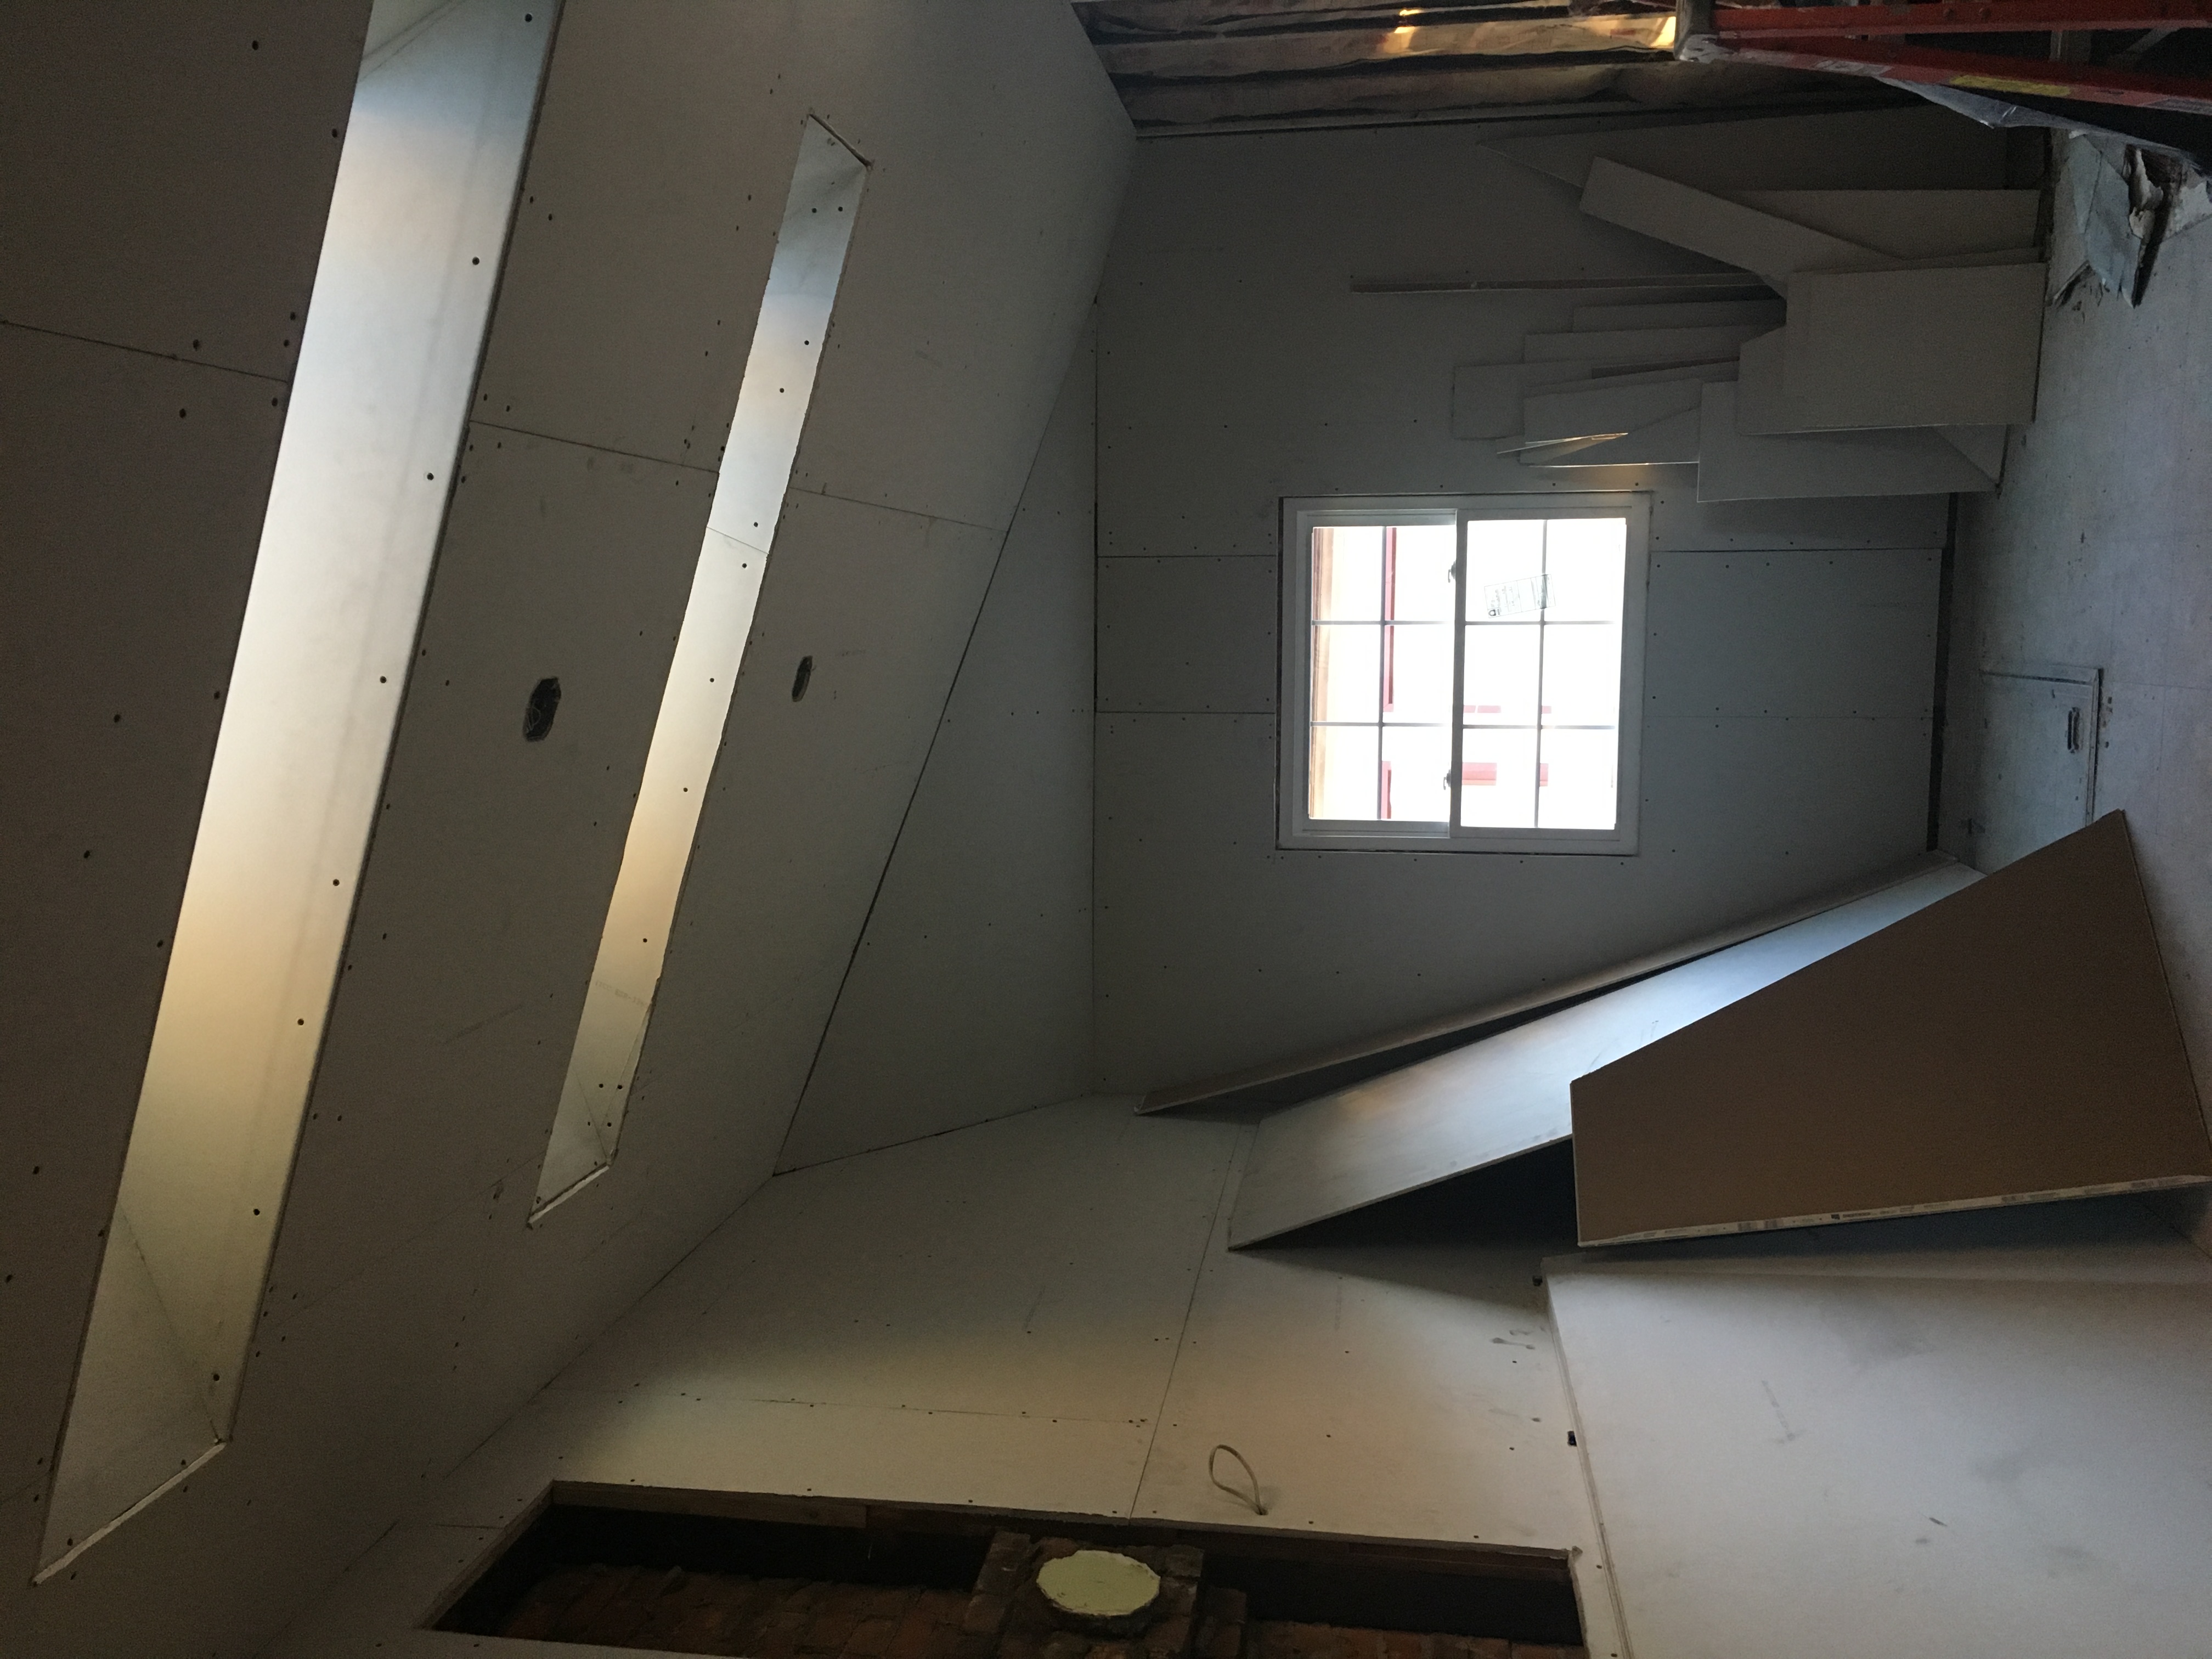
- Raised the ceiling to the roofline
- Moved the gas line to other side
- Redid all electrical and added outlets and boxes for 4 lights
- Added VELUX skylights
- Replaced two windows with larger ones
- Had cabinets custom-made [Tom Carter of Carter Cabinet Co. in New Pal– highly recommend!]
- Had butcher block countertop custom-made [Also made by Carter Cabinet Co.]
- Ordered all new appliances
- Added brushed brass hardware
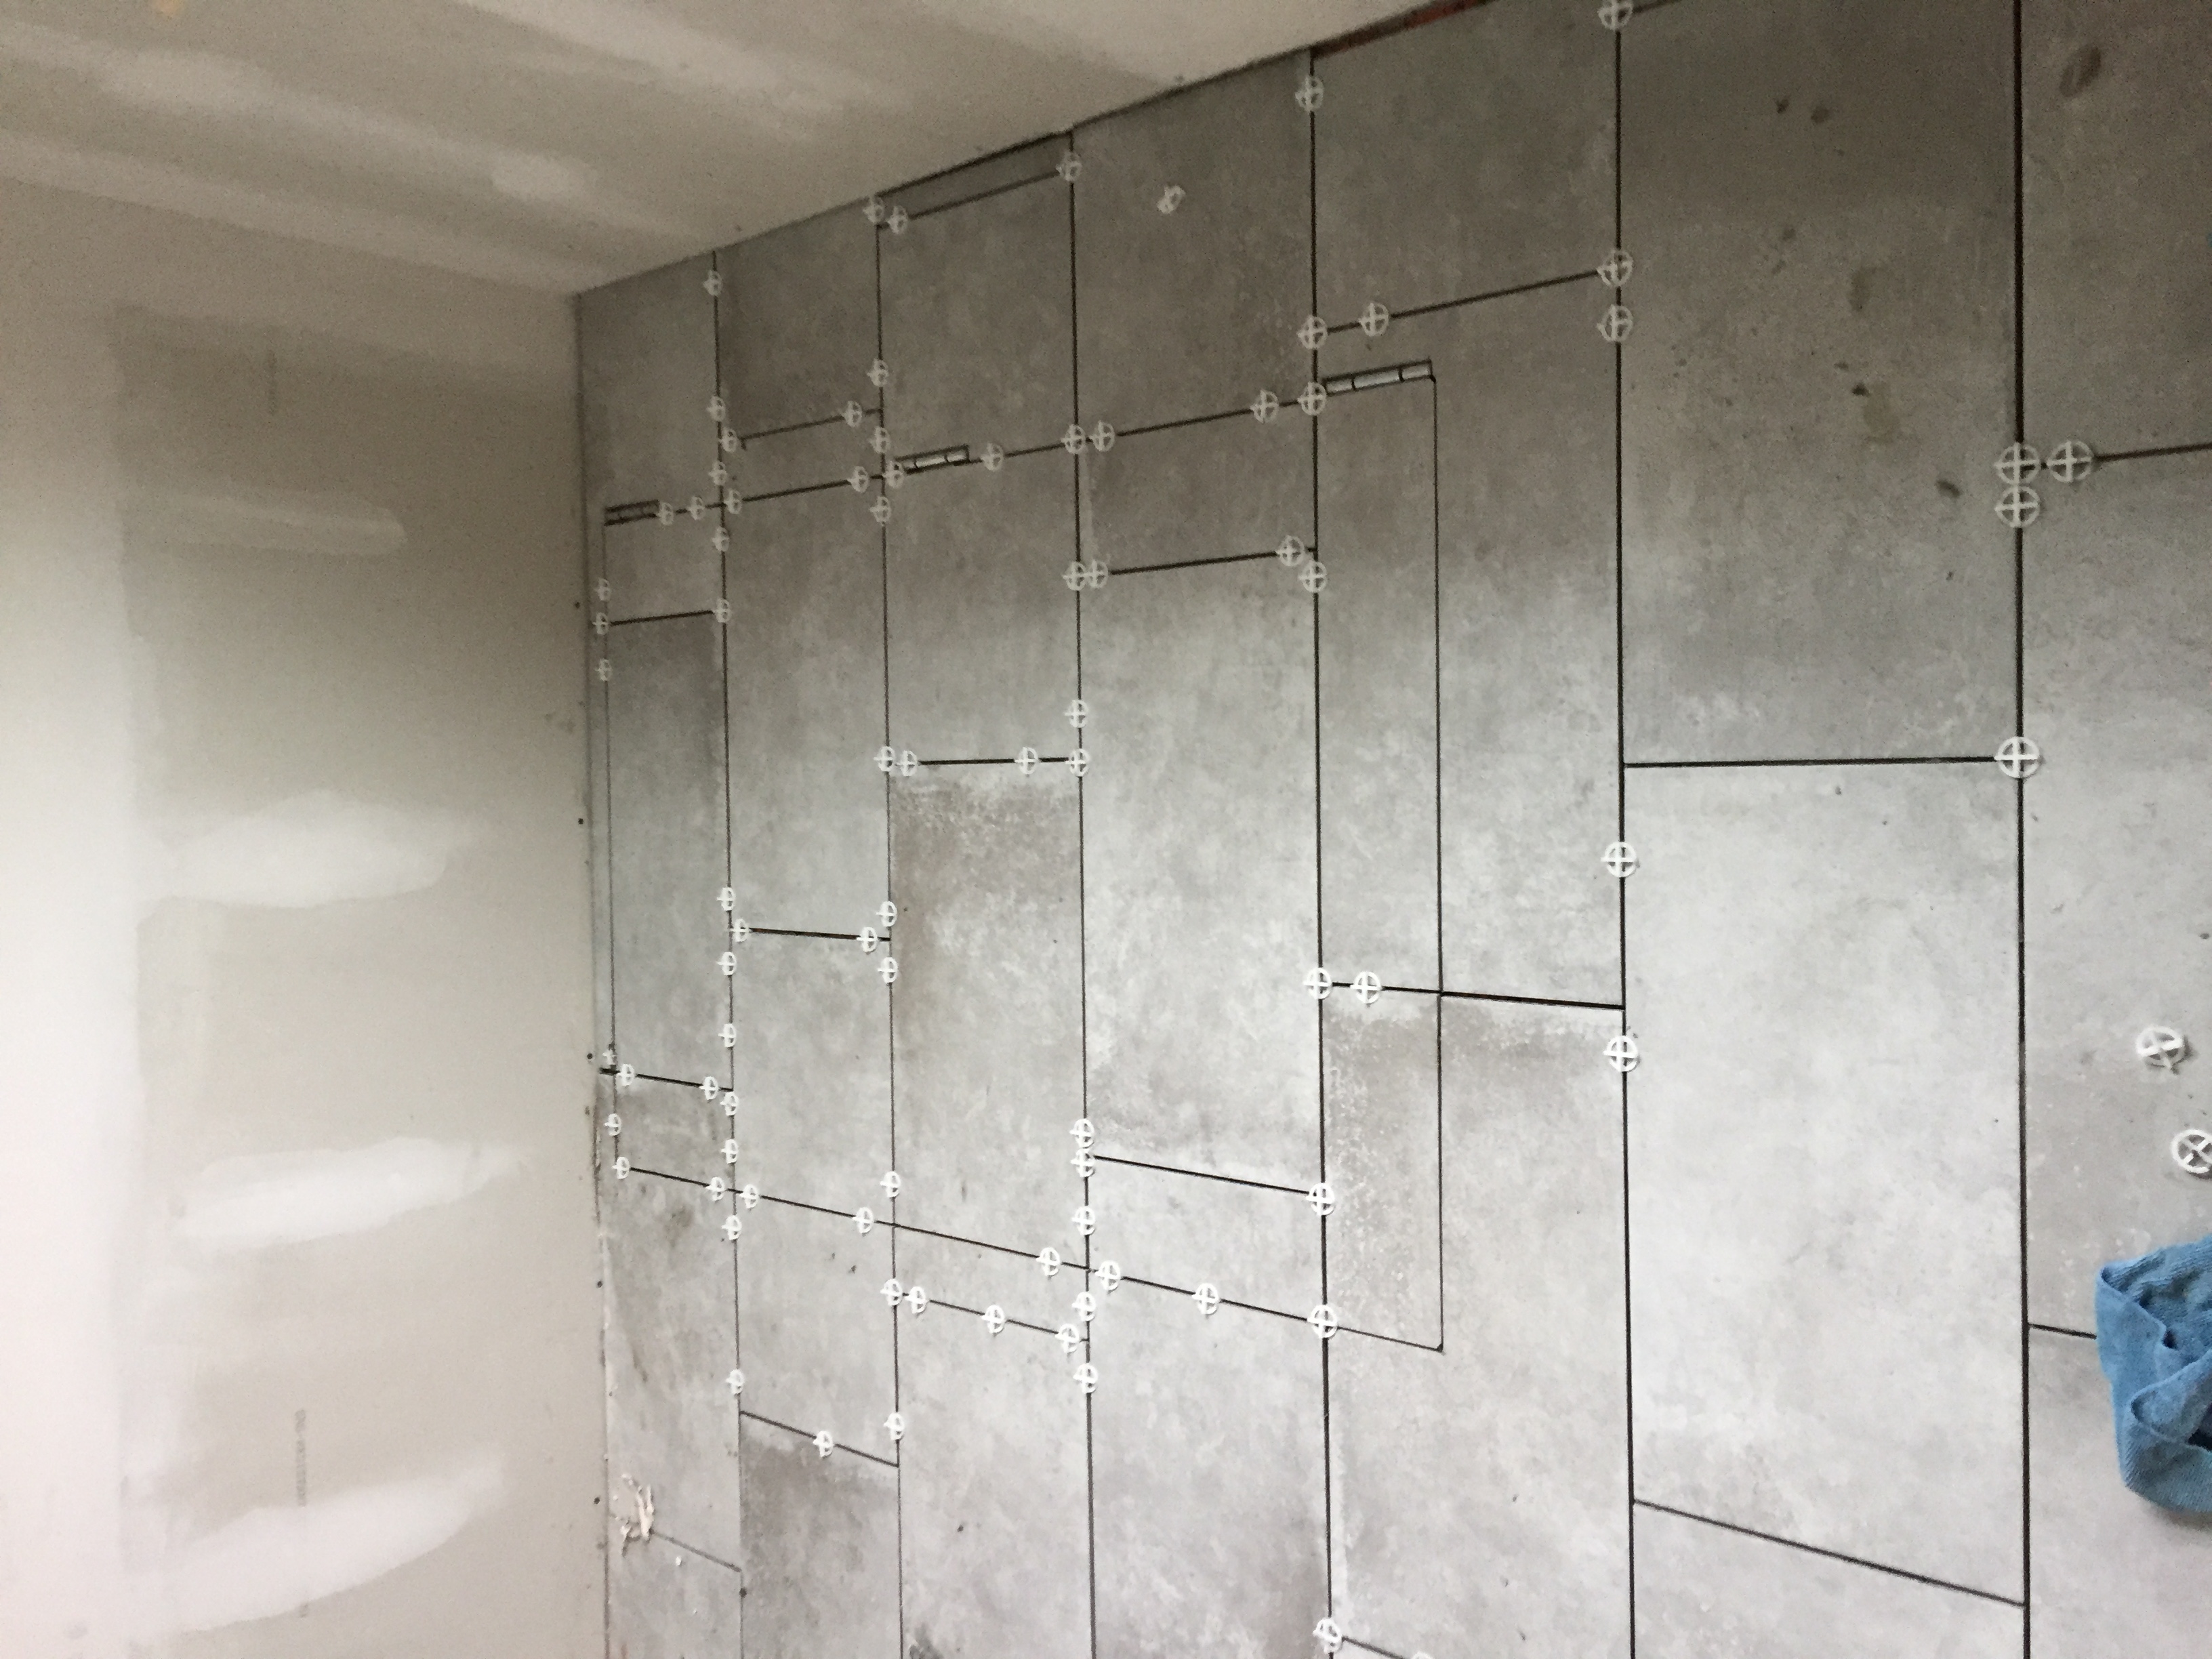
- Removed old tile (3 previous tiles actually) and added new tile
- Added new farm sink [Kohler] & faucet [Delta]
- Exposed brick above stove and added shelf
- Added backsplash
- Hung vent hood above stove into old chimney exhaust
- Painted the door to the laundry & put it on a slider
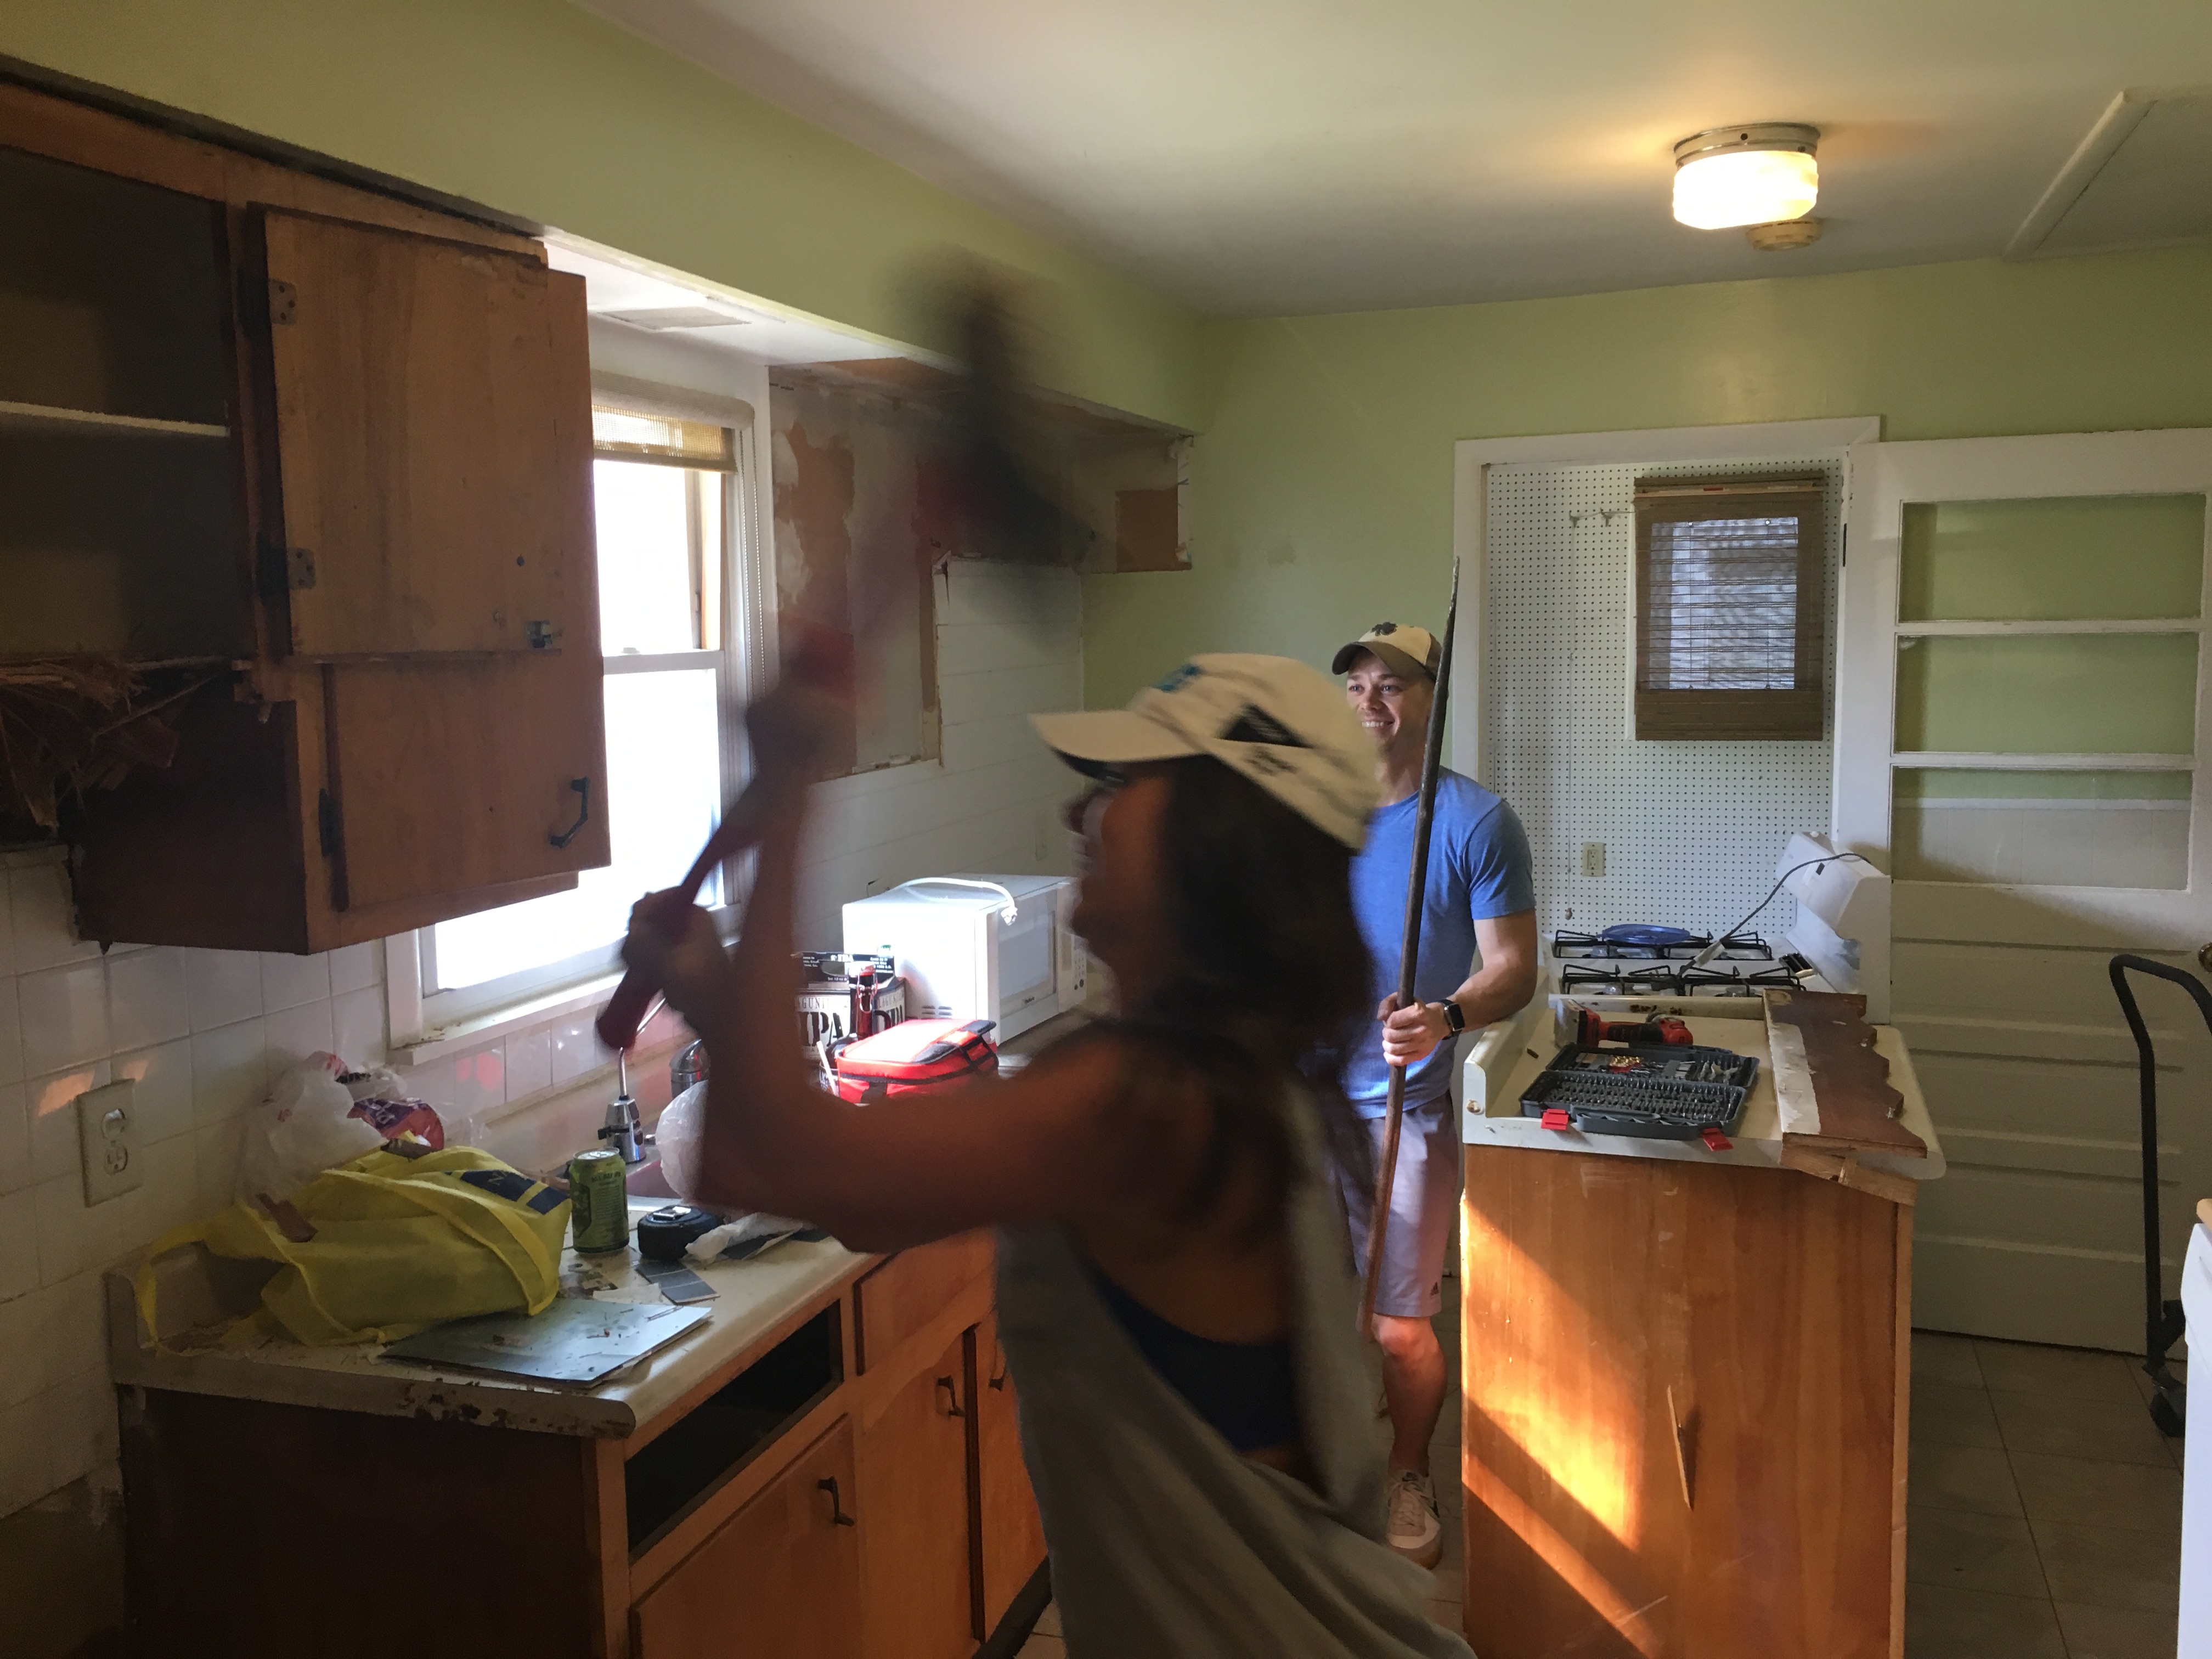
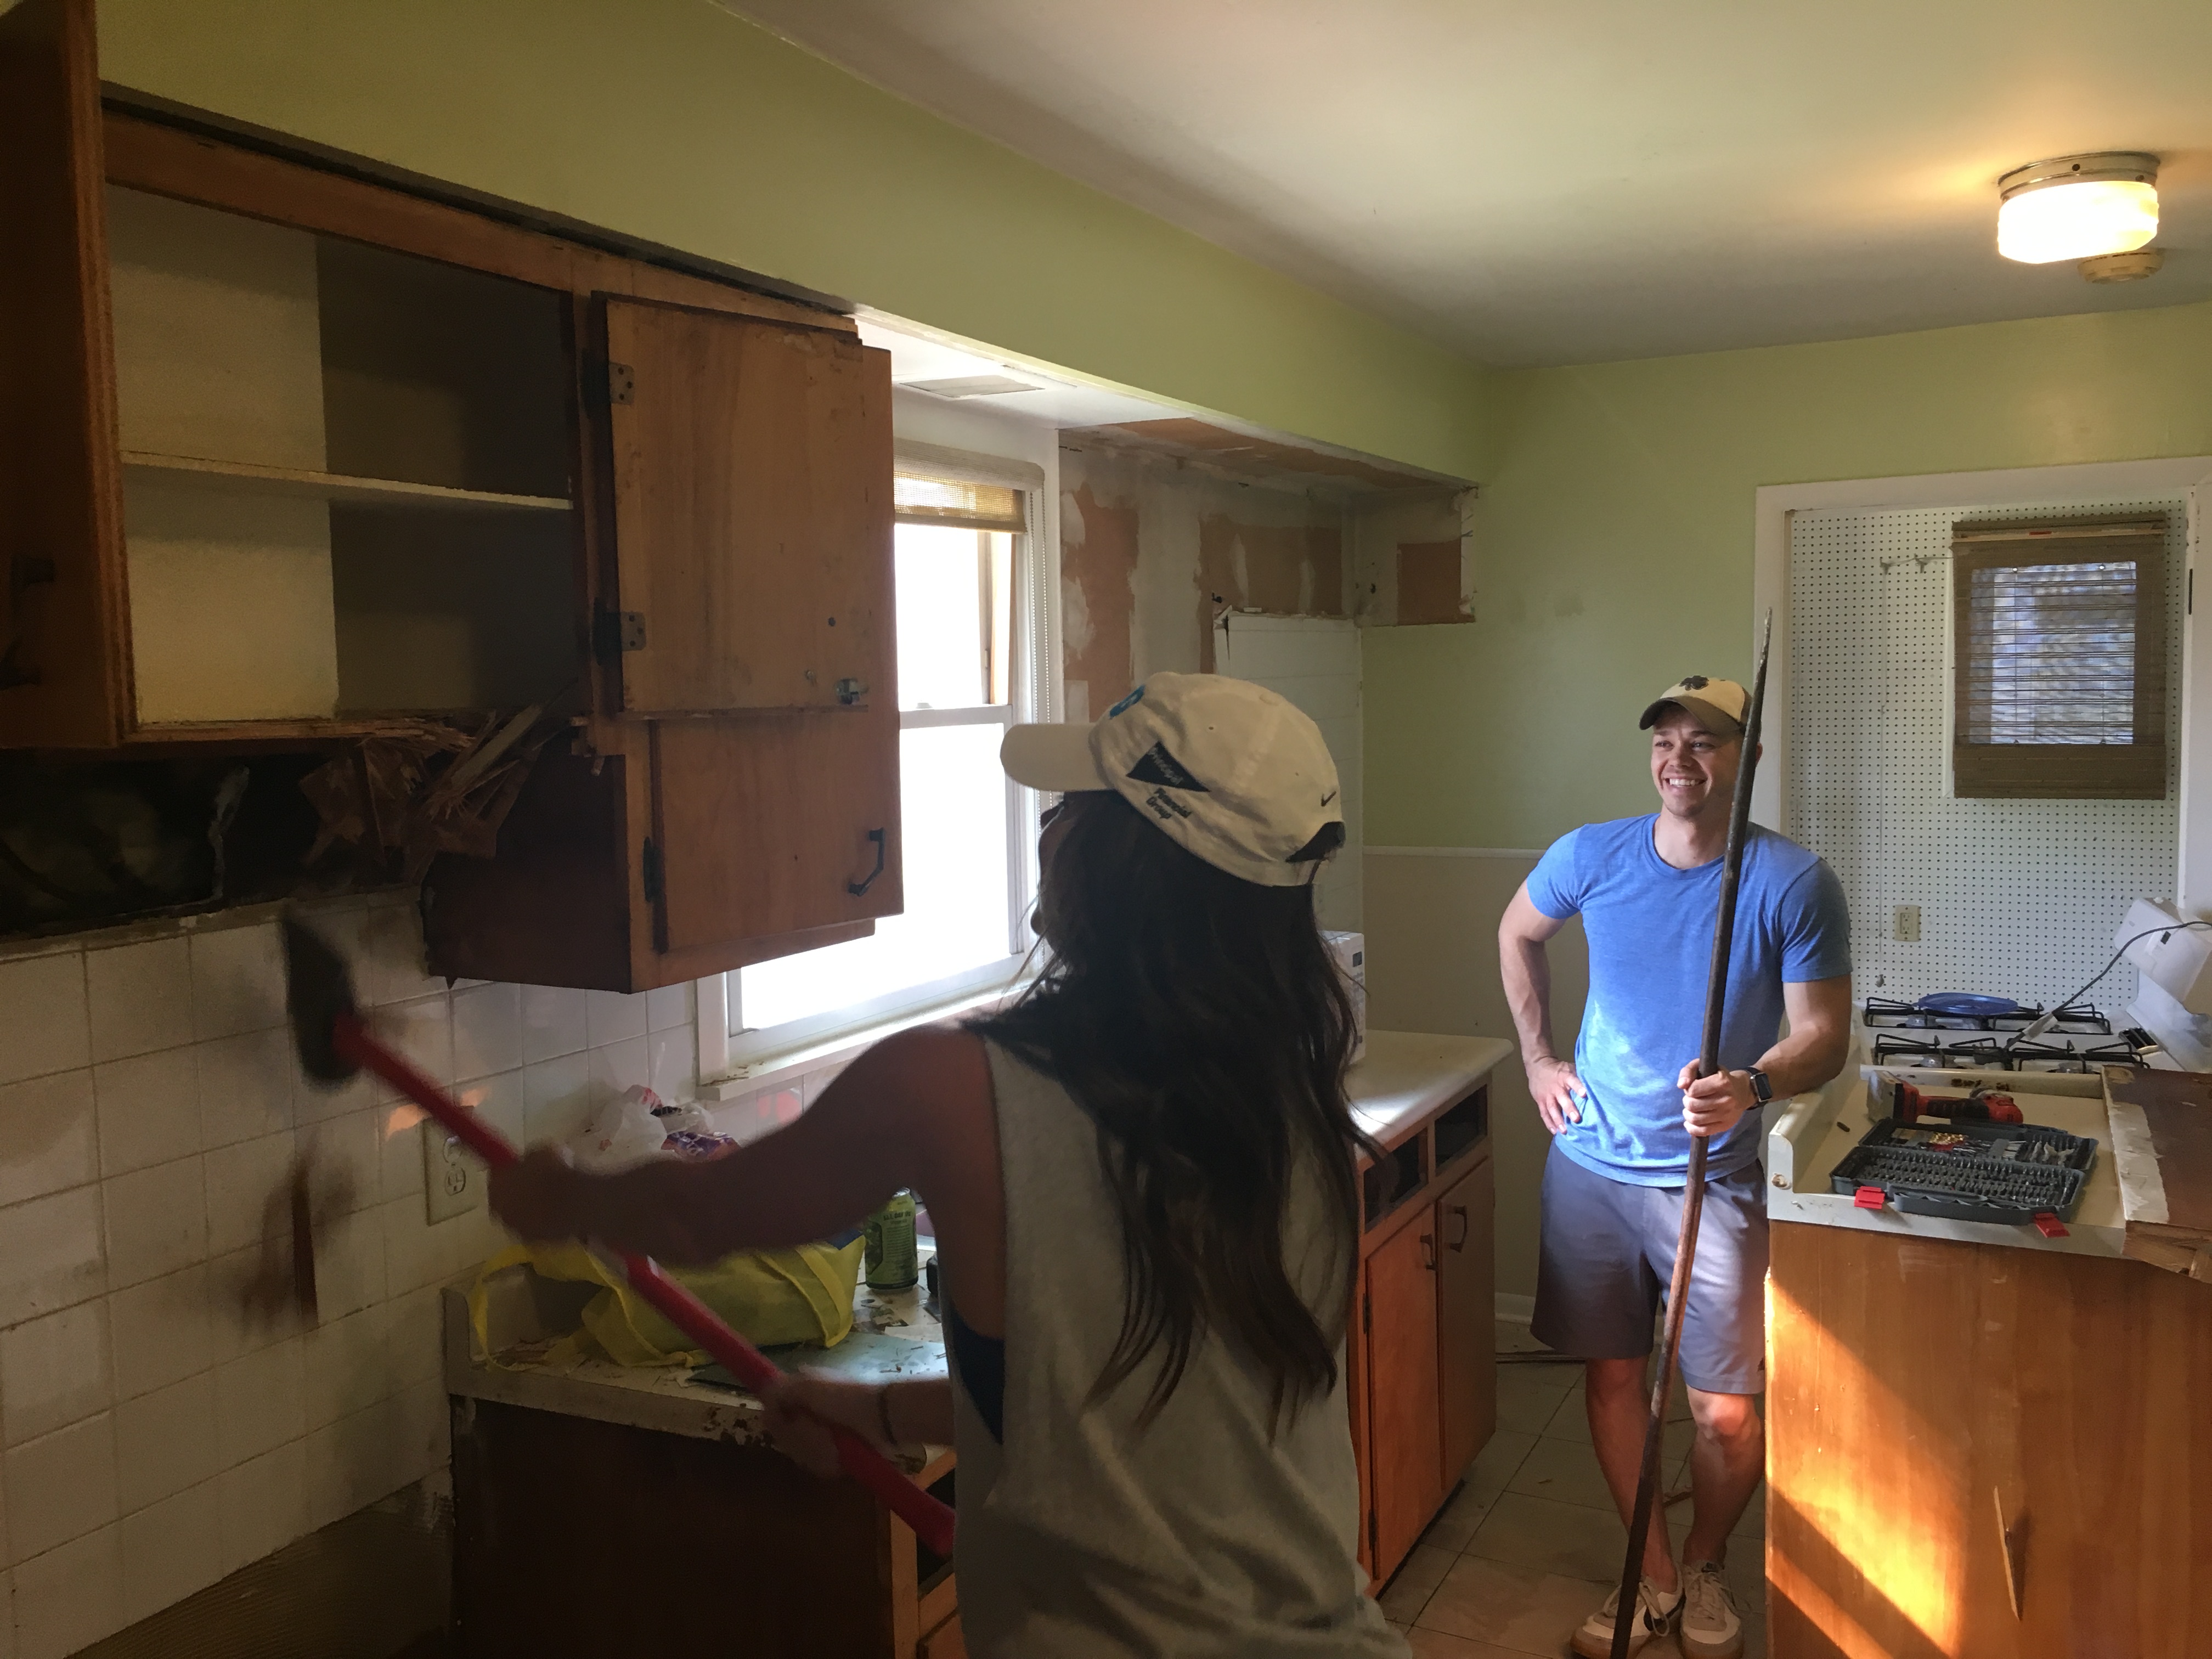
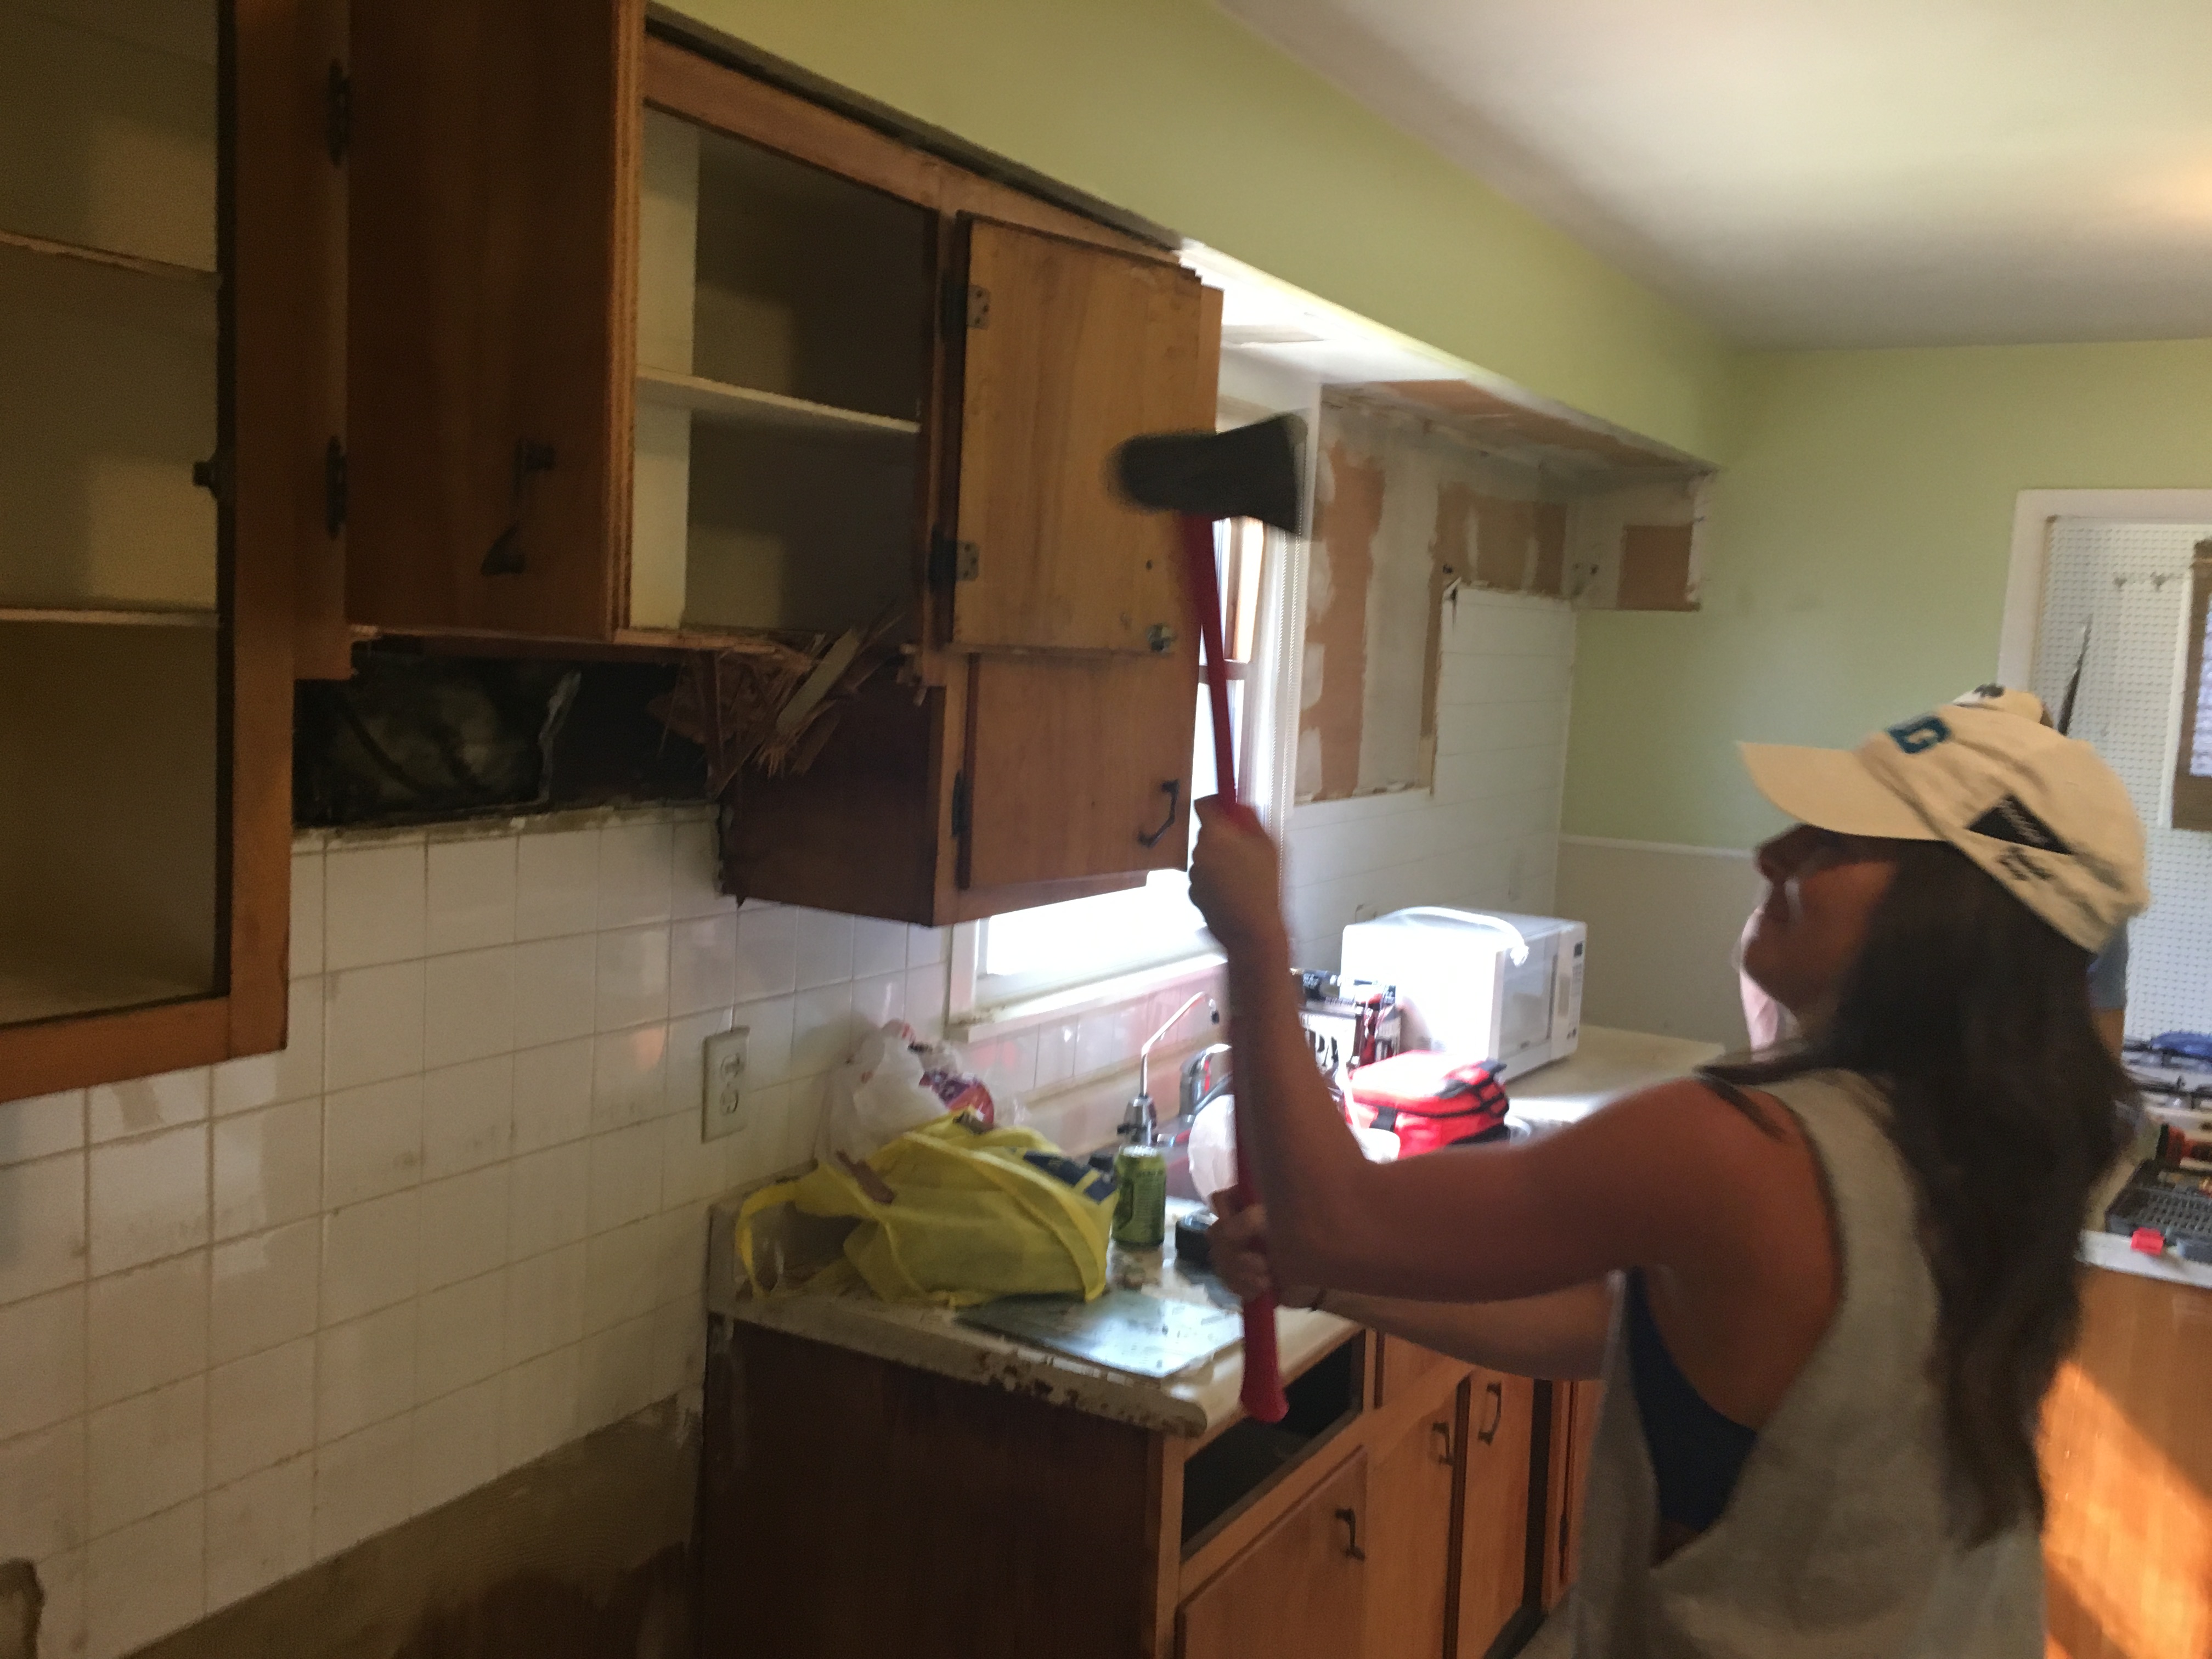
THE PROCESS:
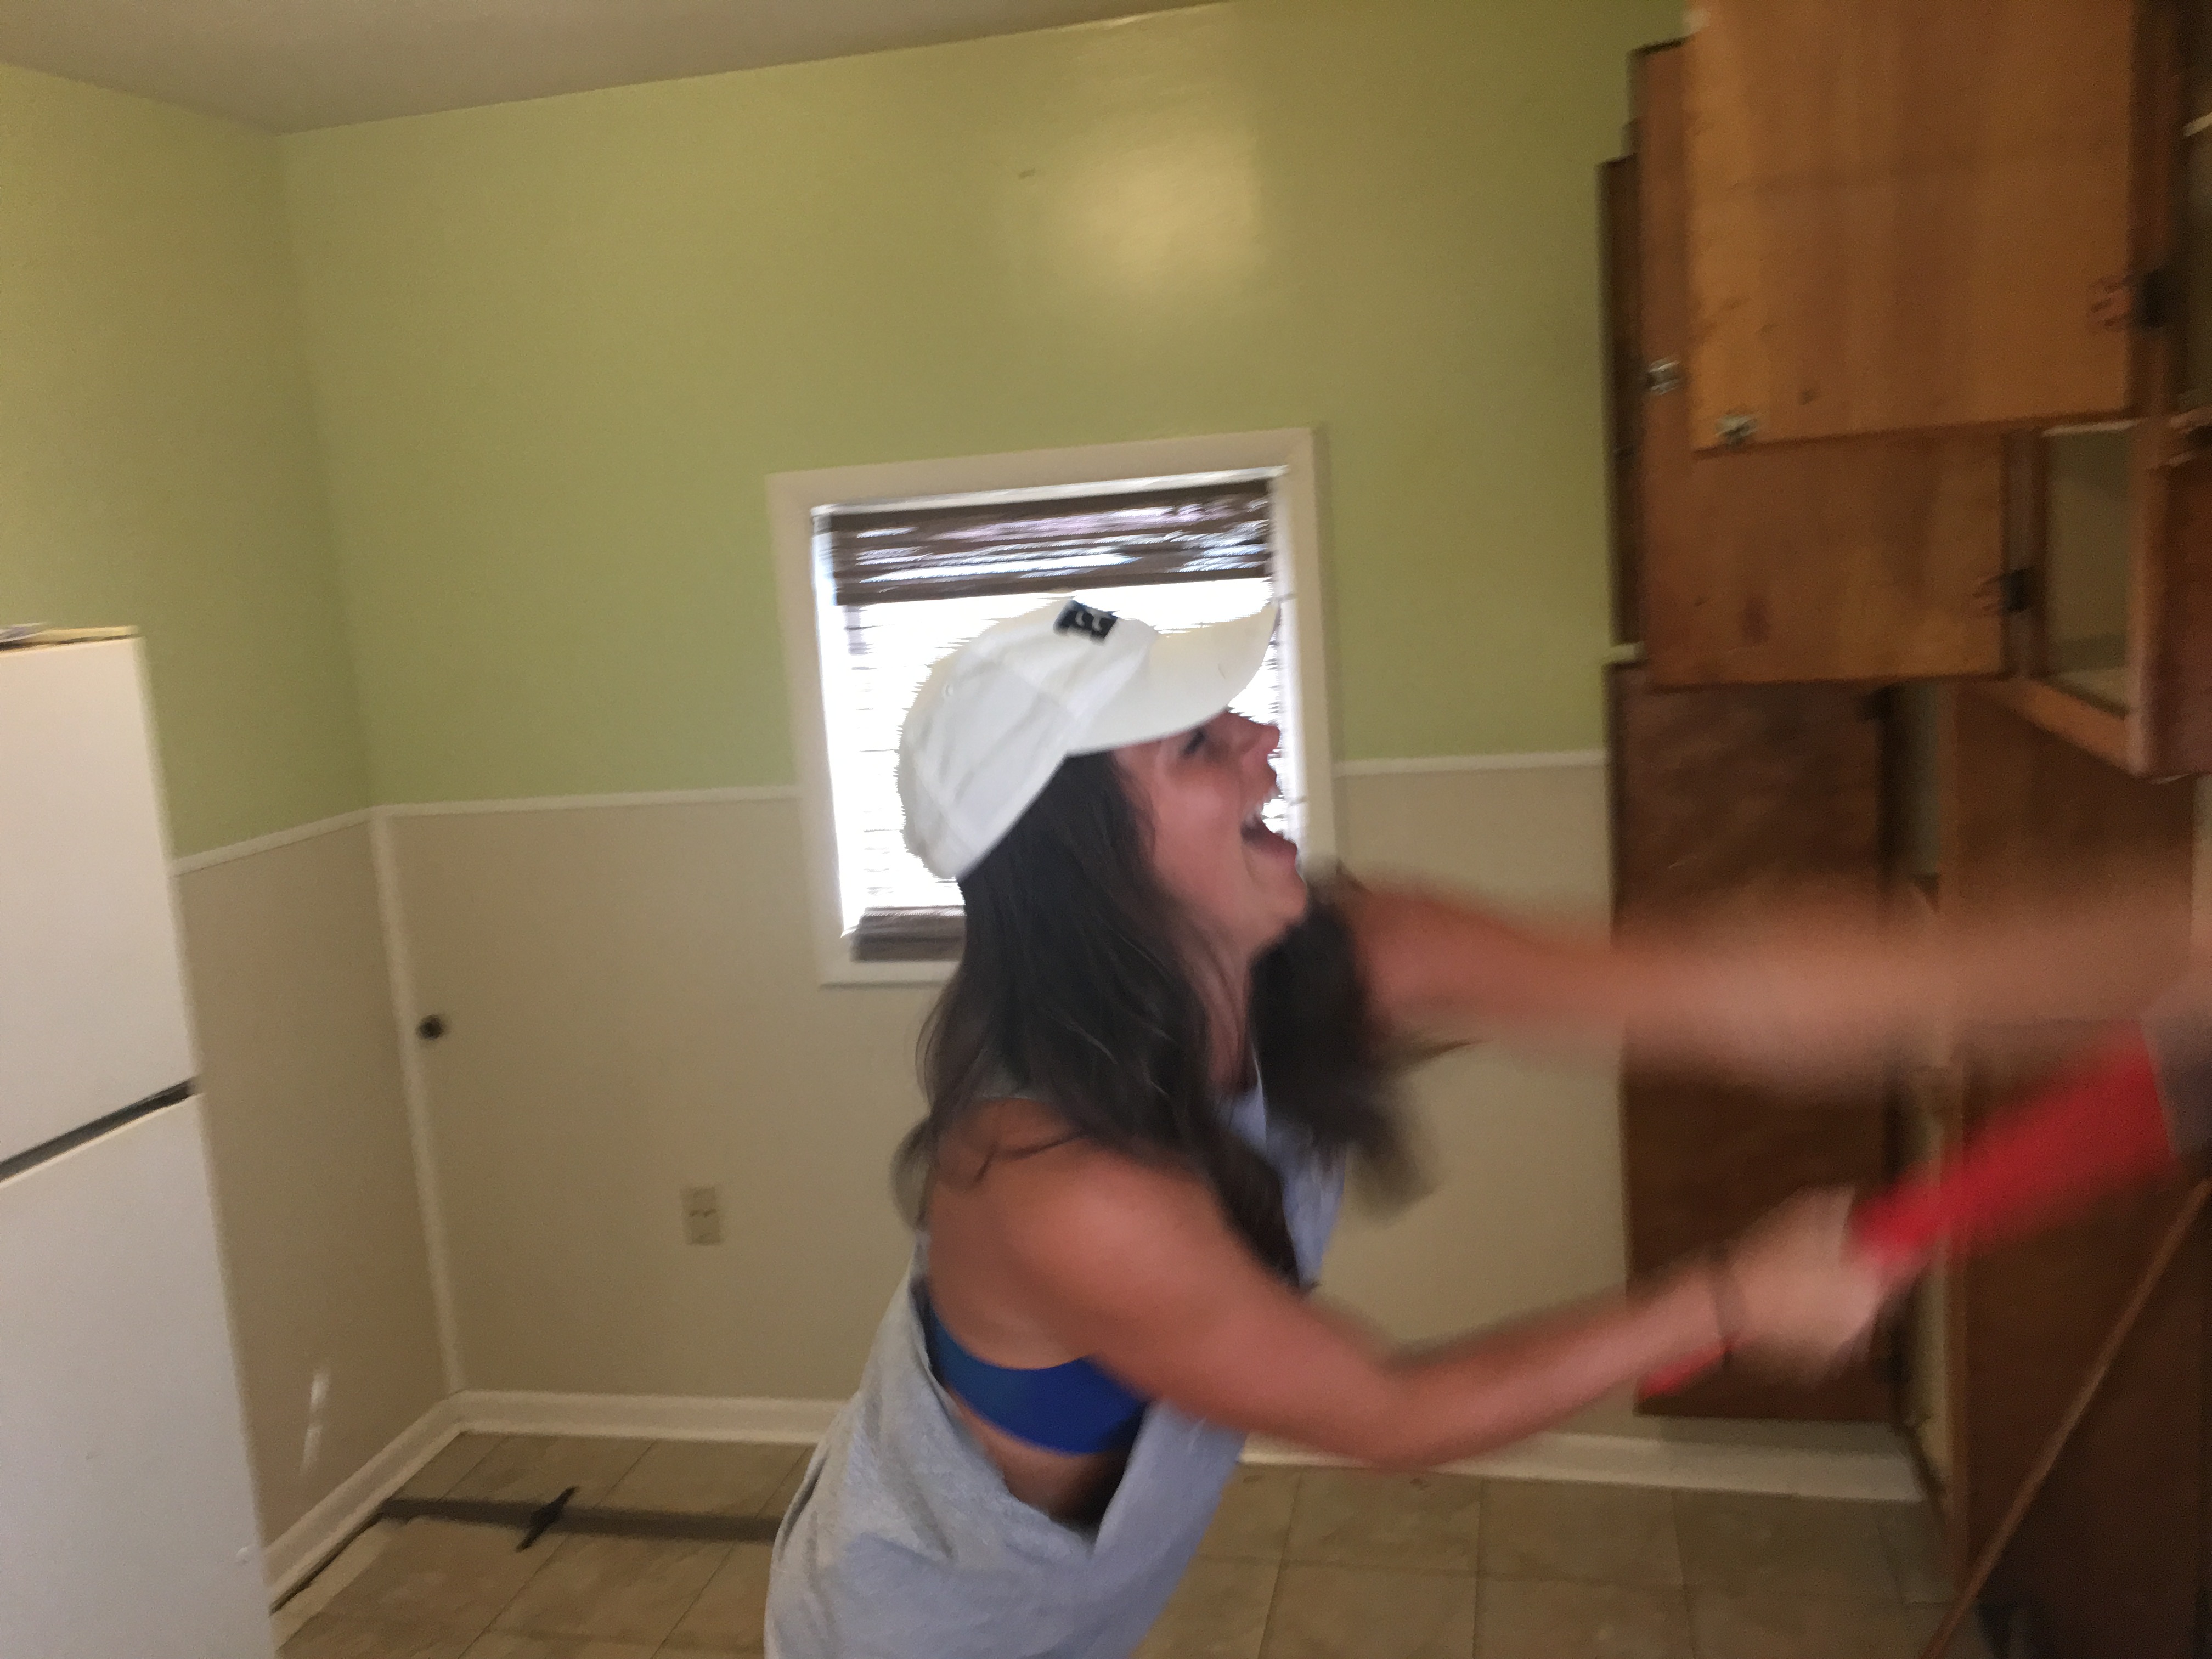
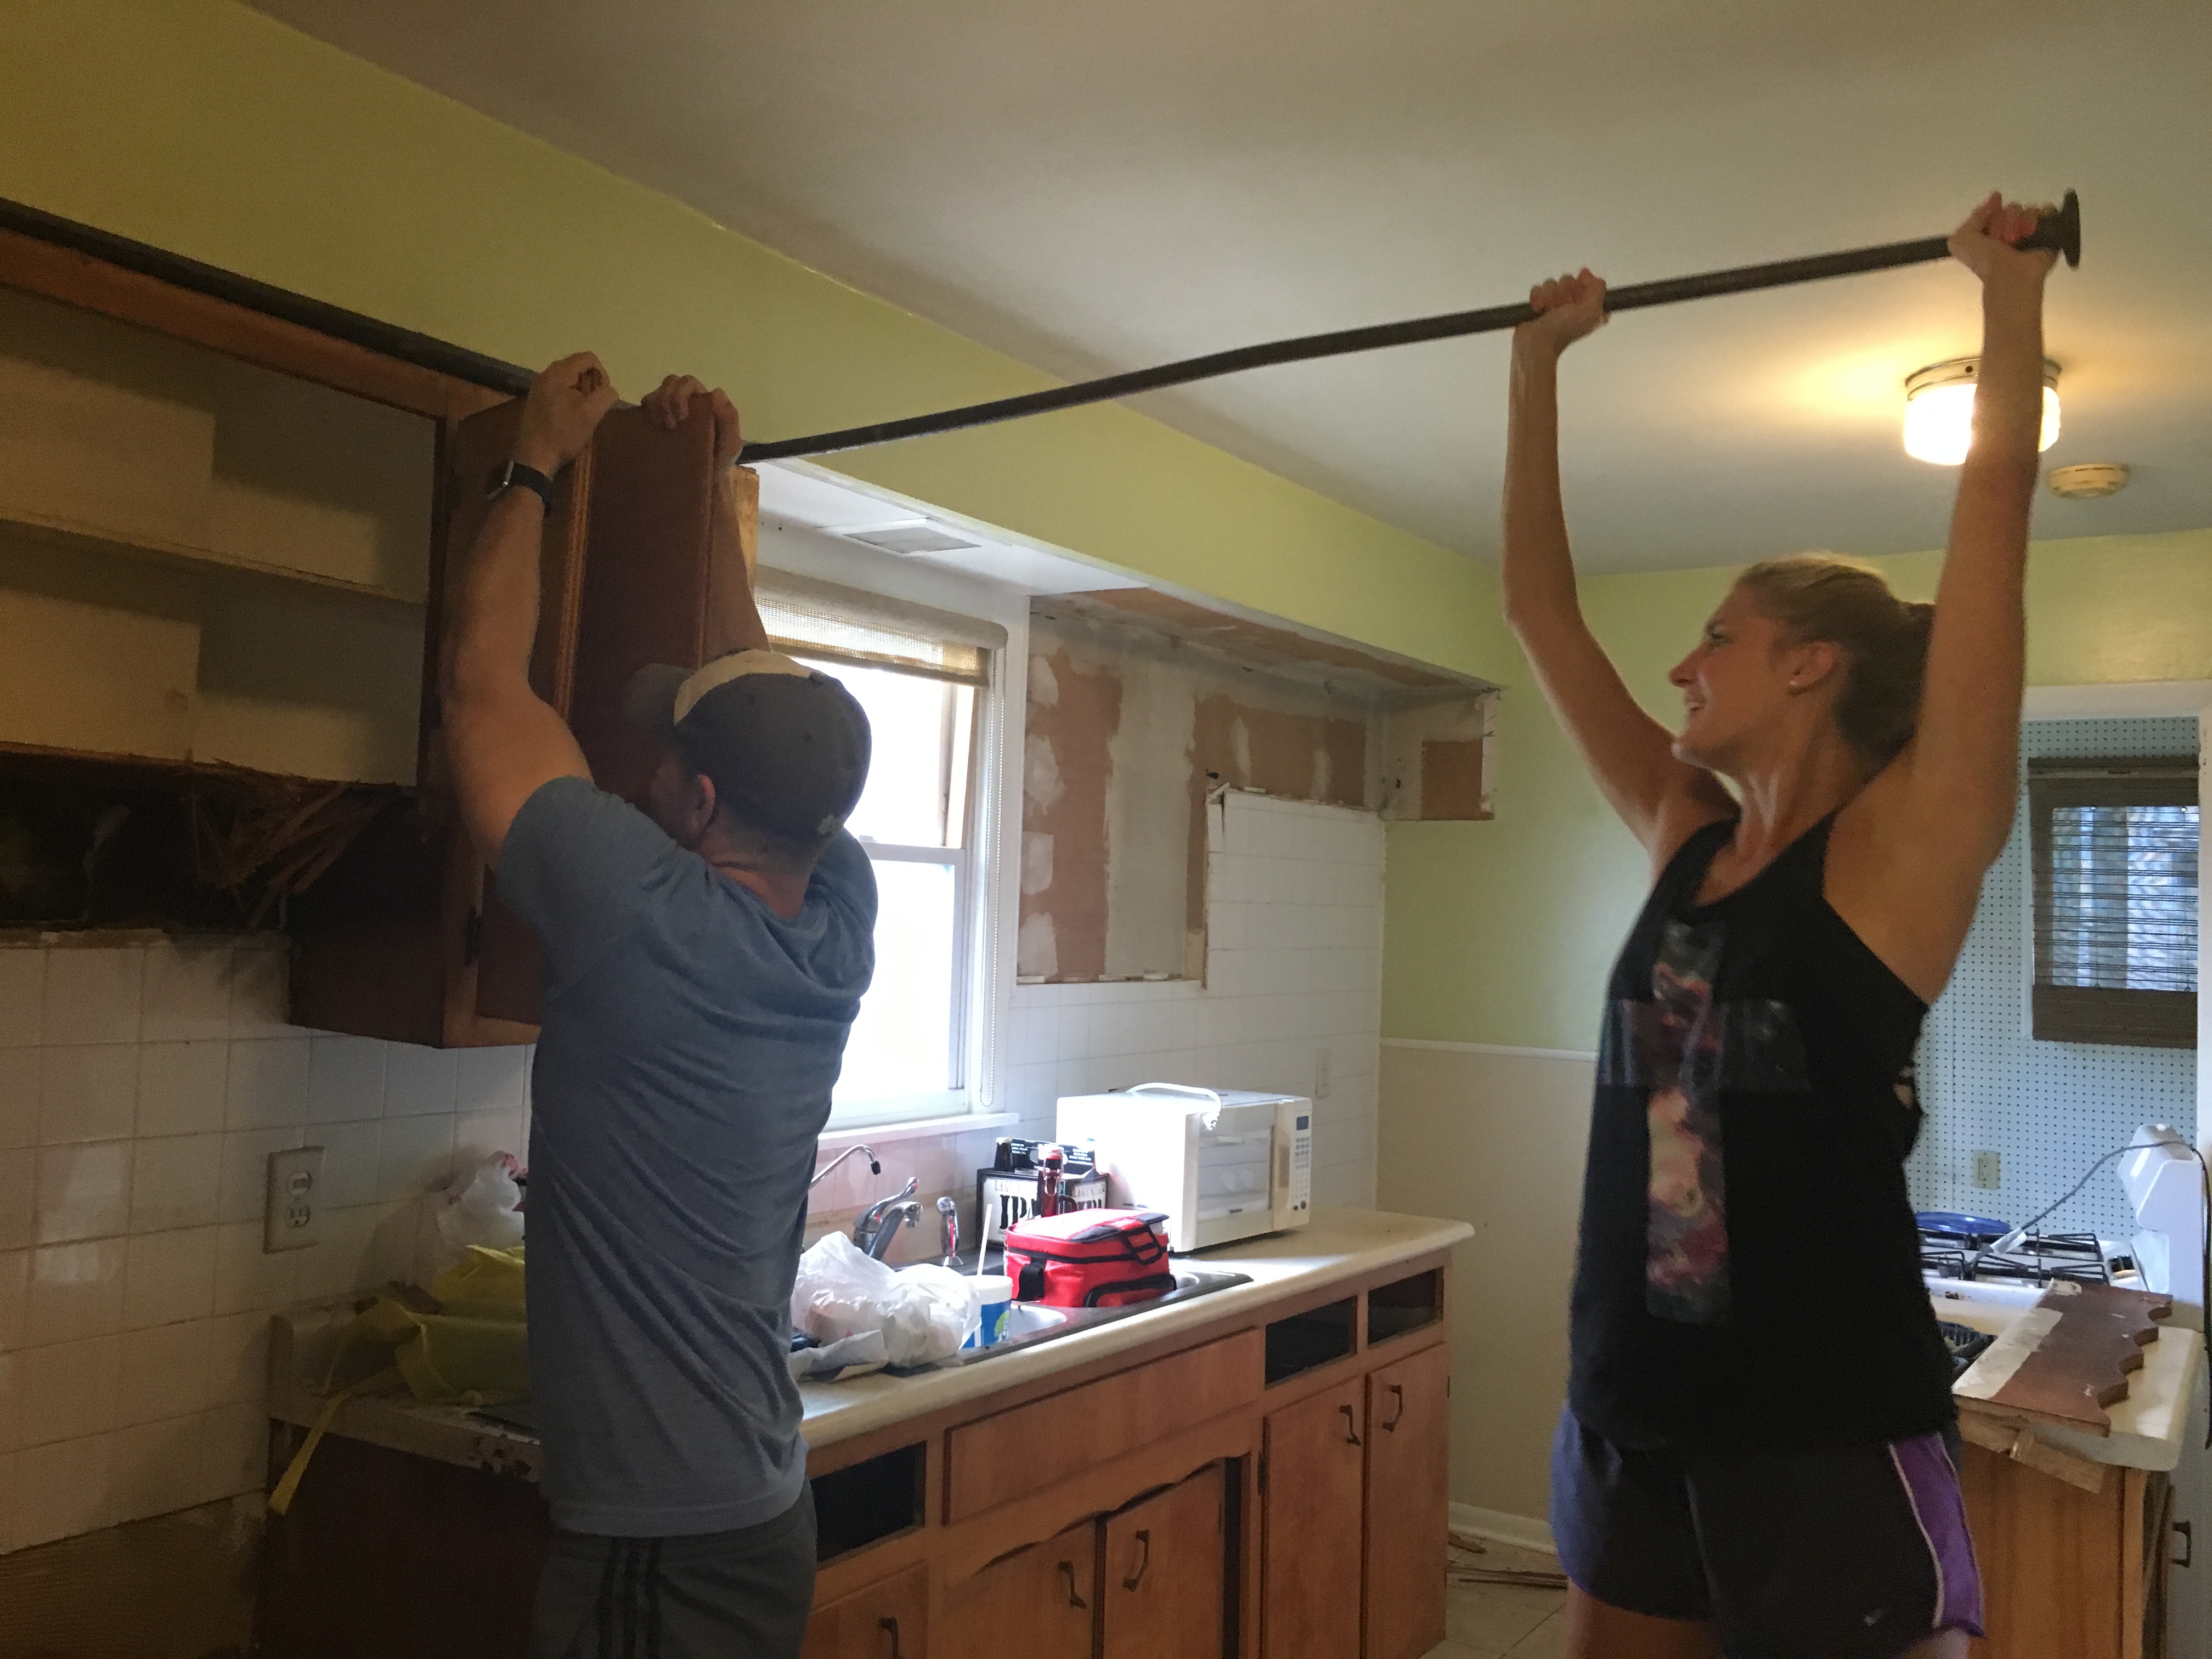
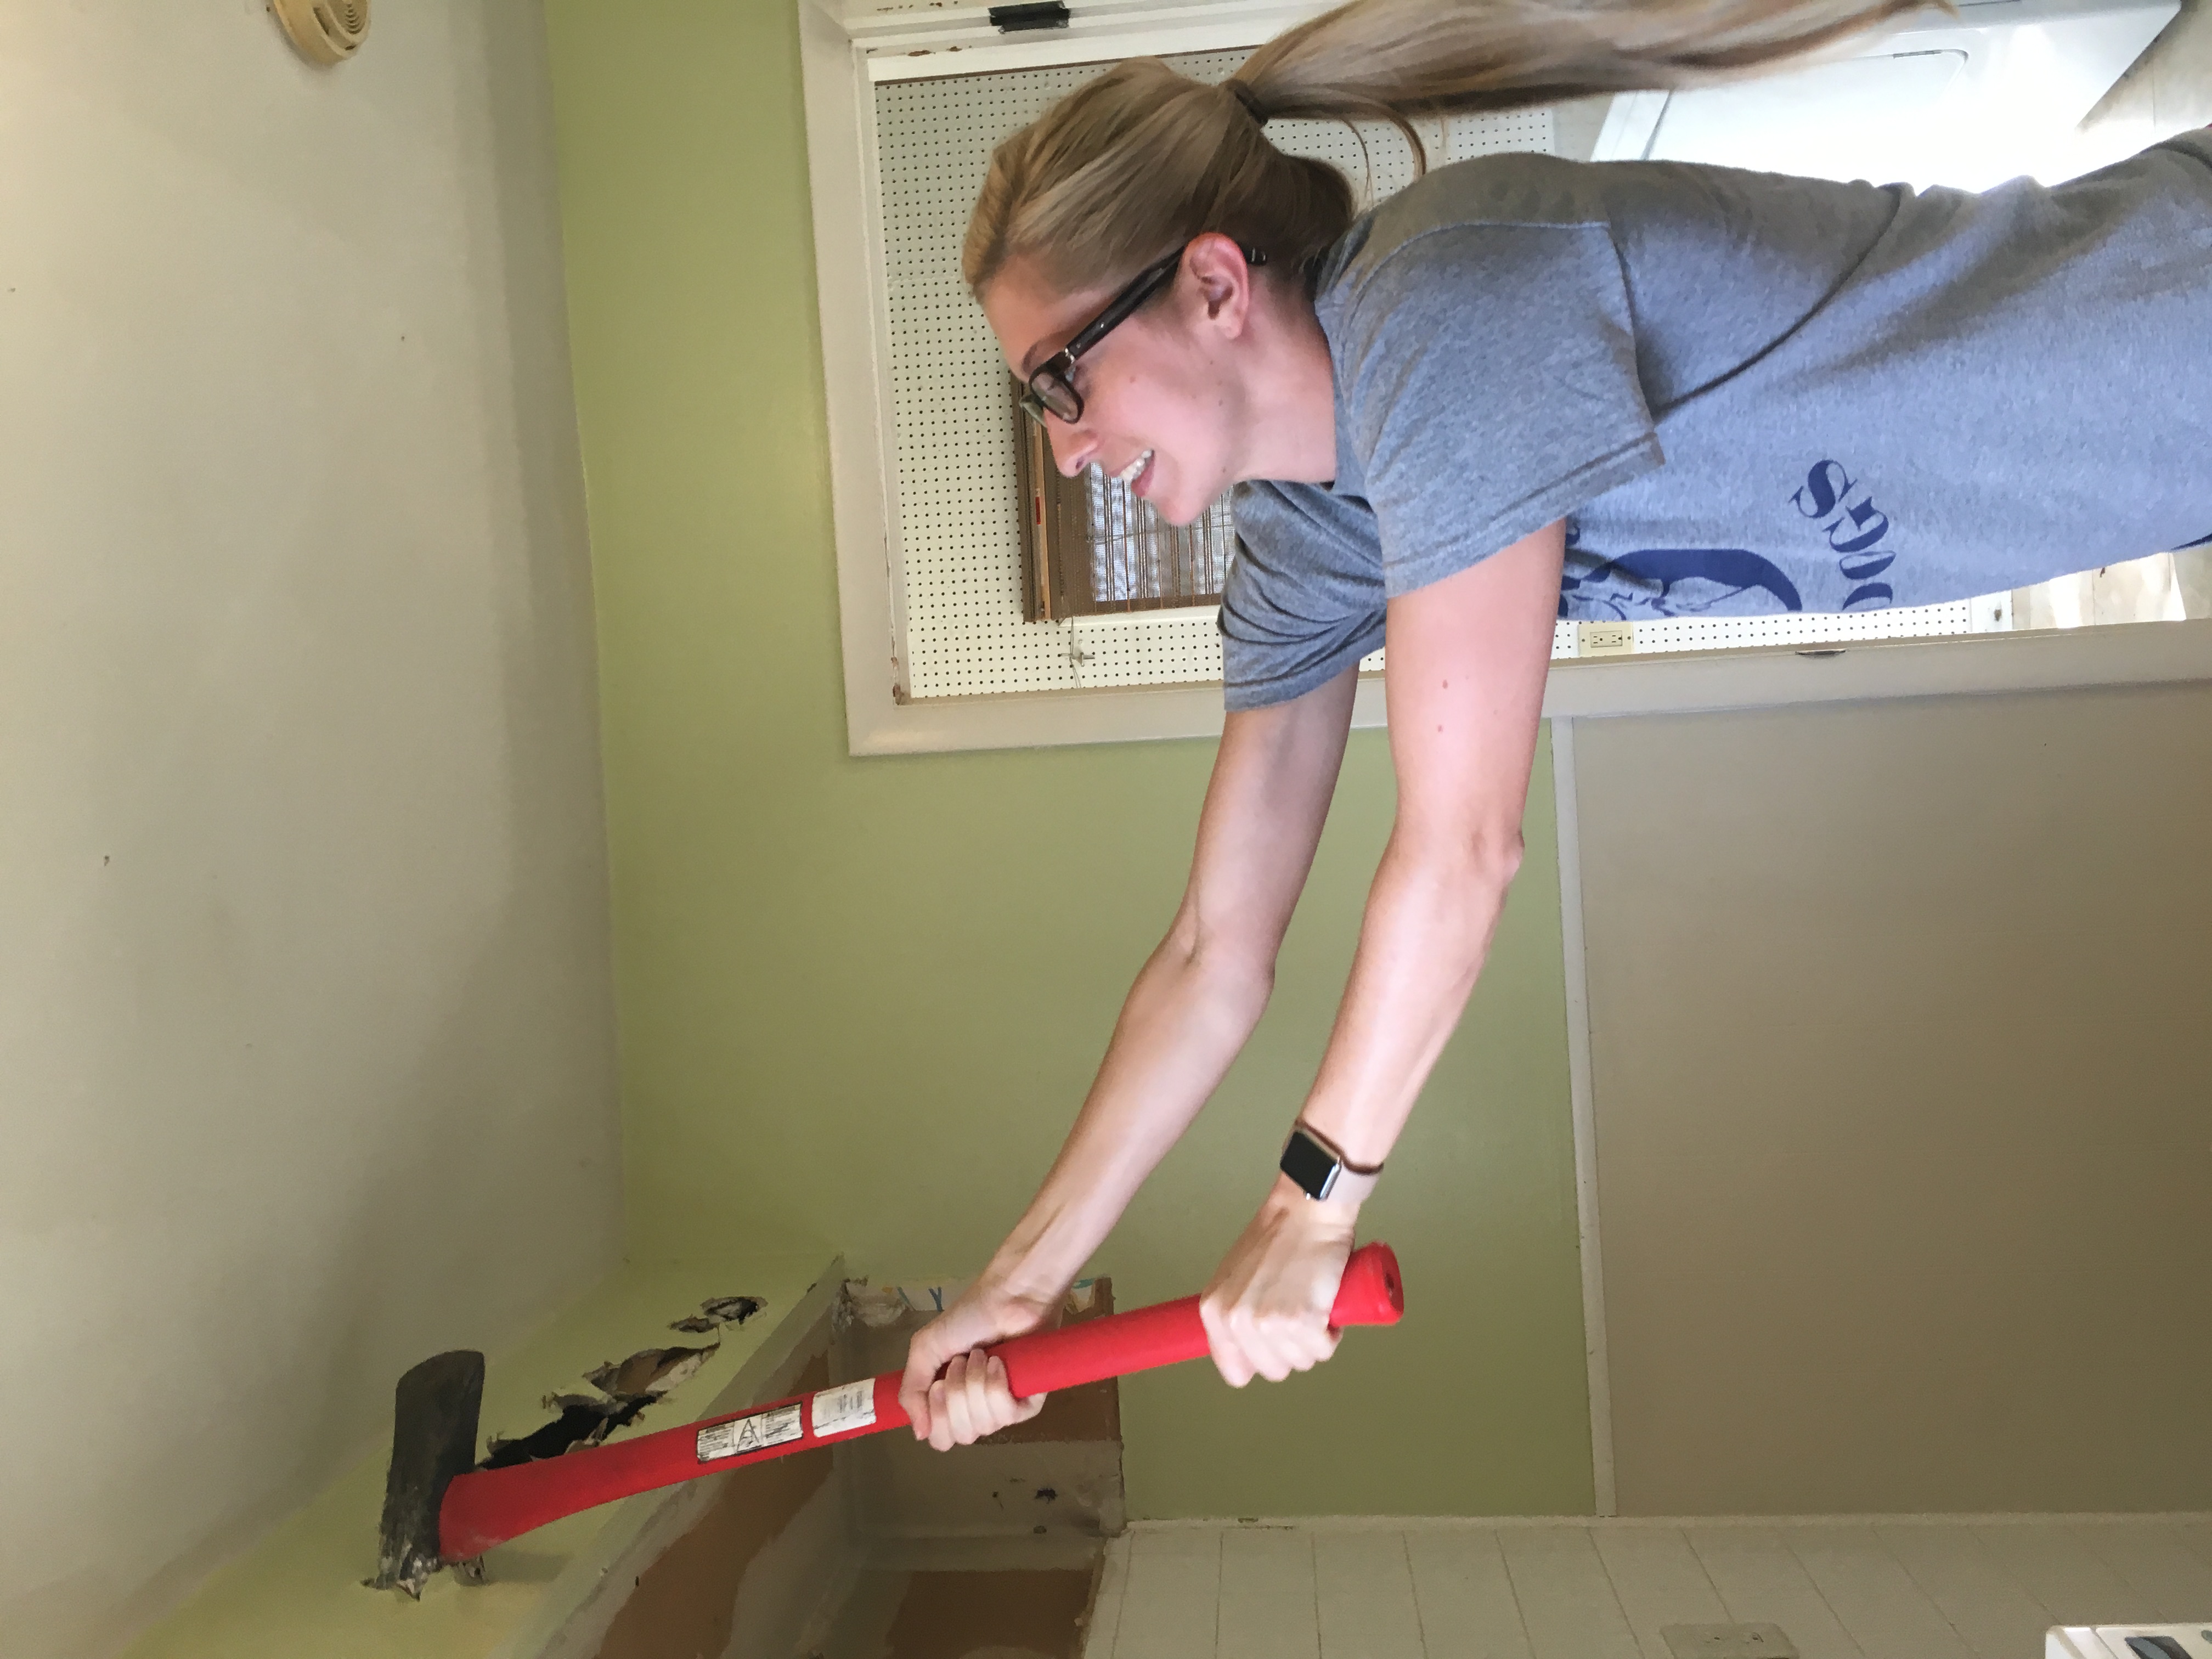
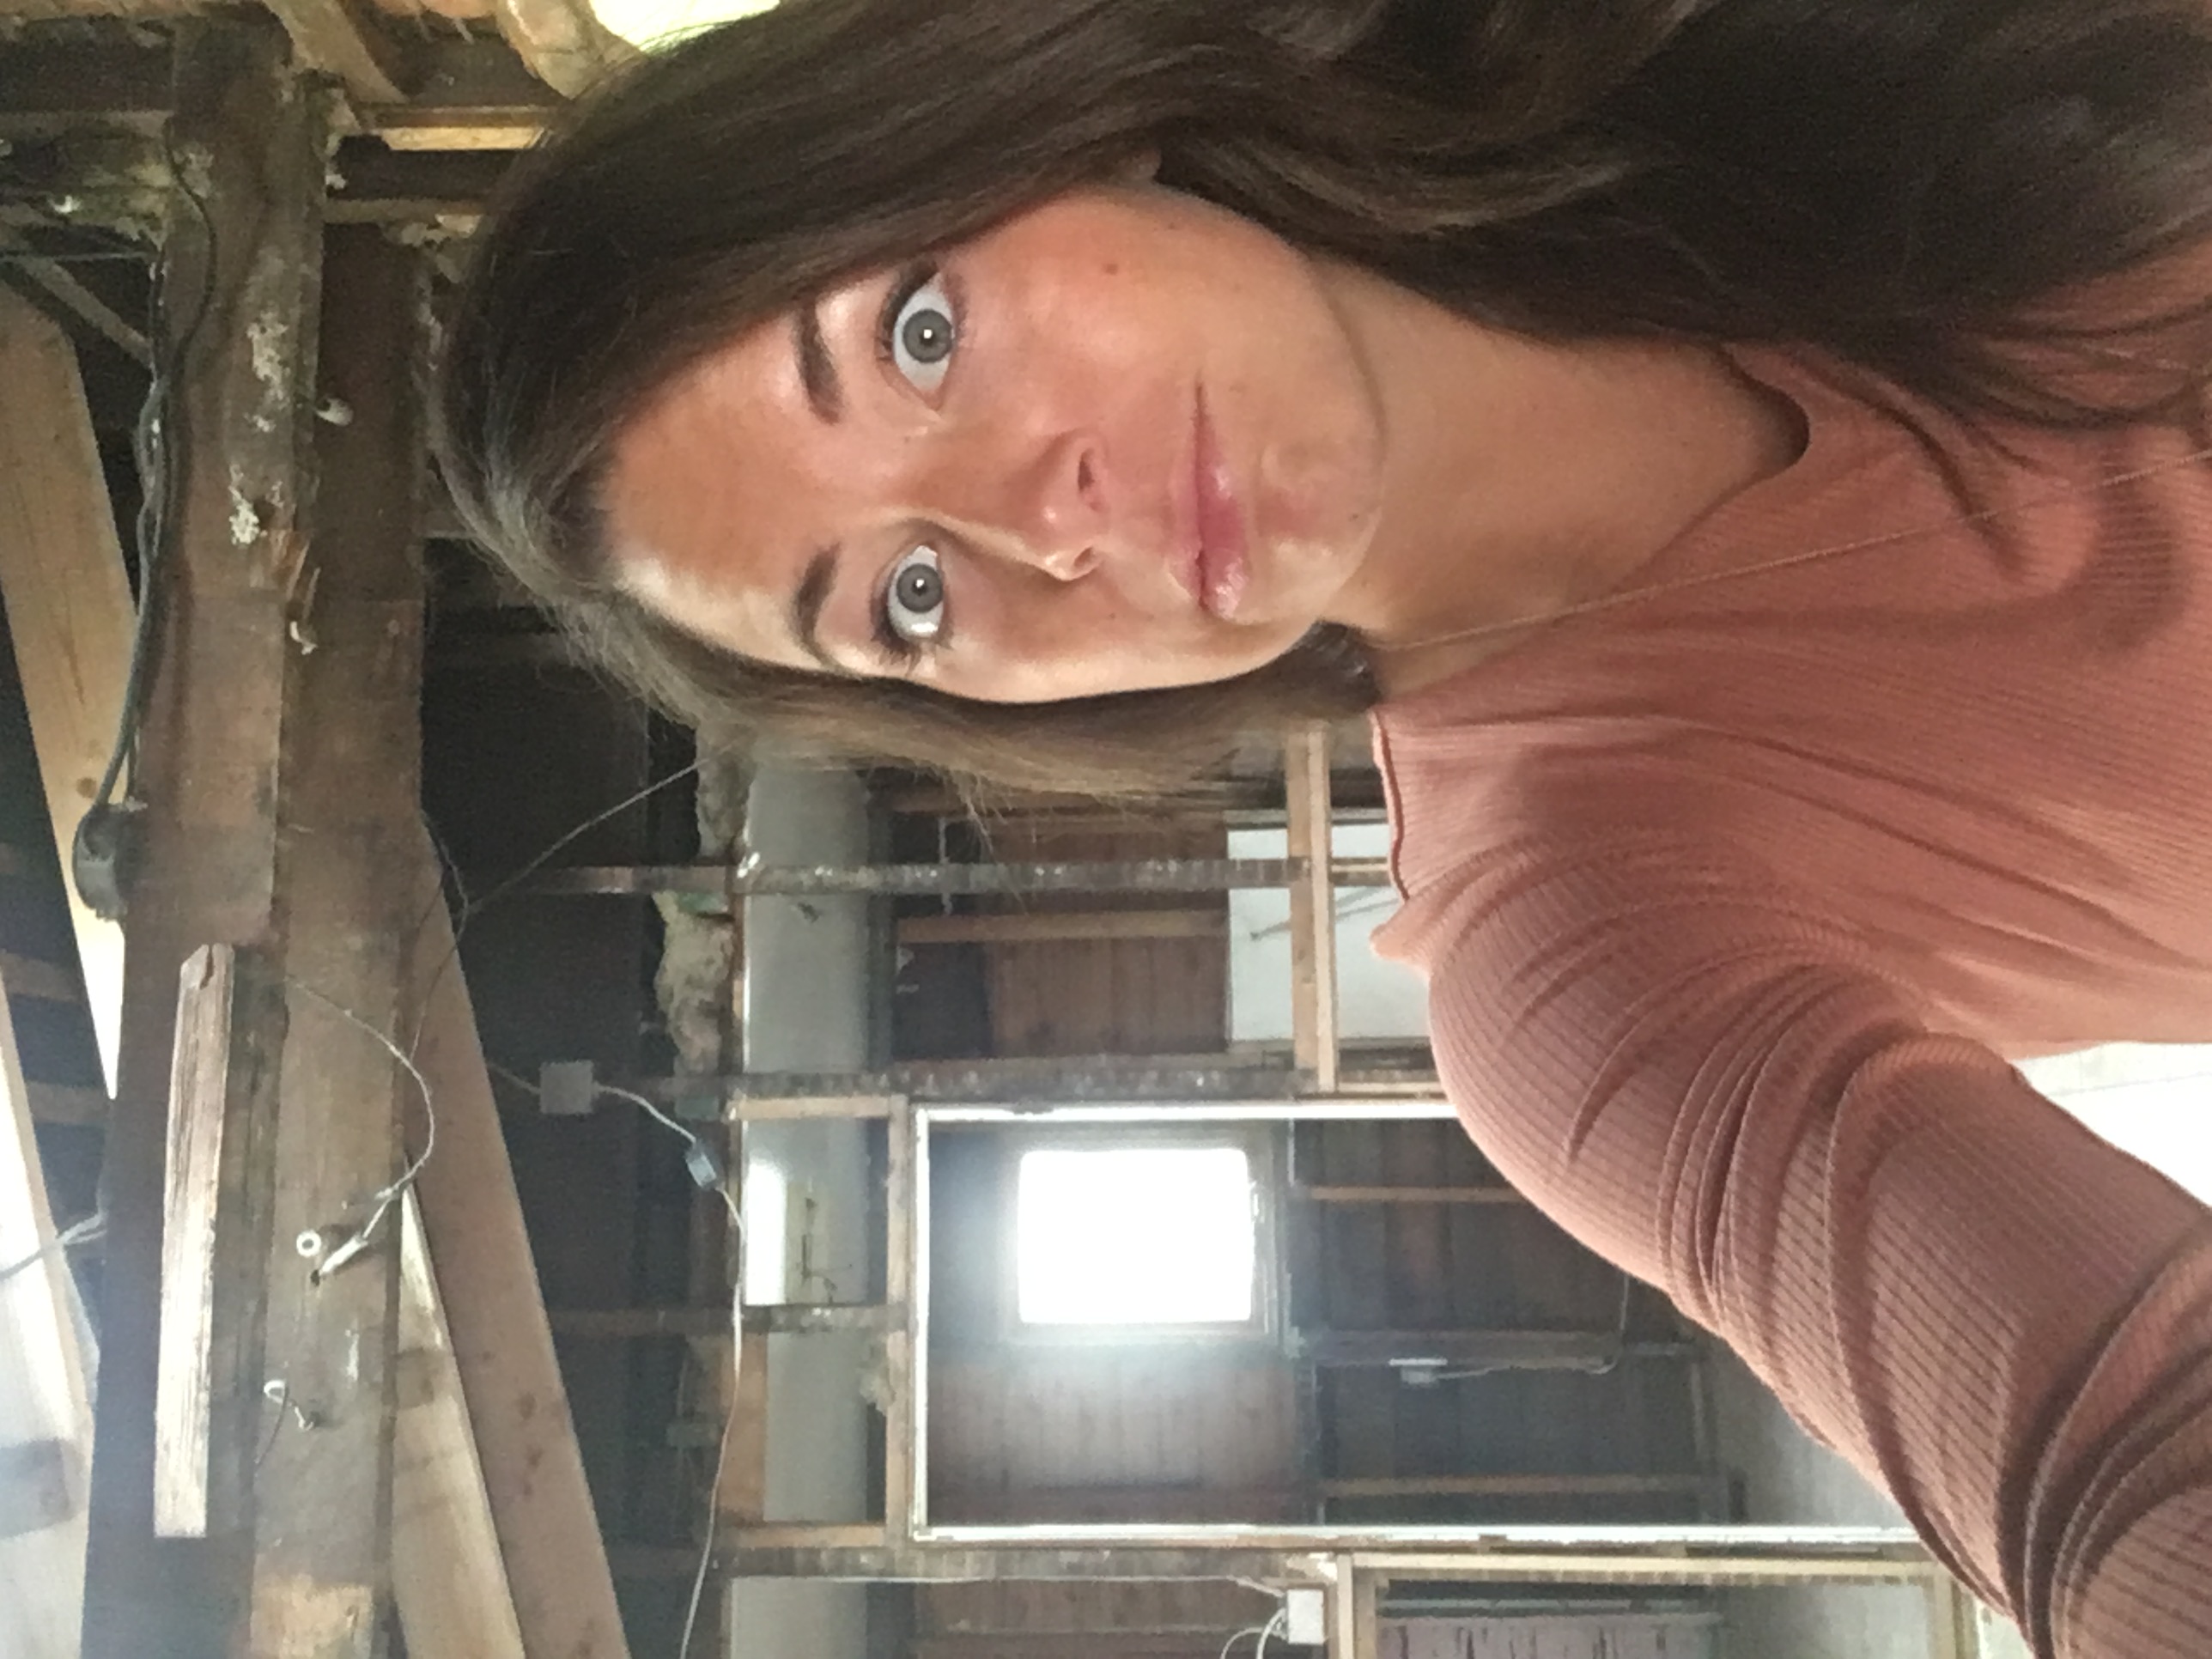
Finally got to experience my own Demo Day!
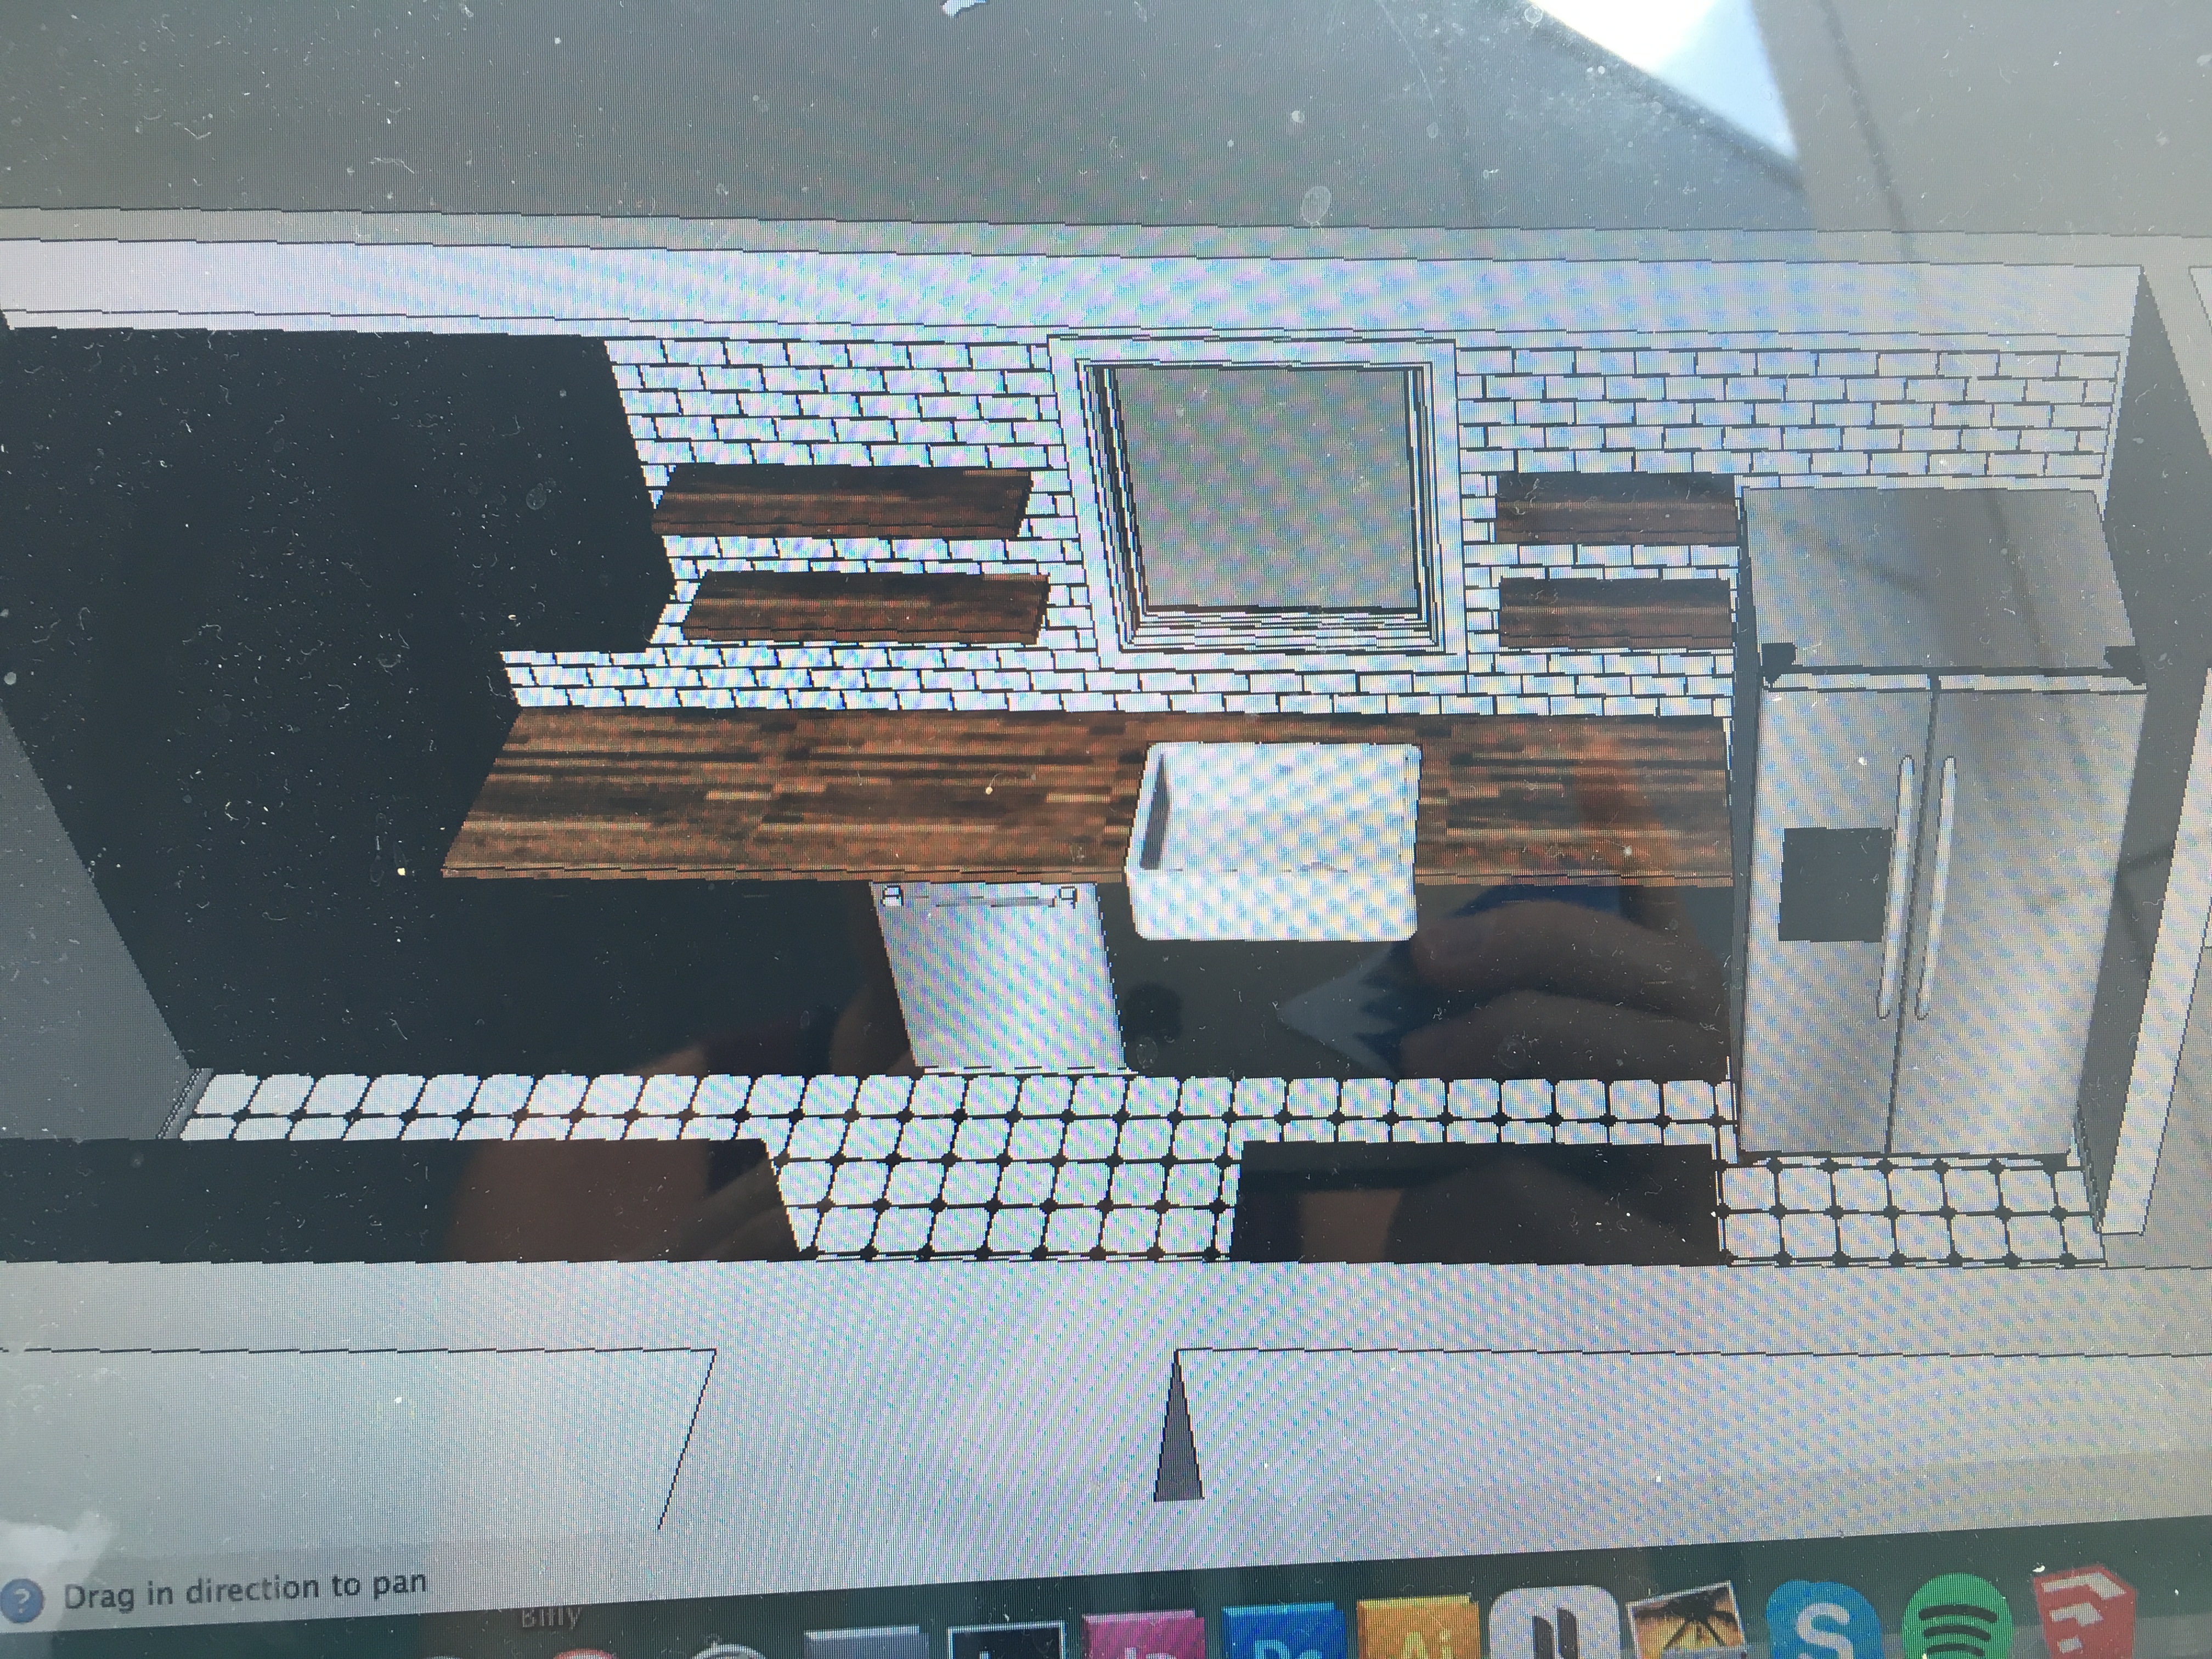
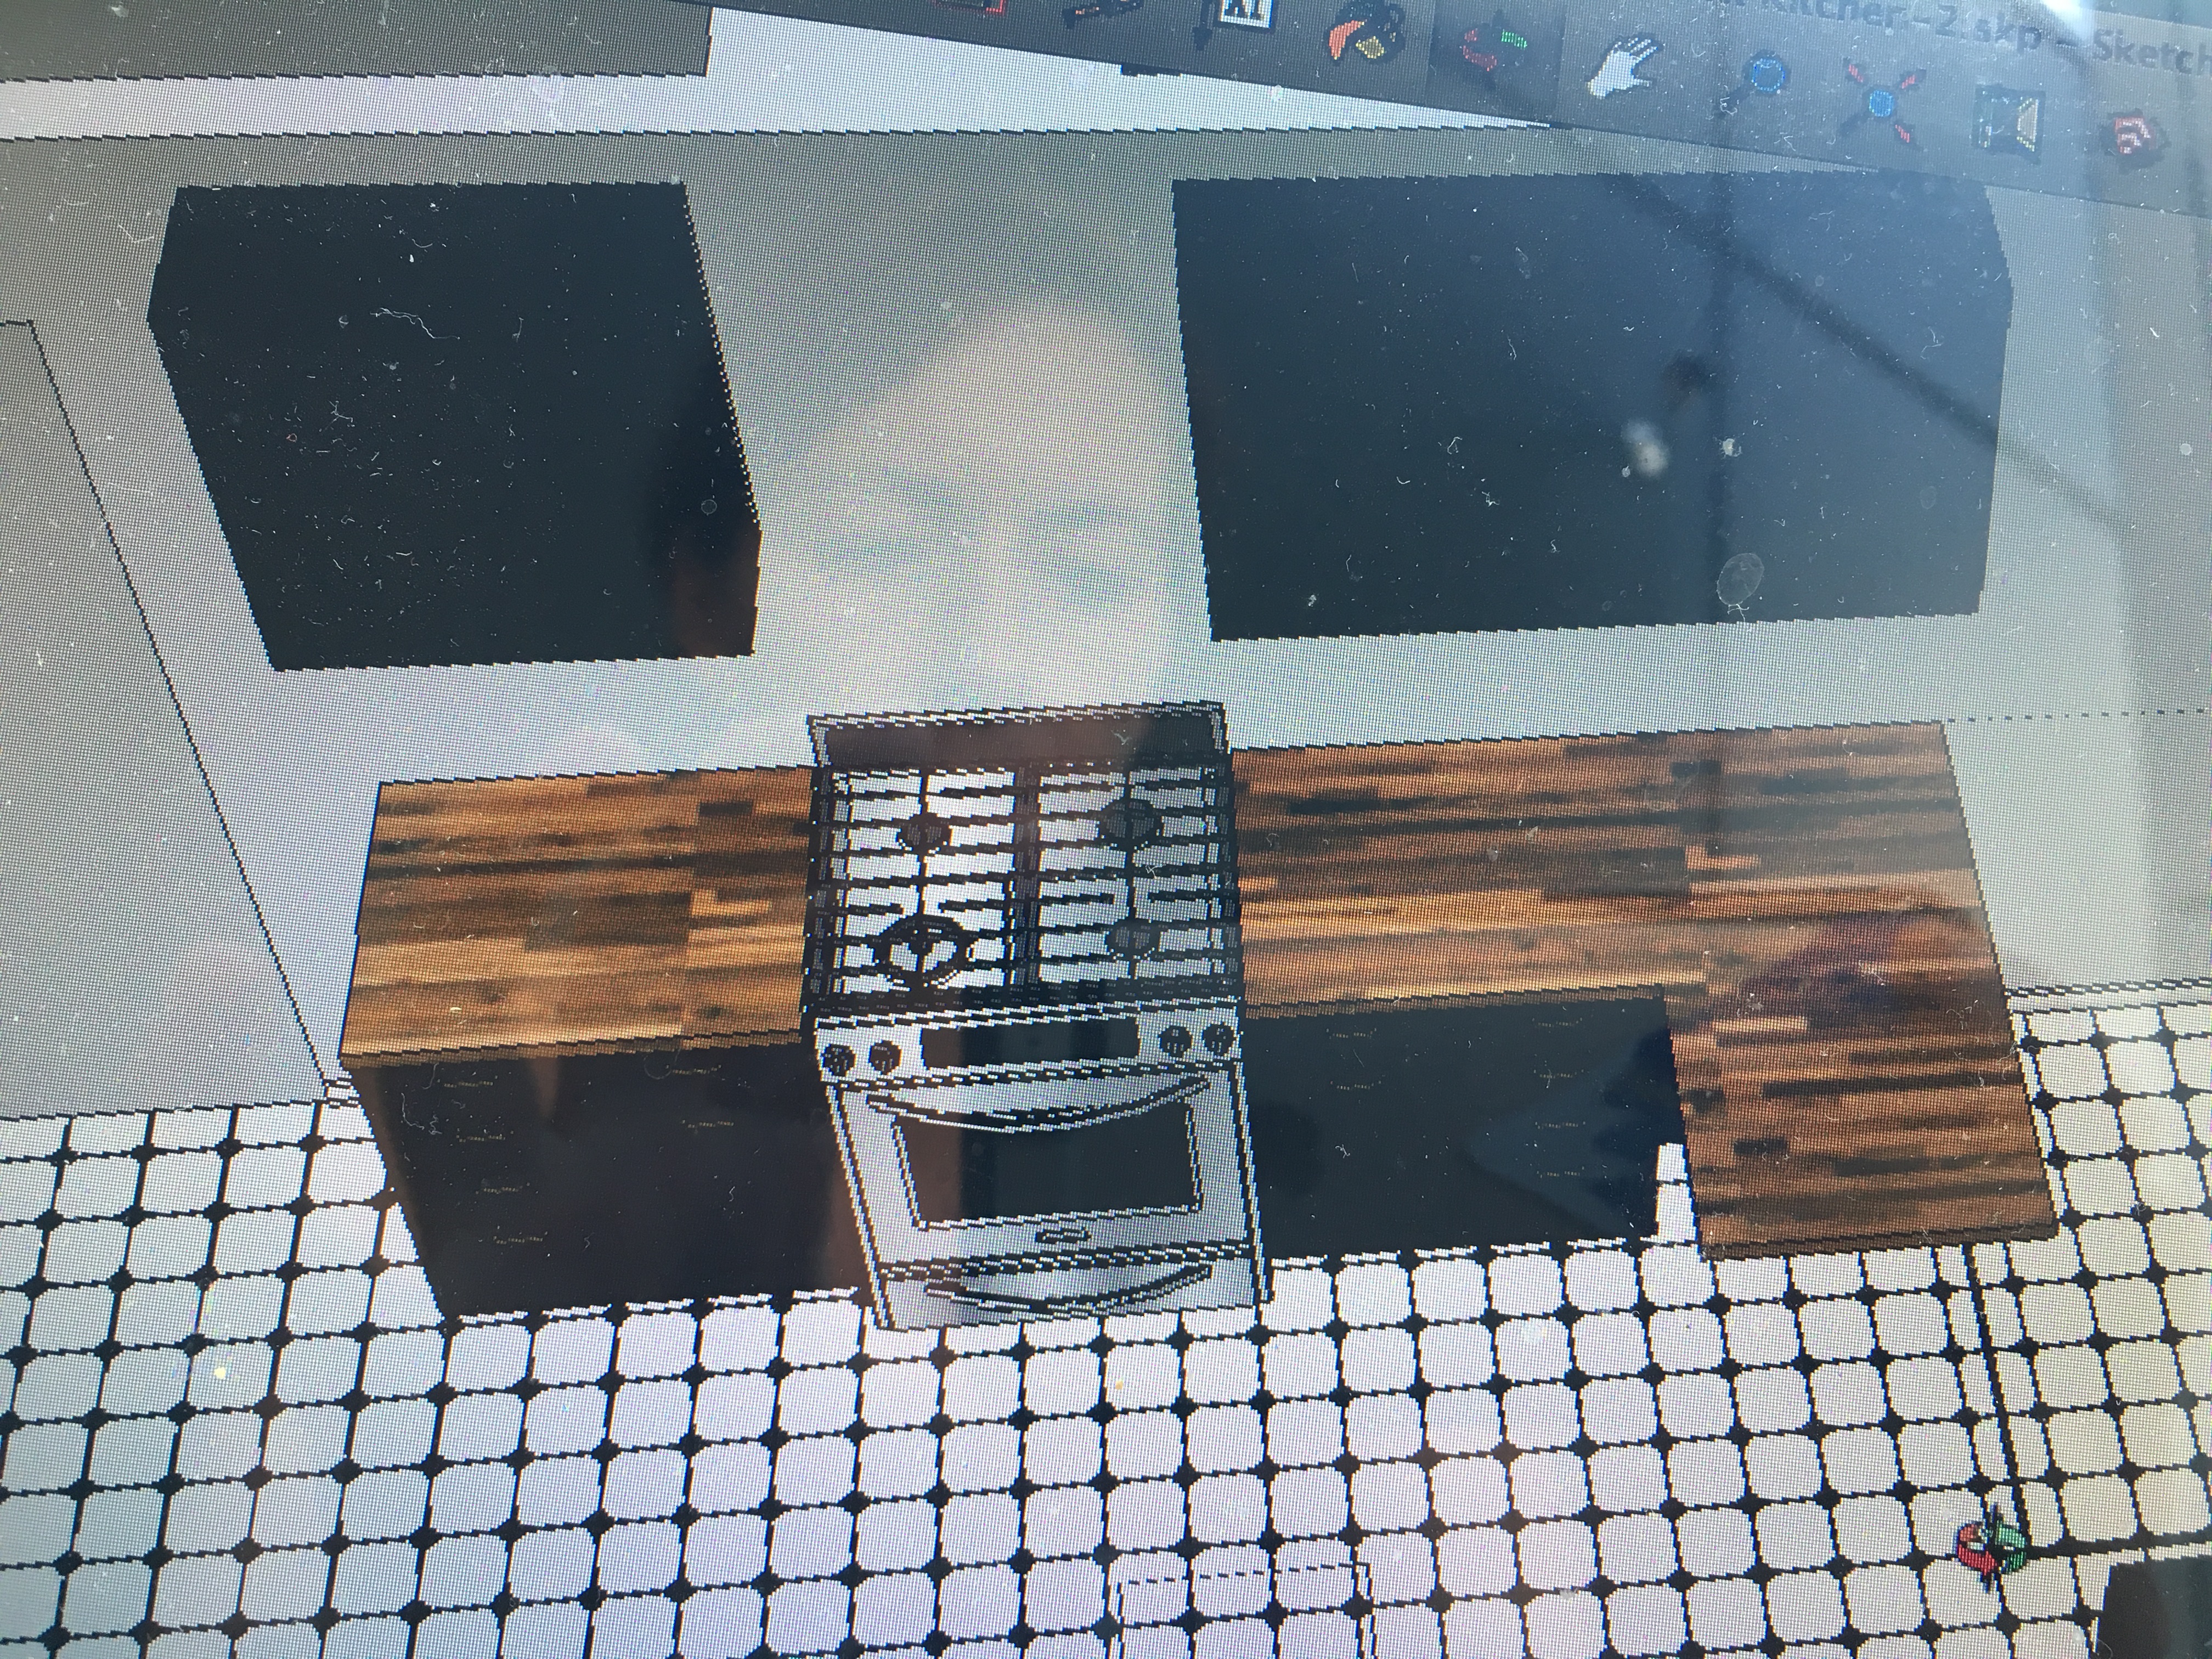
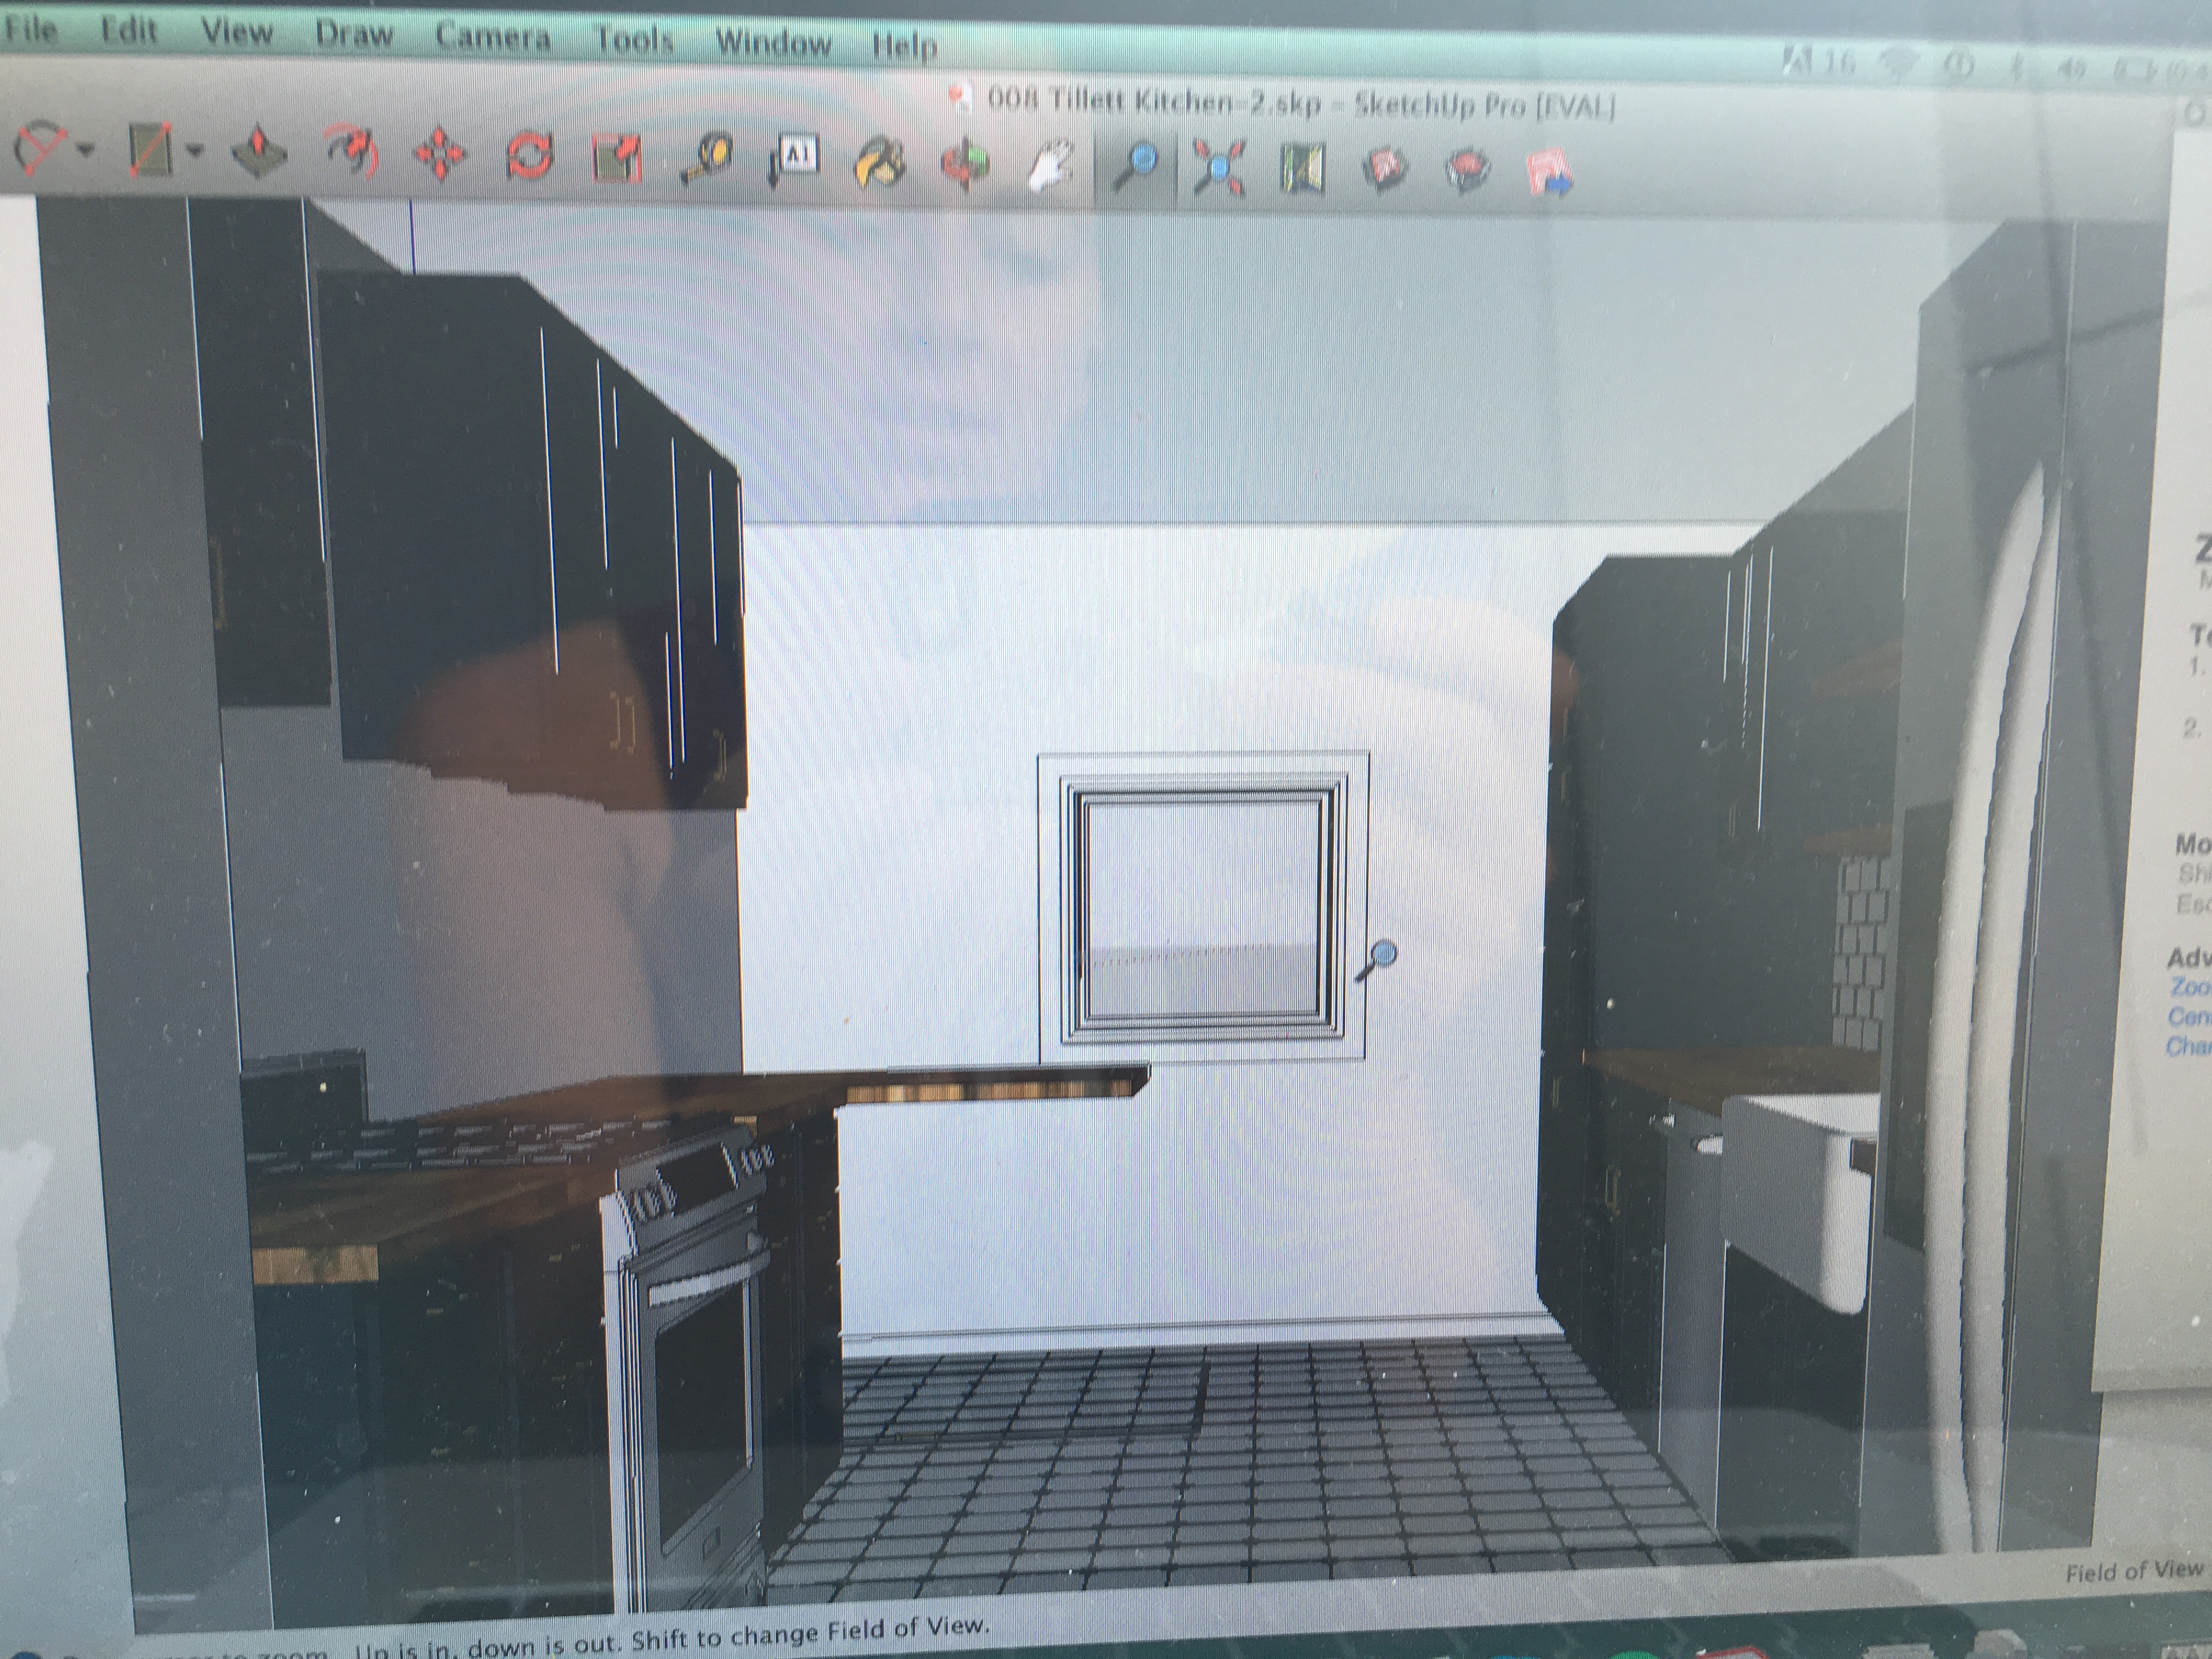
My friend Tyler made my design ideas come to life and created these drawings for me!
My kitchen for 4 months.
The cellar door finally blends in. I found the guy who did my flooring by literally seeing him working on a house down my street. I asked him if he could rip out tiles 3 deep and install this new floor, and he did an awesome job blending in this door!
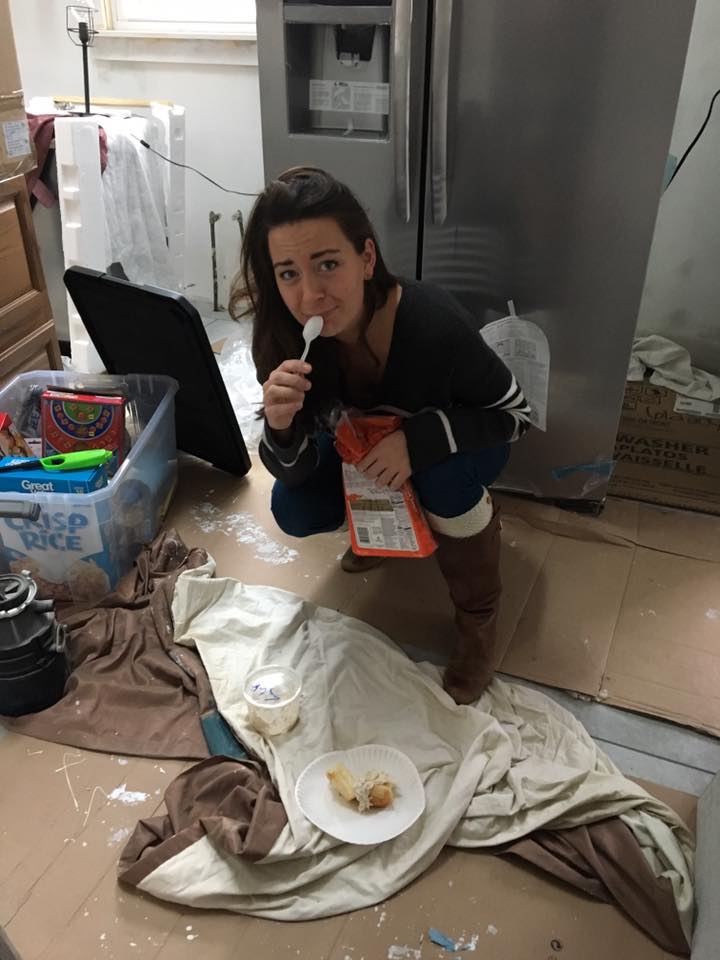
Cabinet install day might have been the most exciting of my life. Goodbye to eating microwave dinners and takeout and all kitchen supplies crammed into the corner of a room.
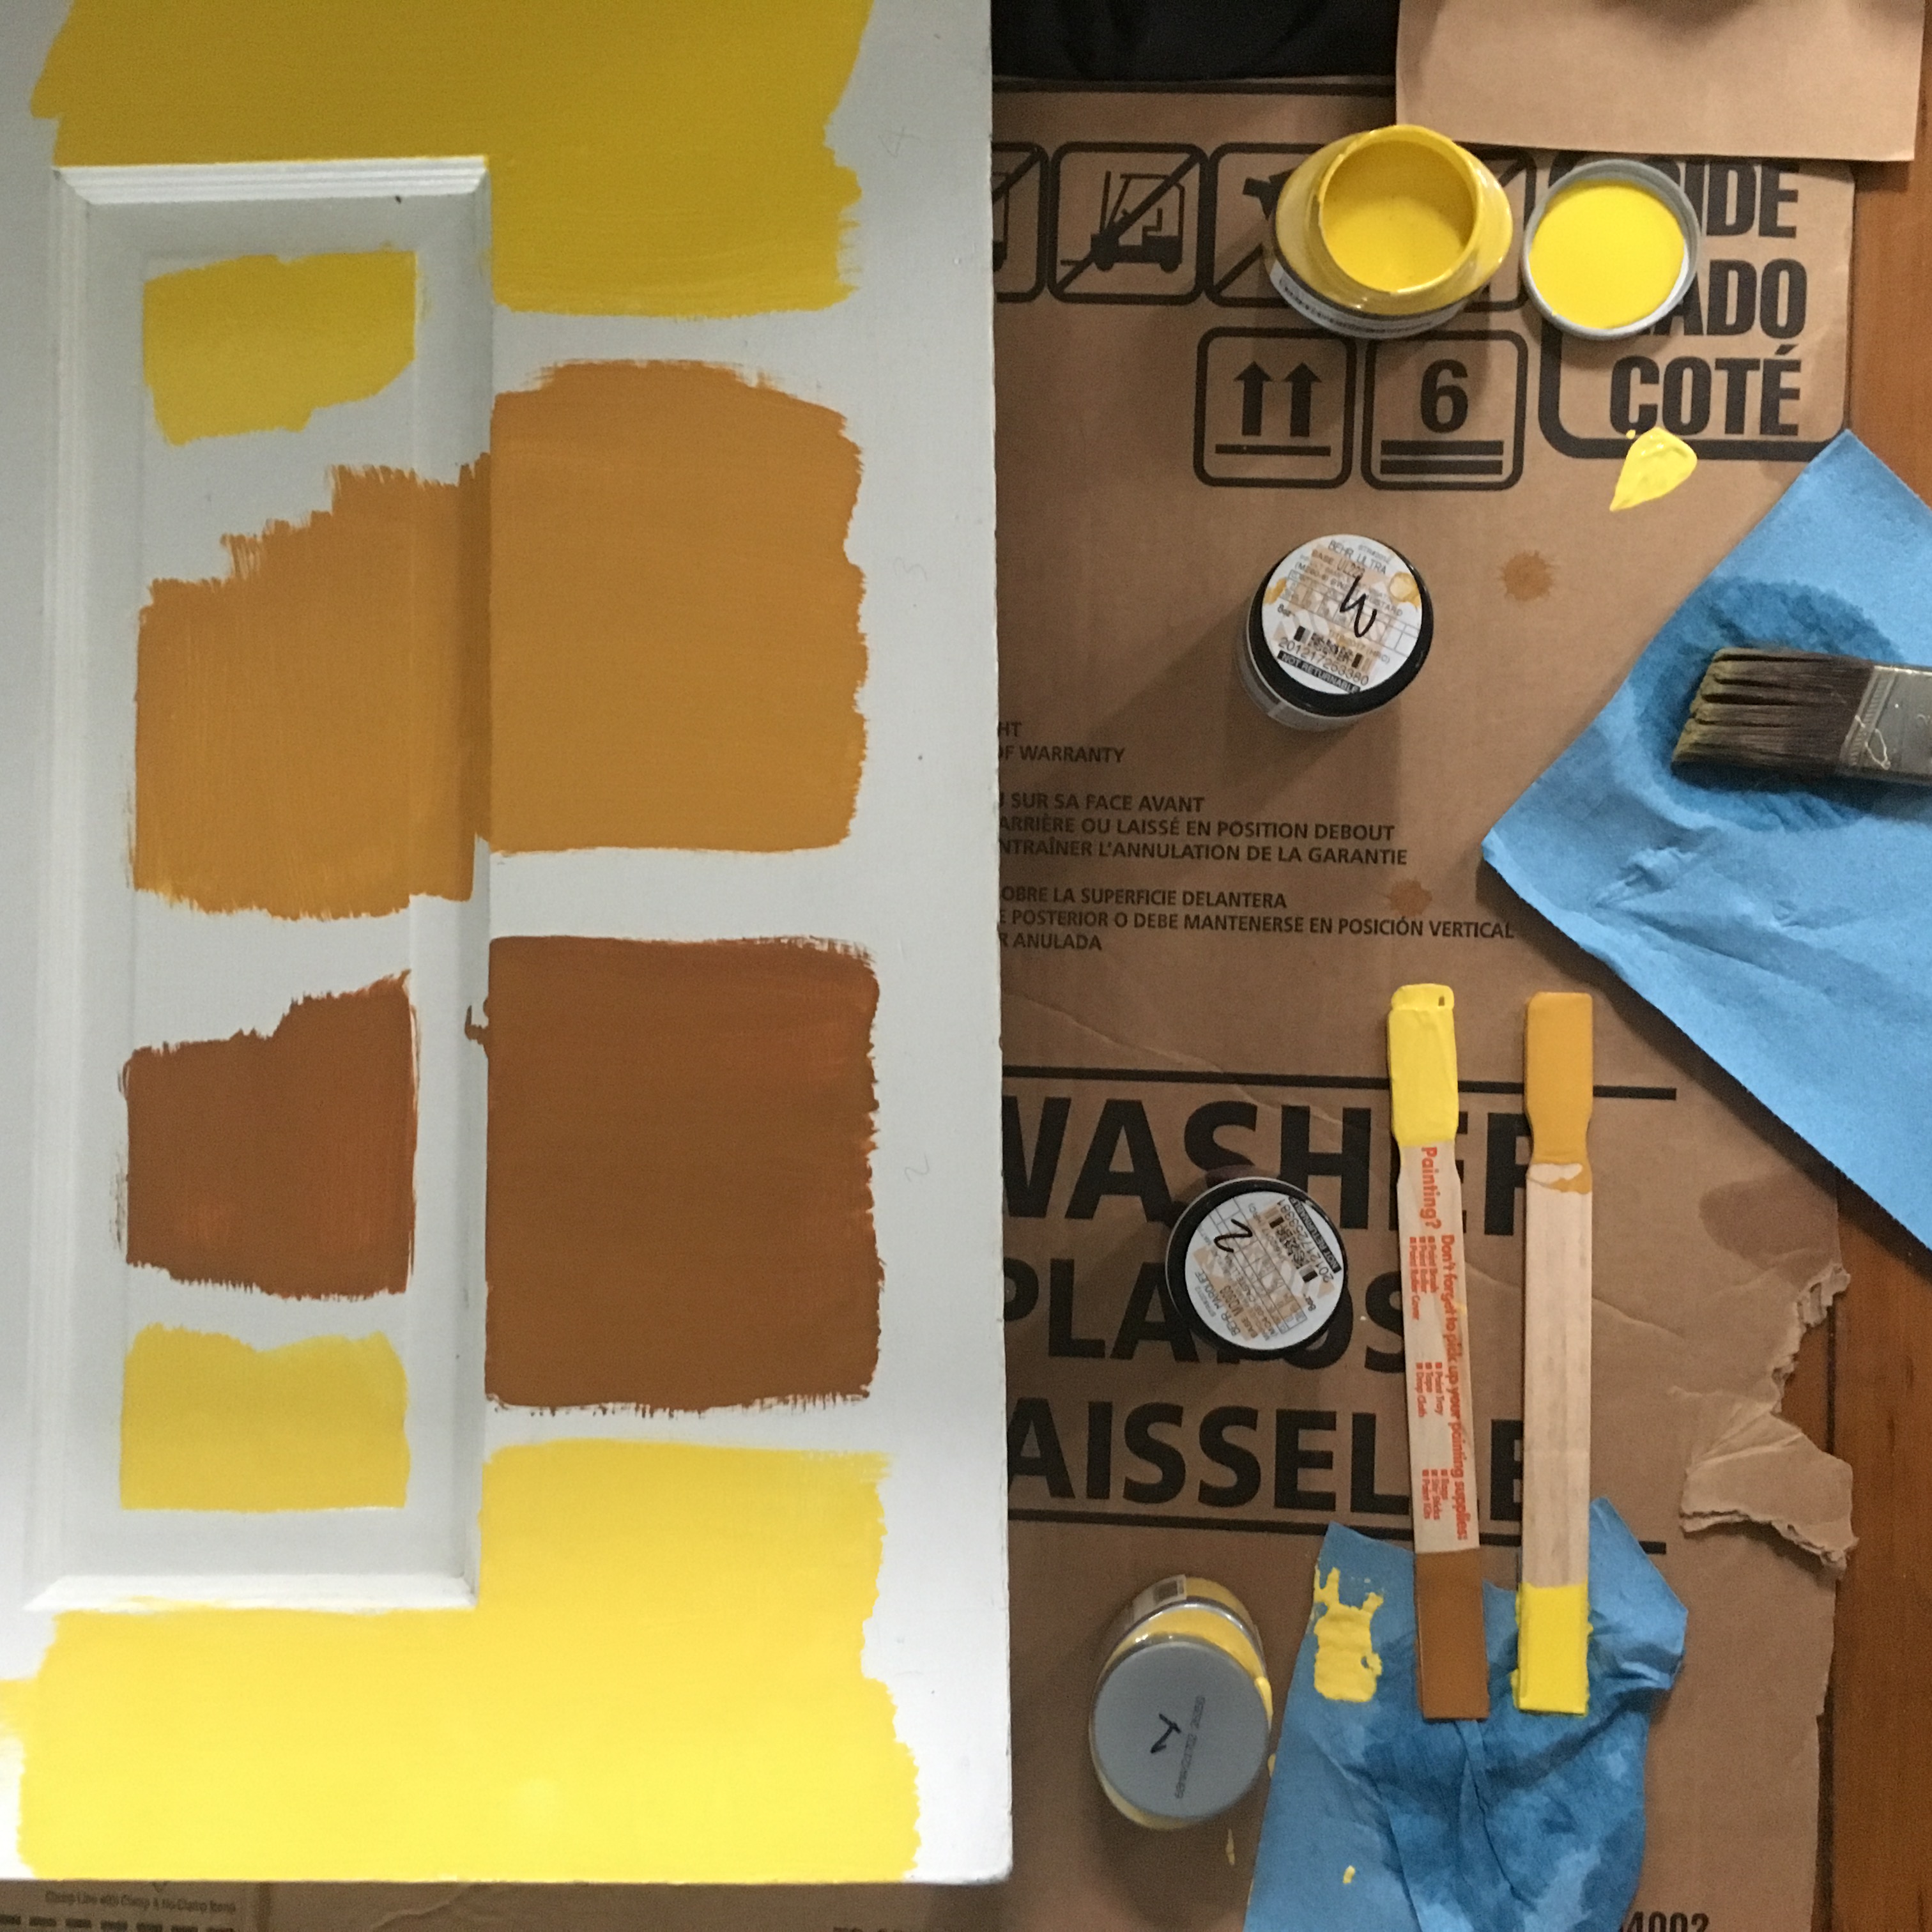
Still didn’t get the exact mustard color I wanted for the door, but I was over looking after all these samples, so it is the color it is now!
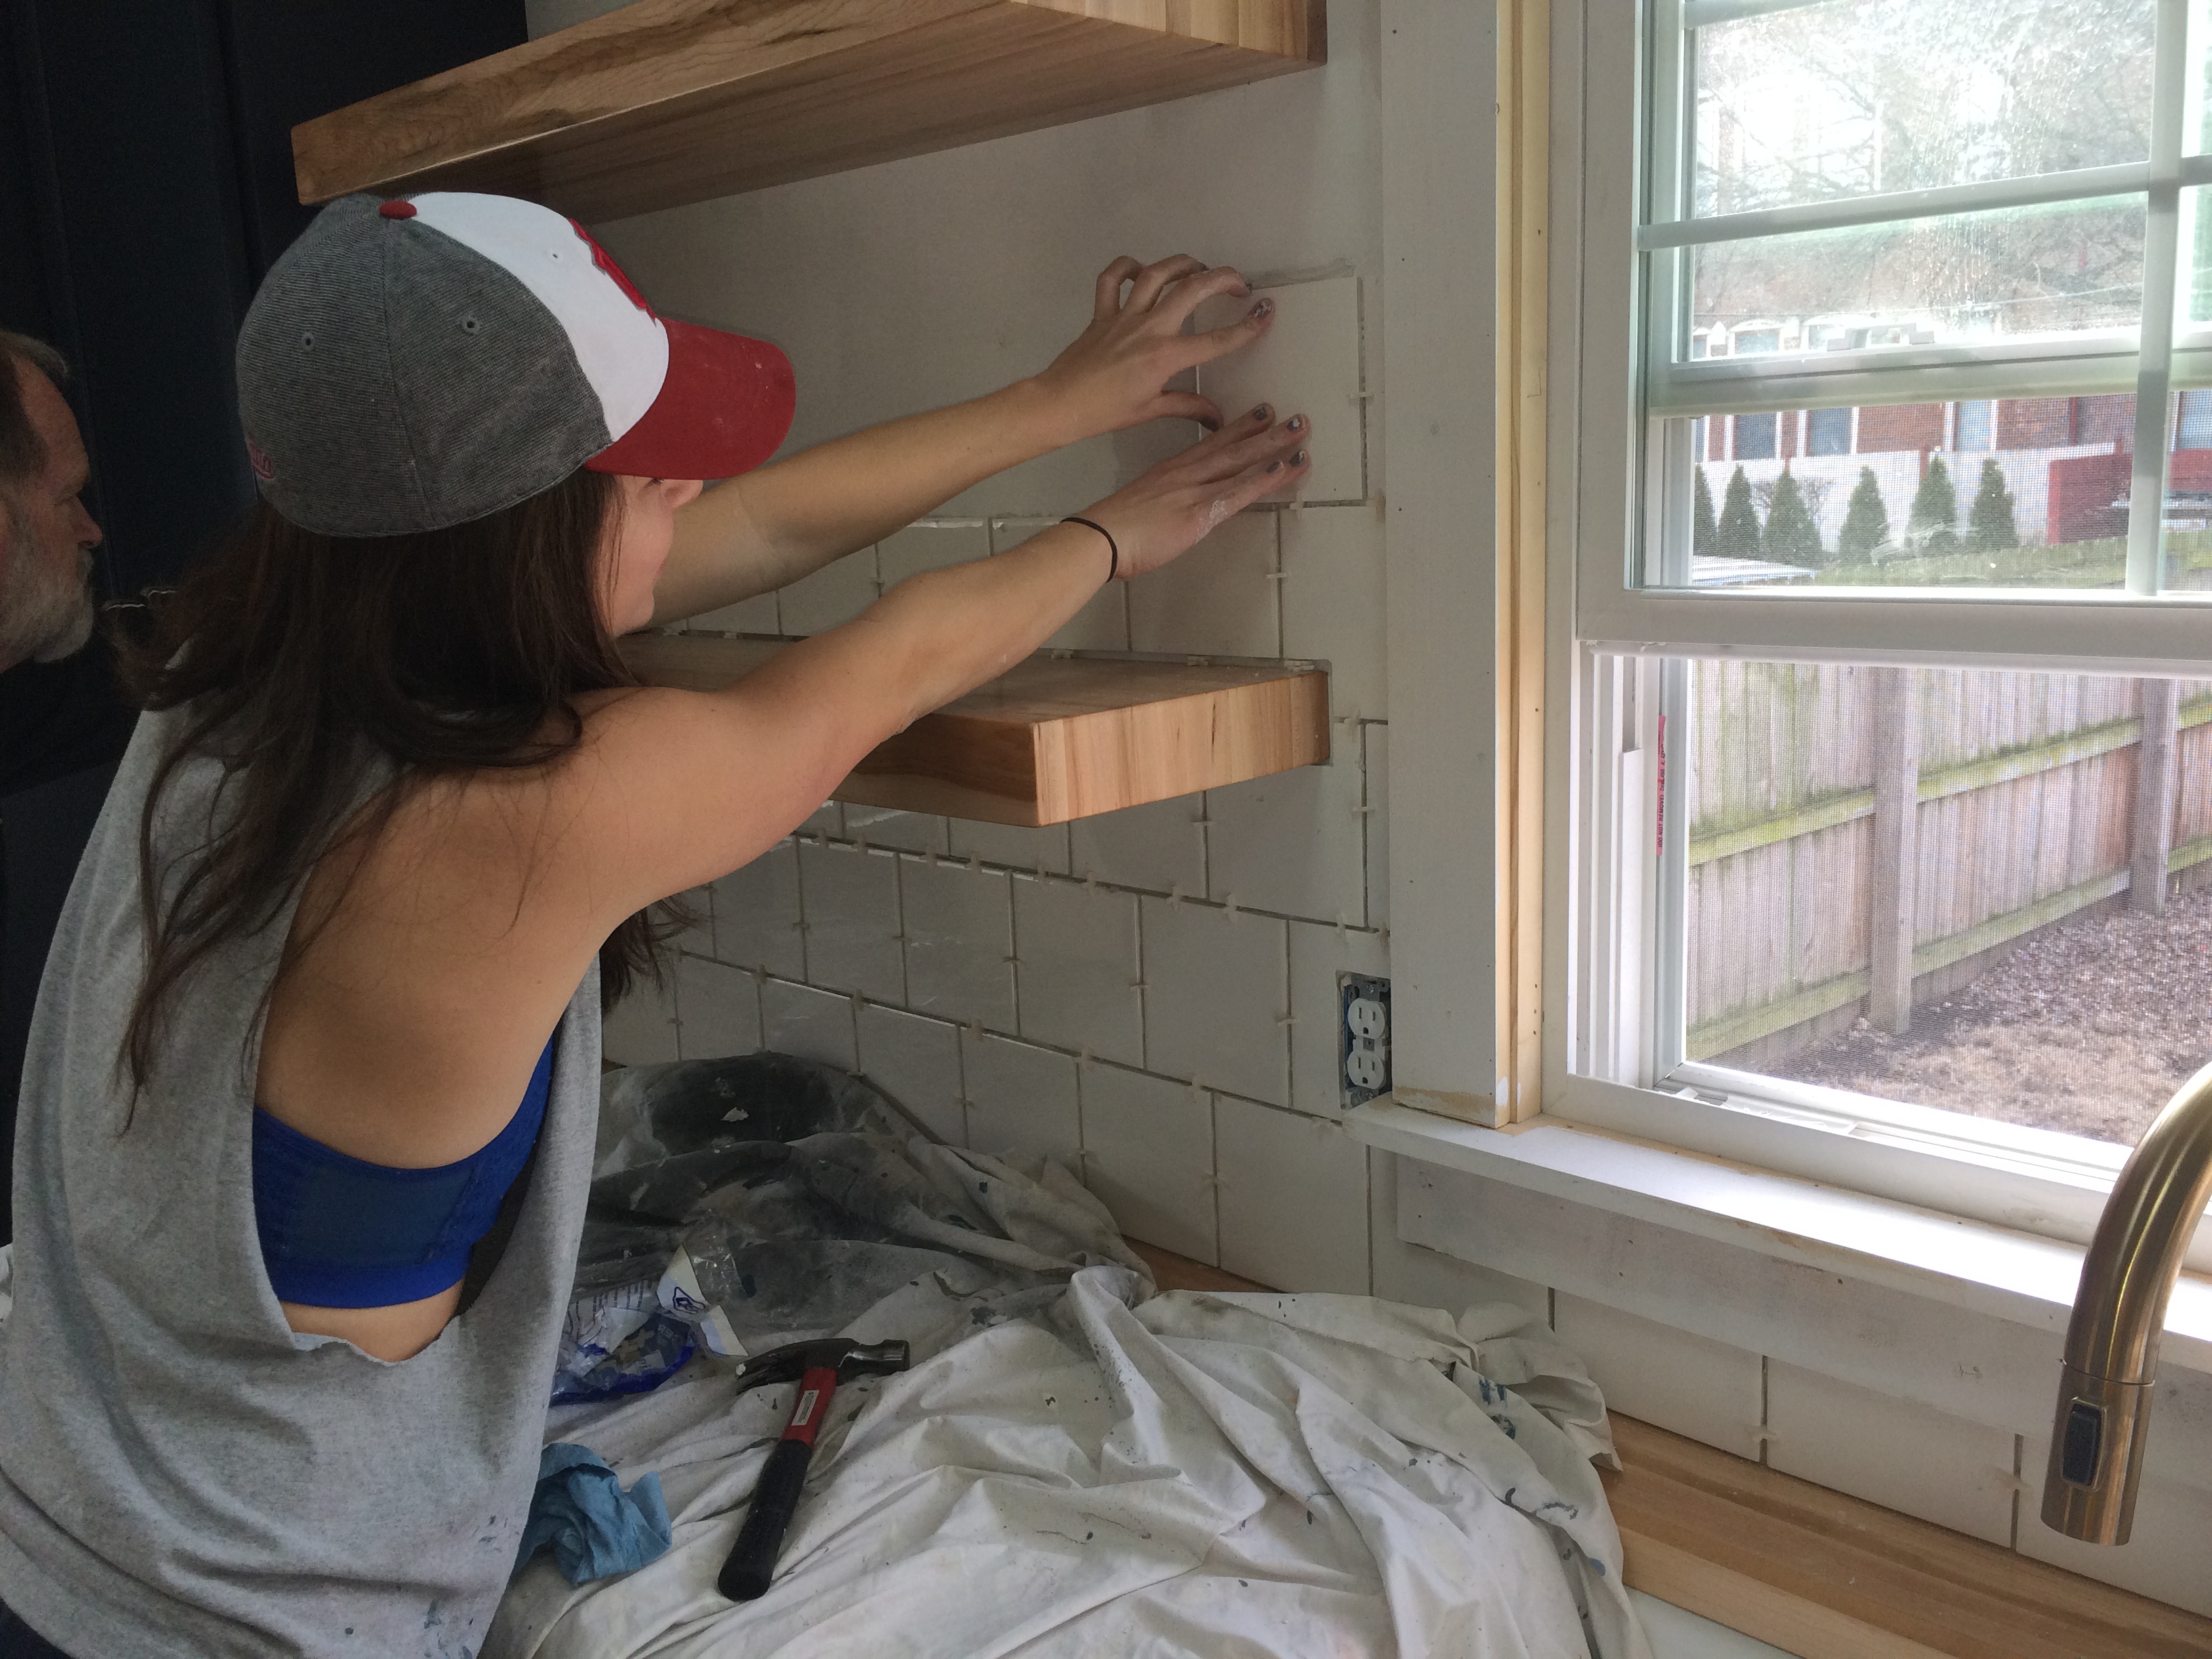
Learning how to use a wet saw for backsplash with my dad.
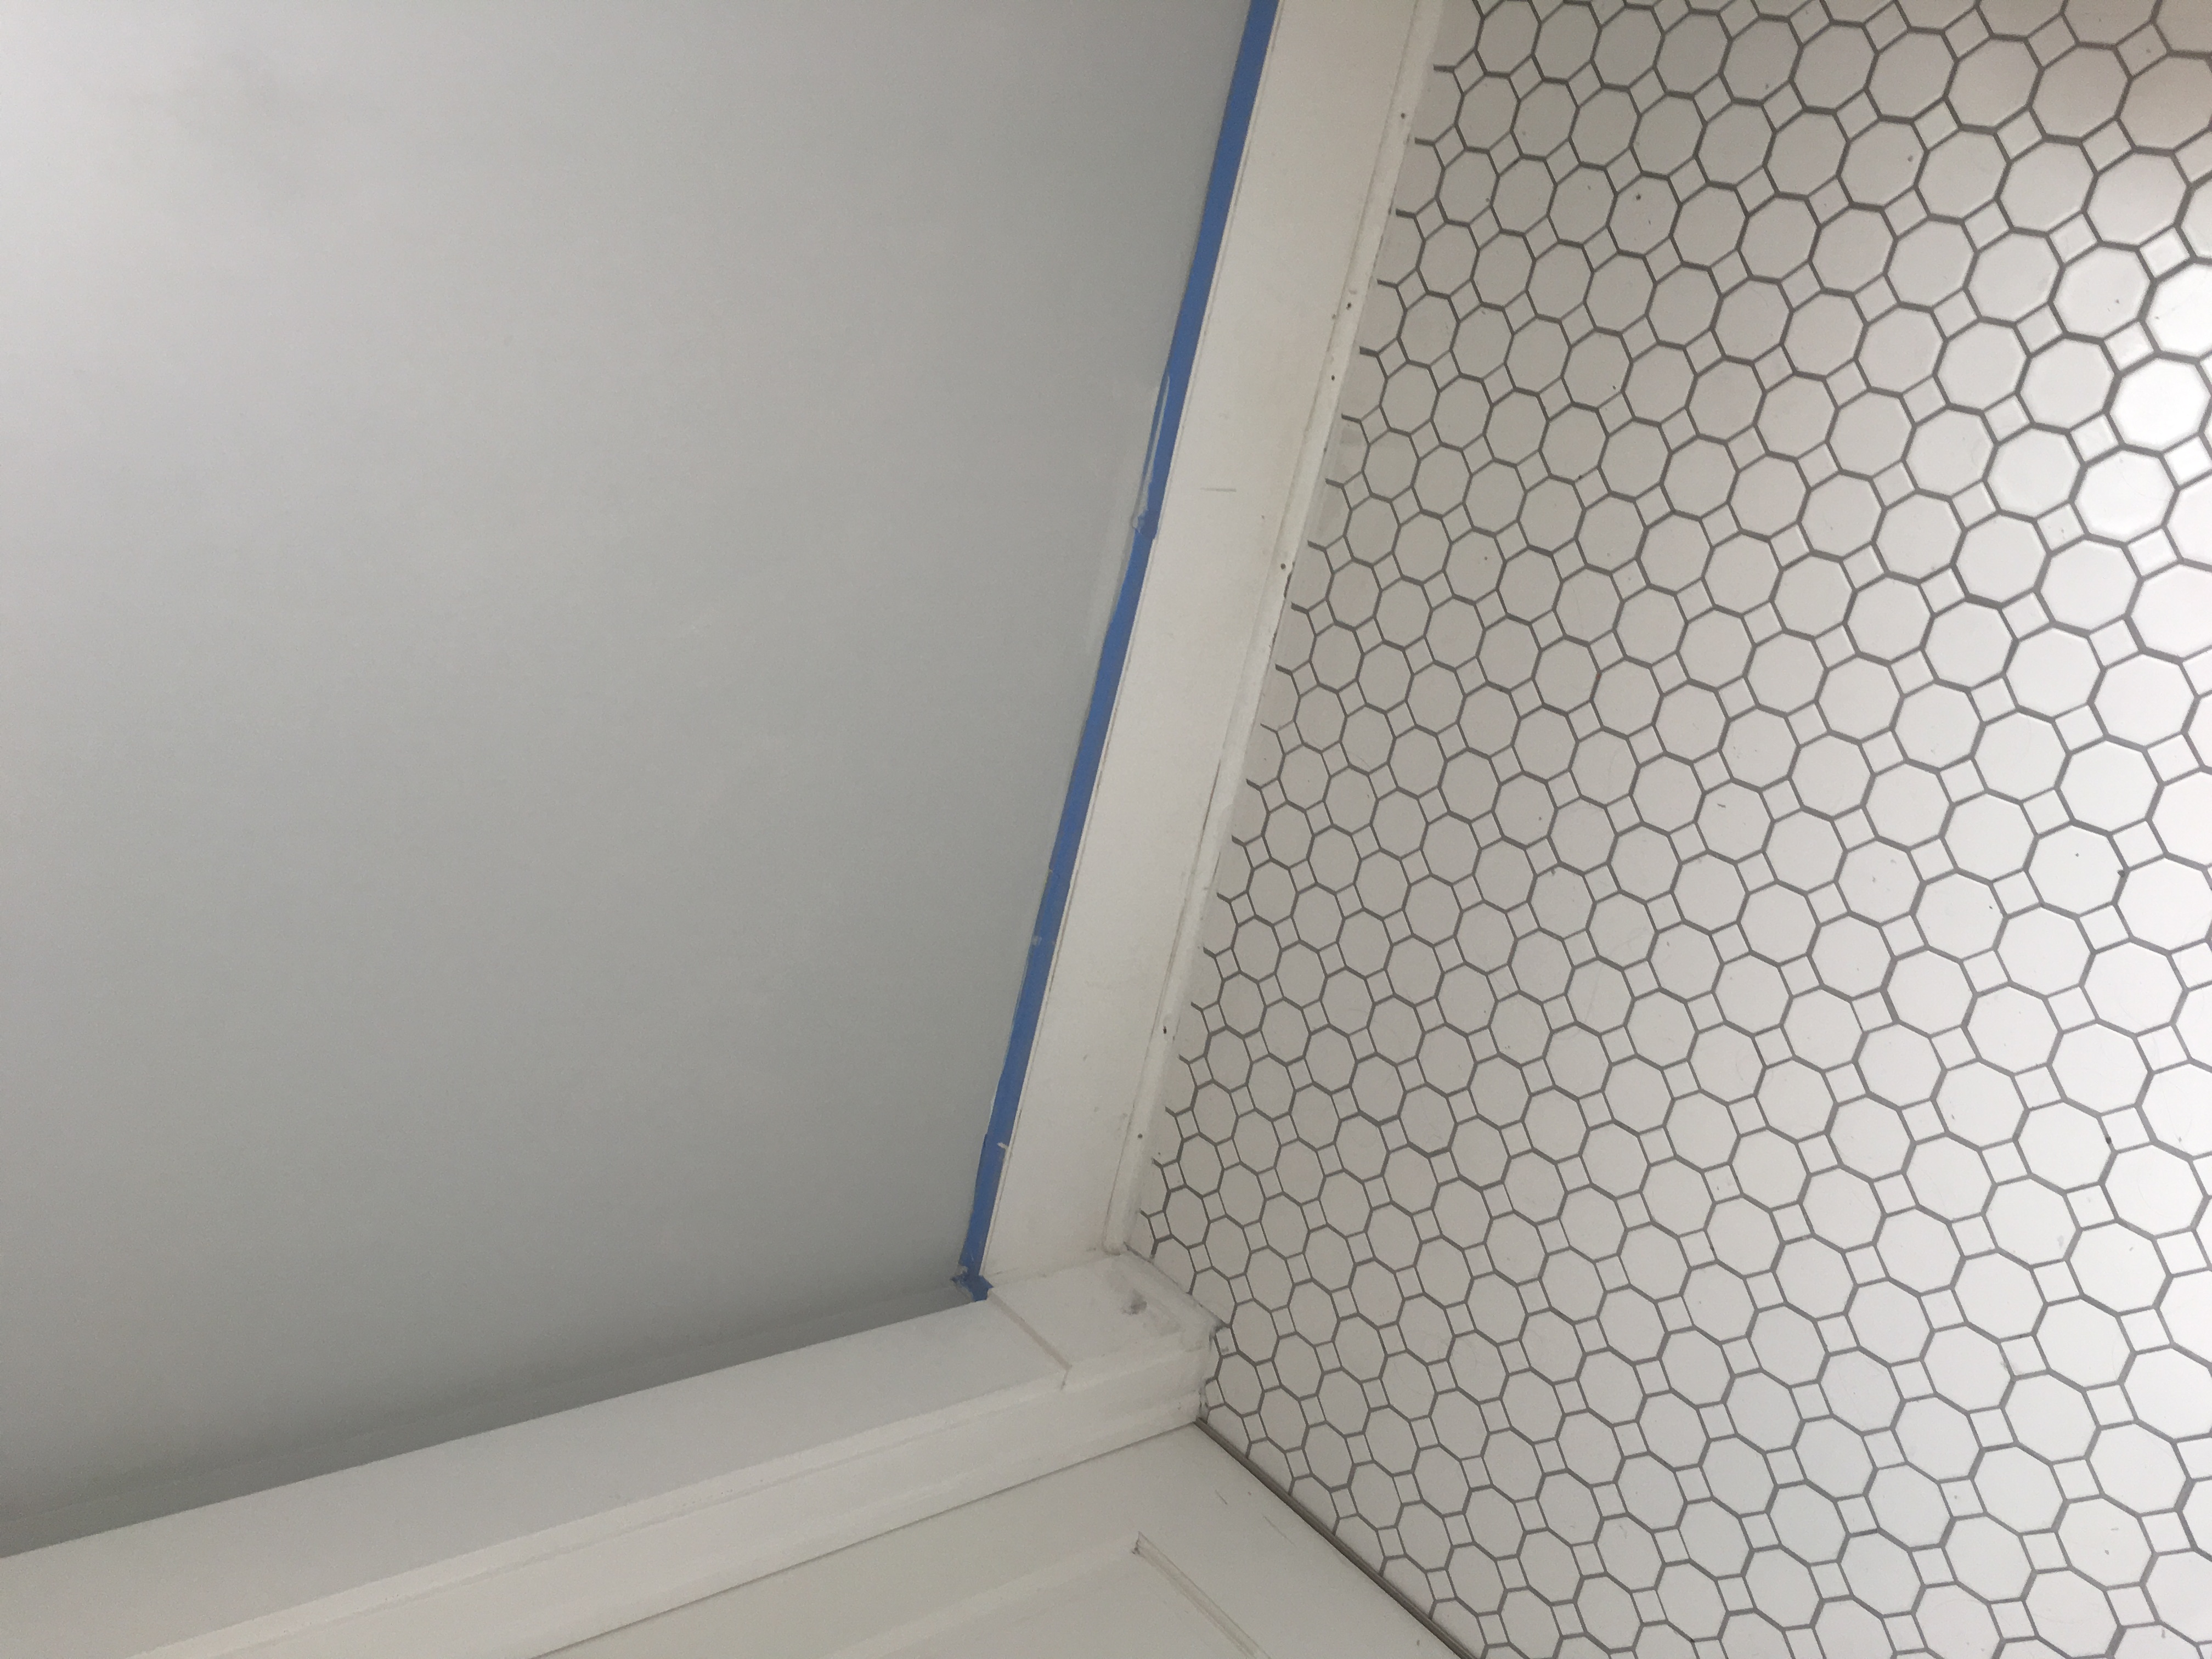
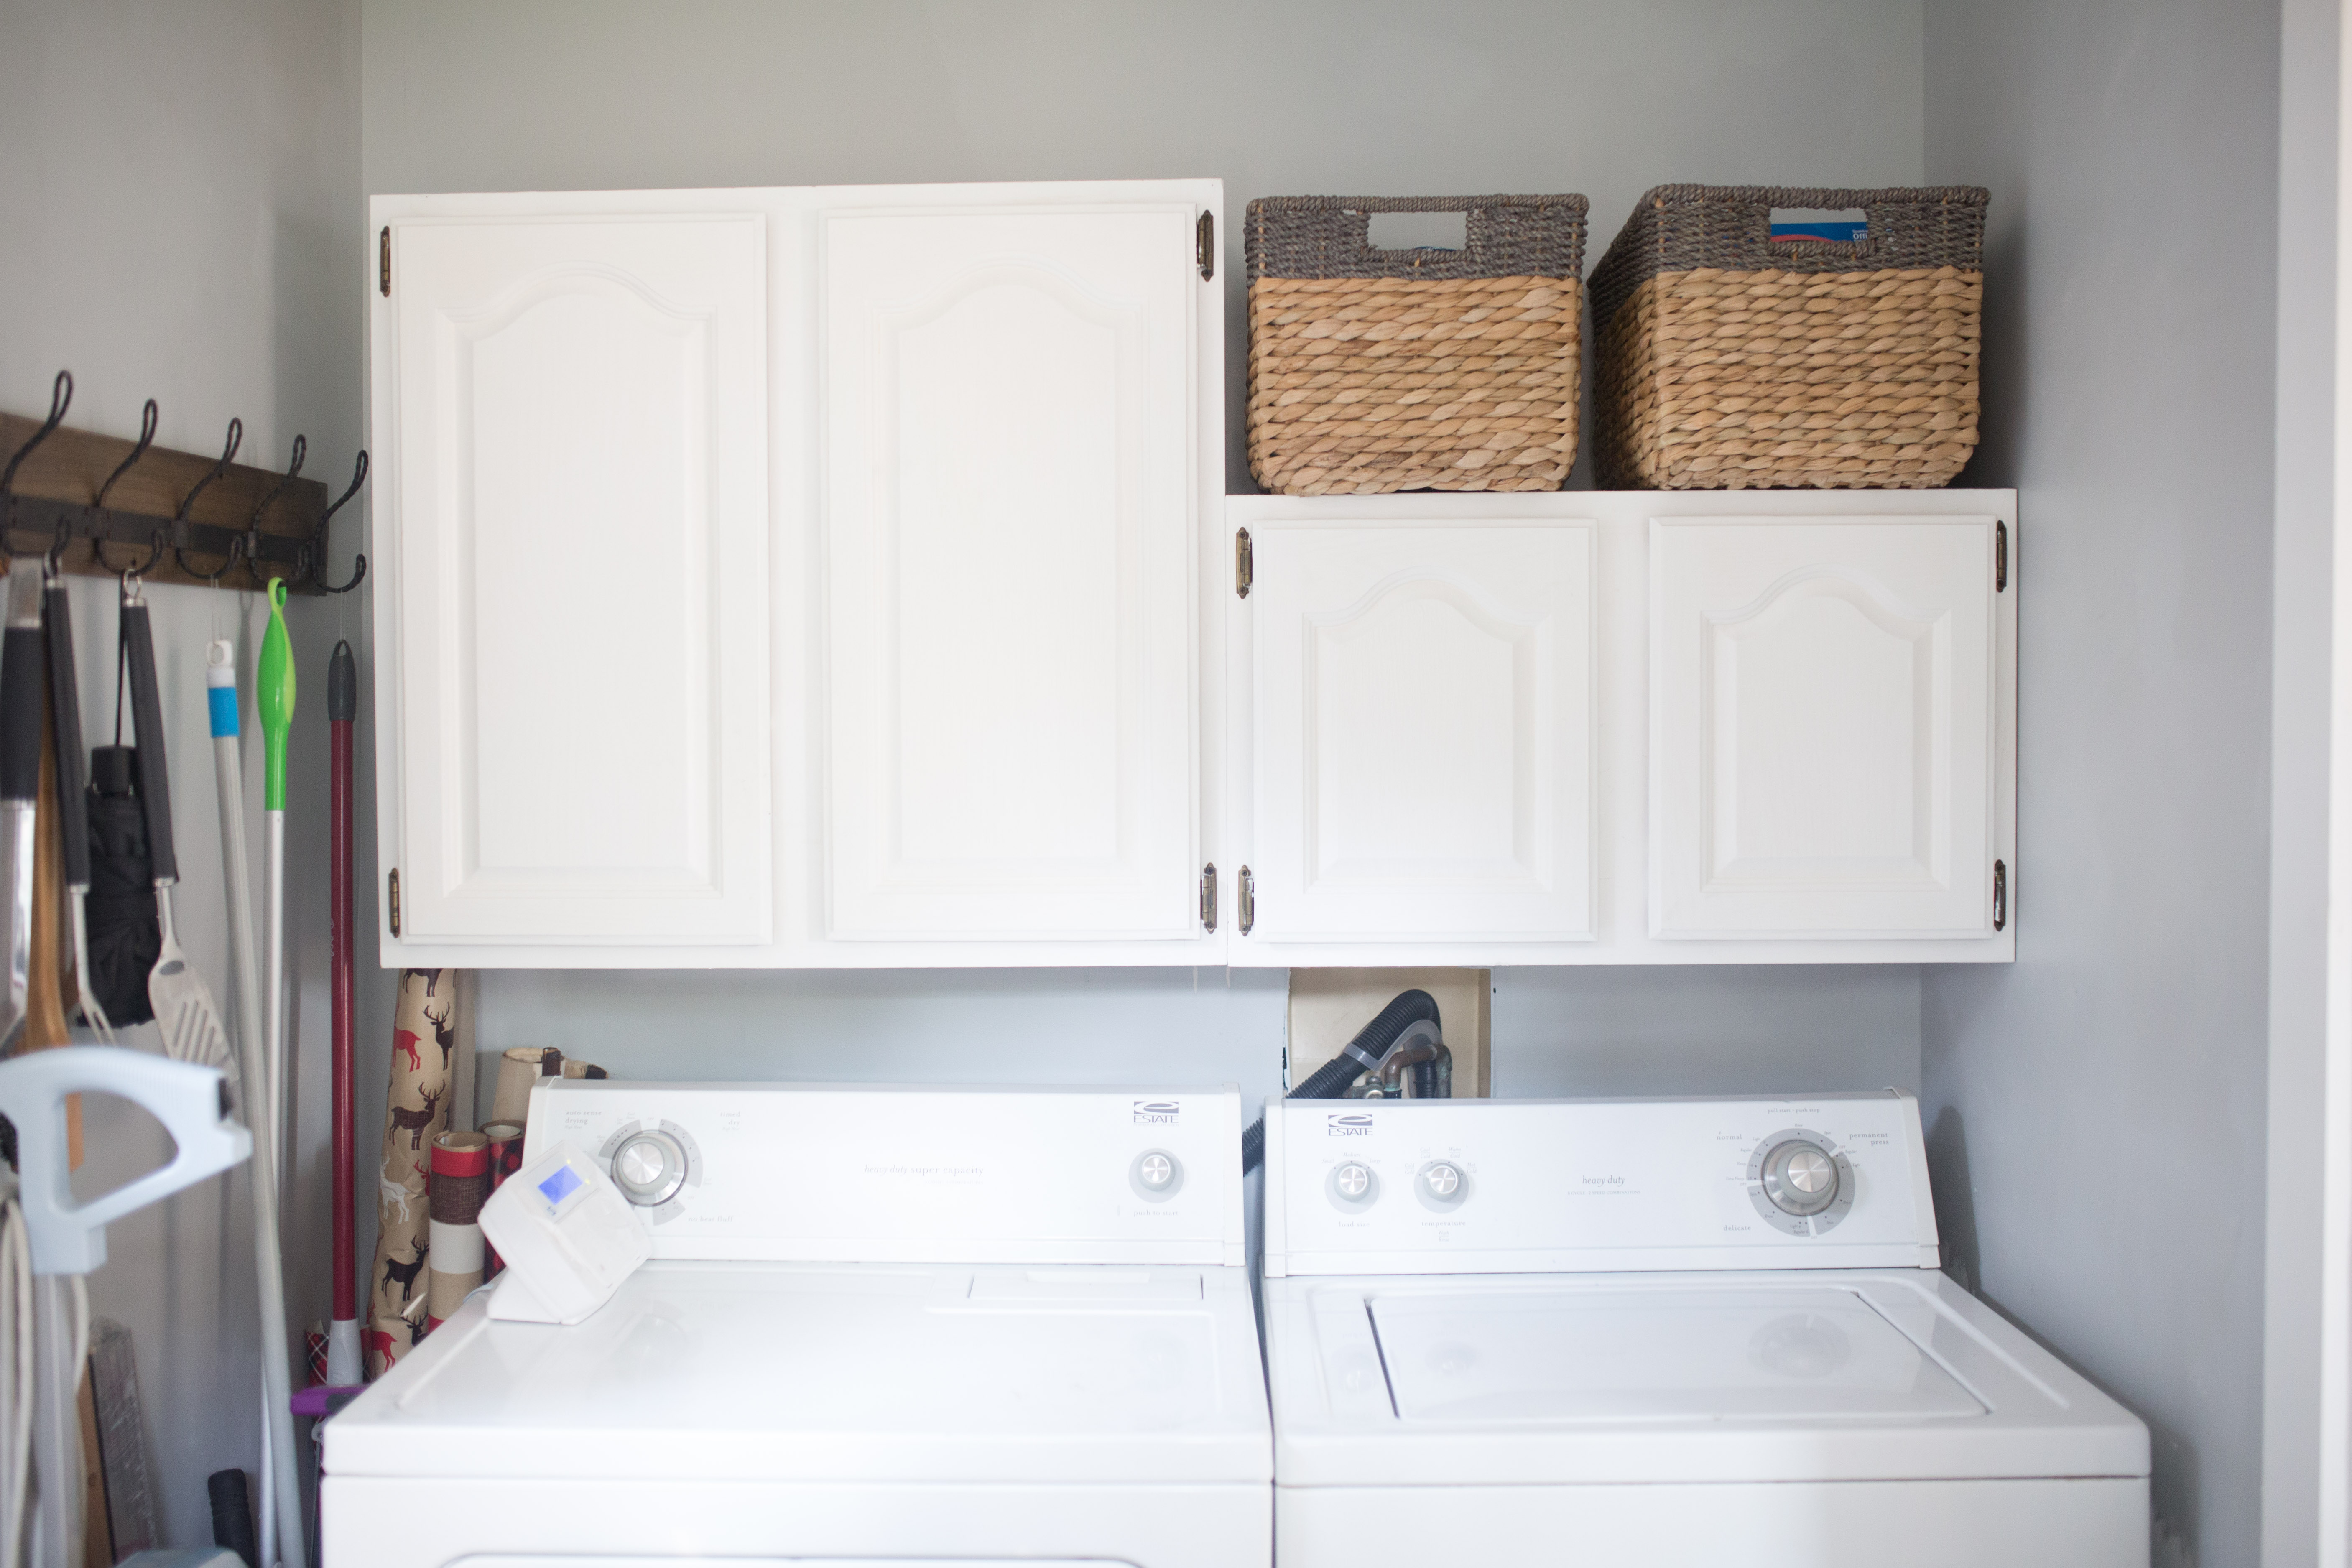
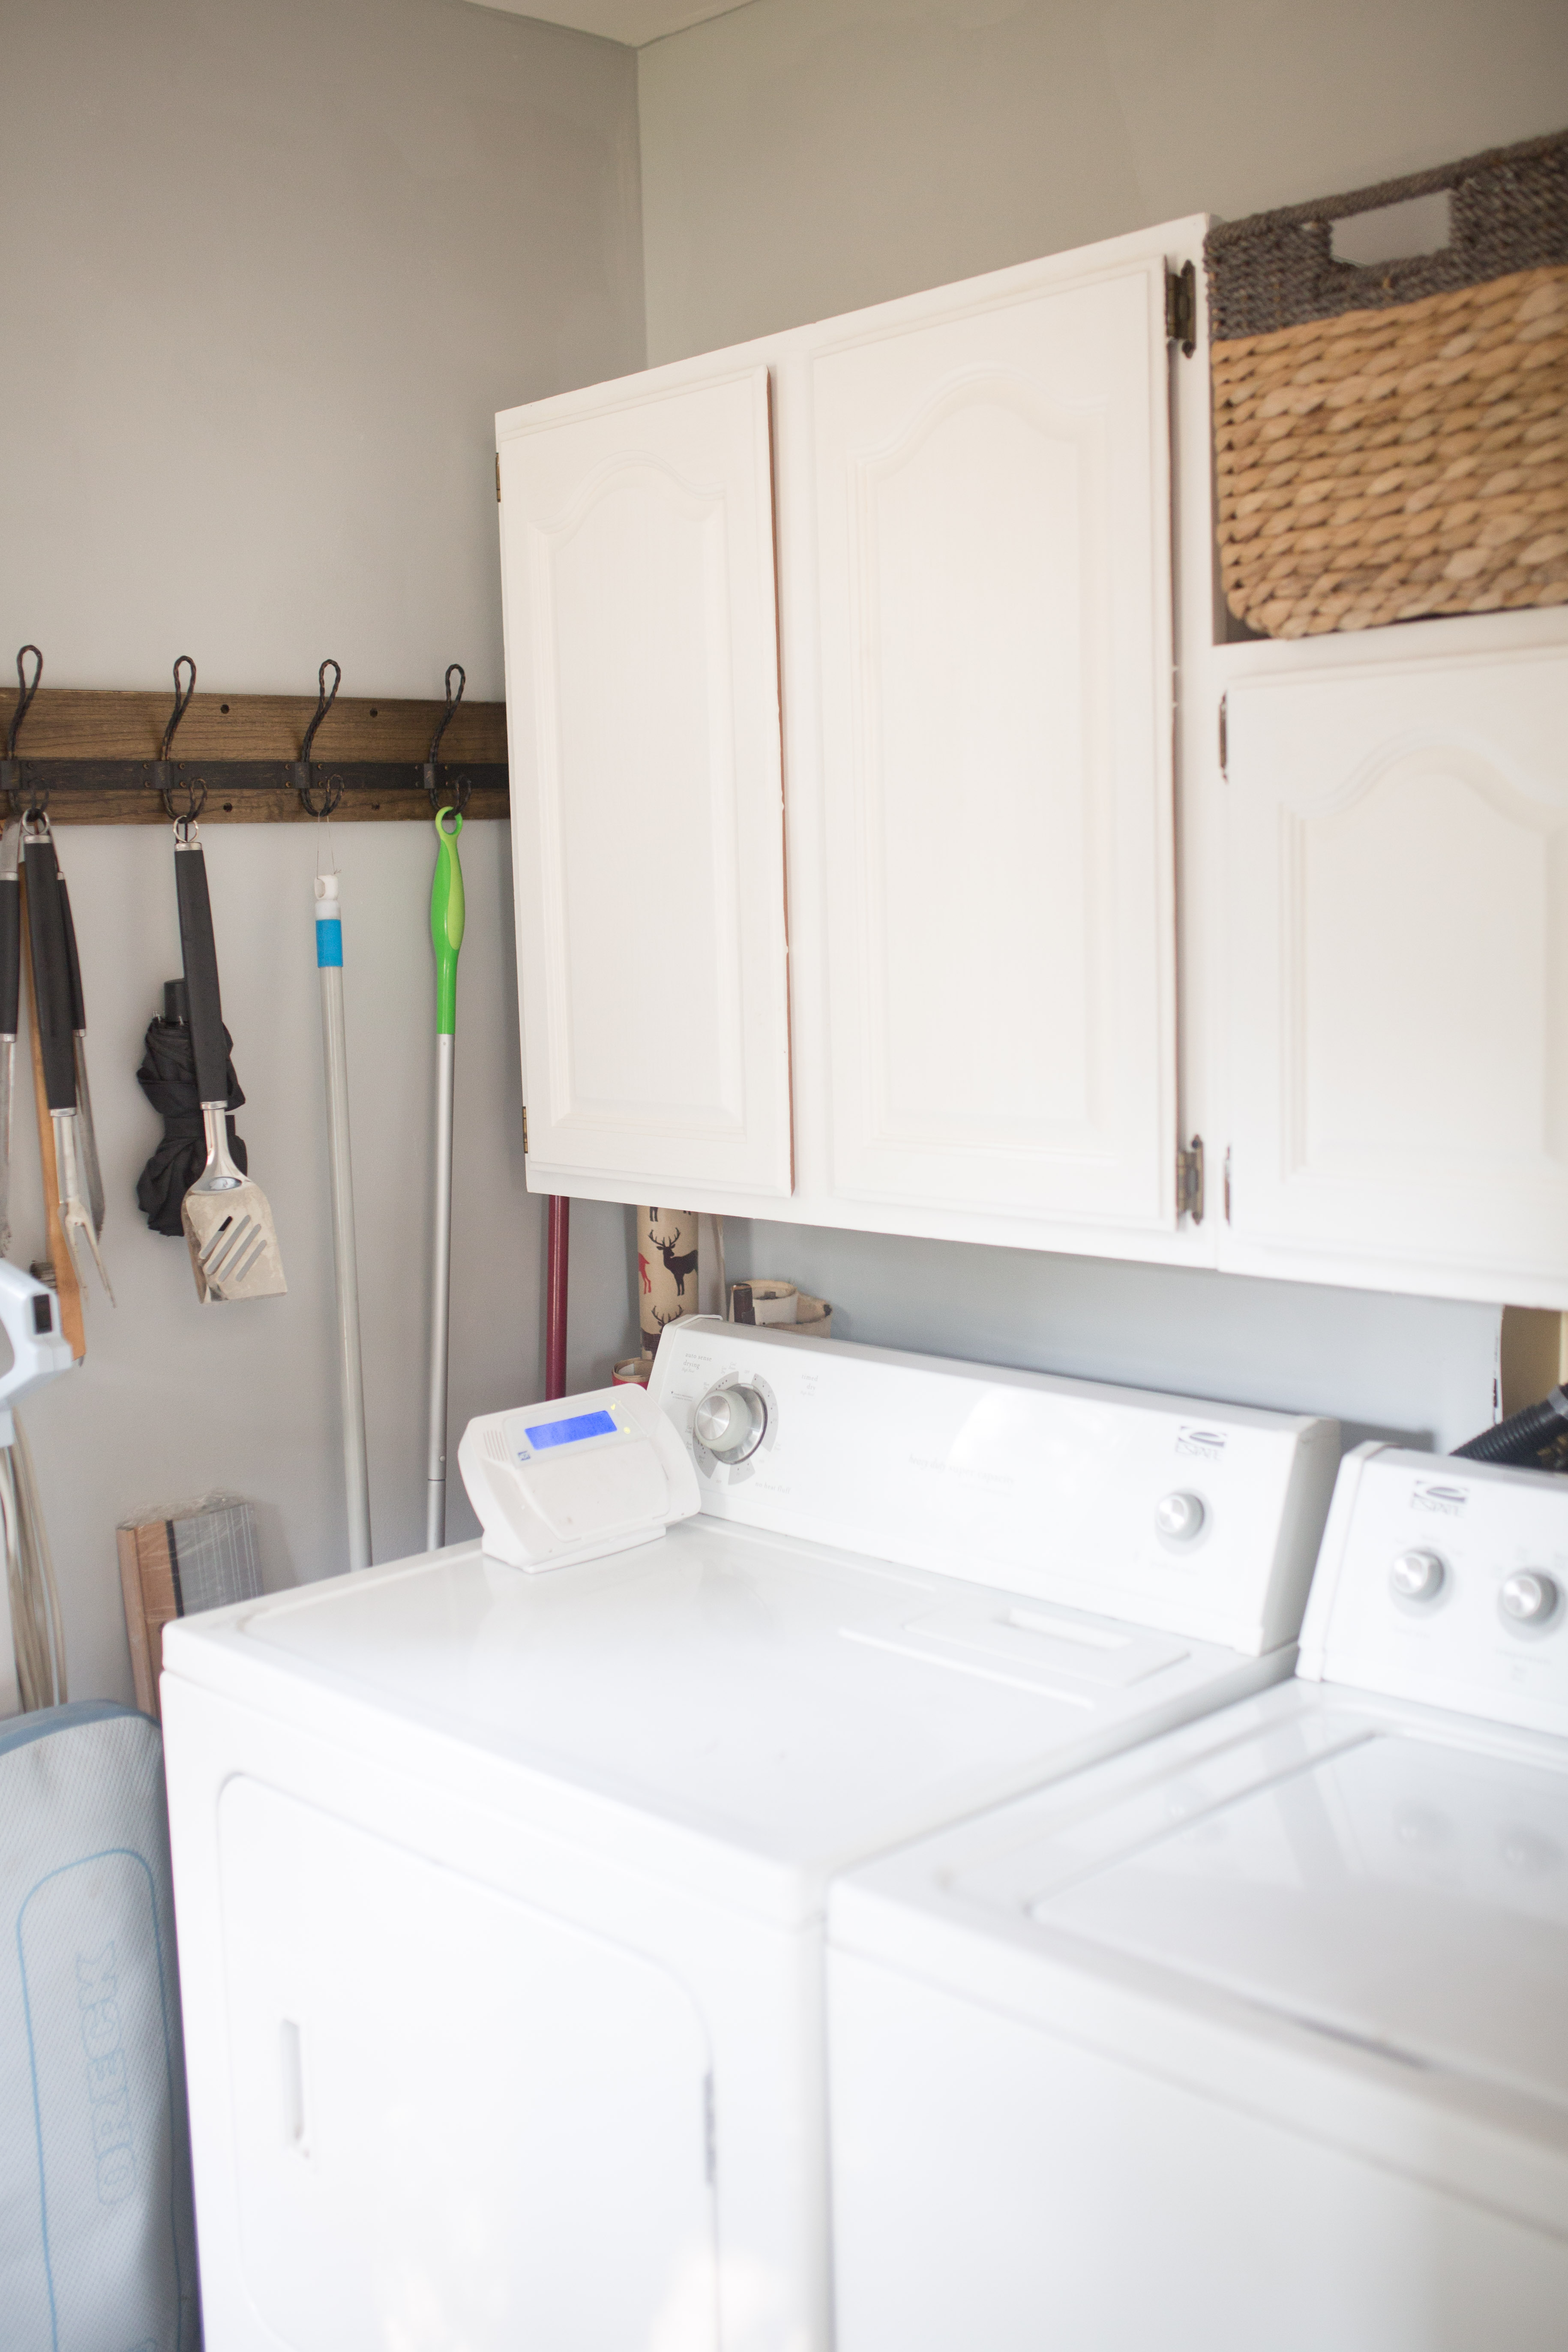
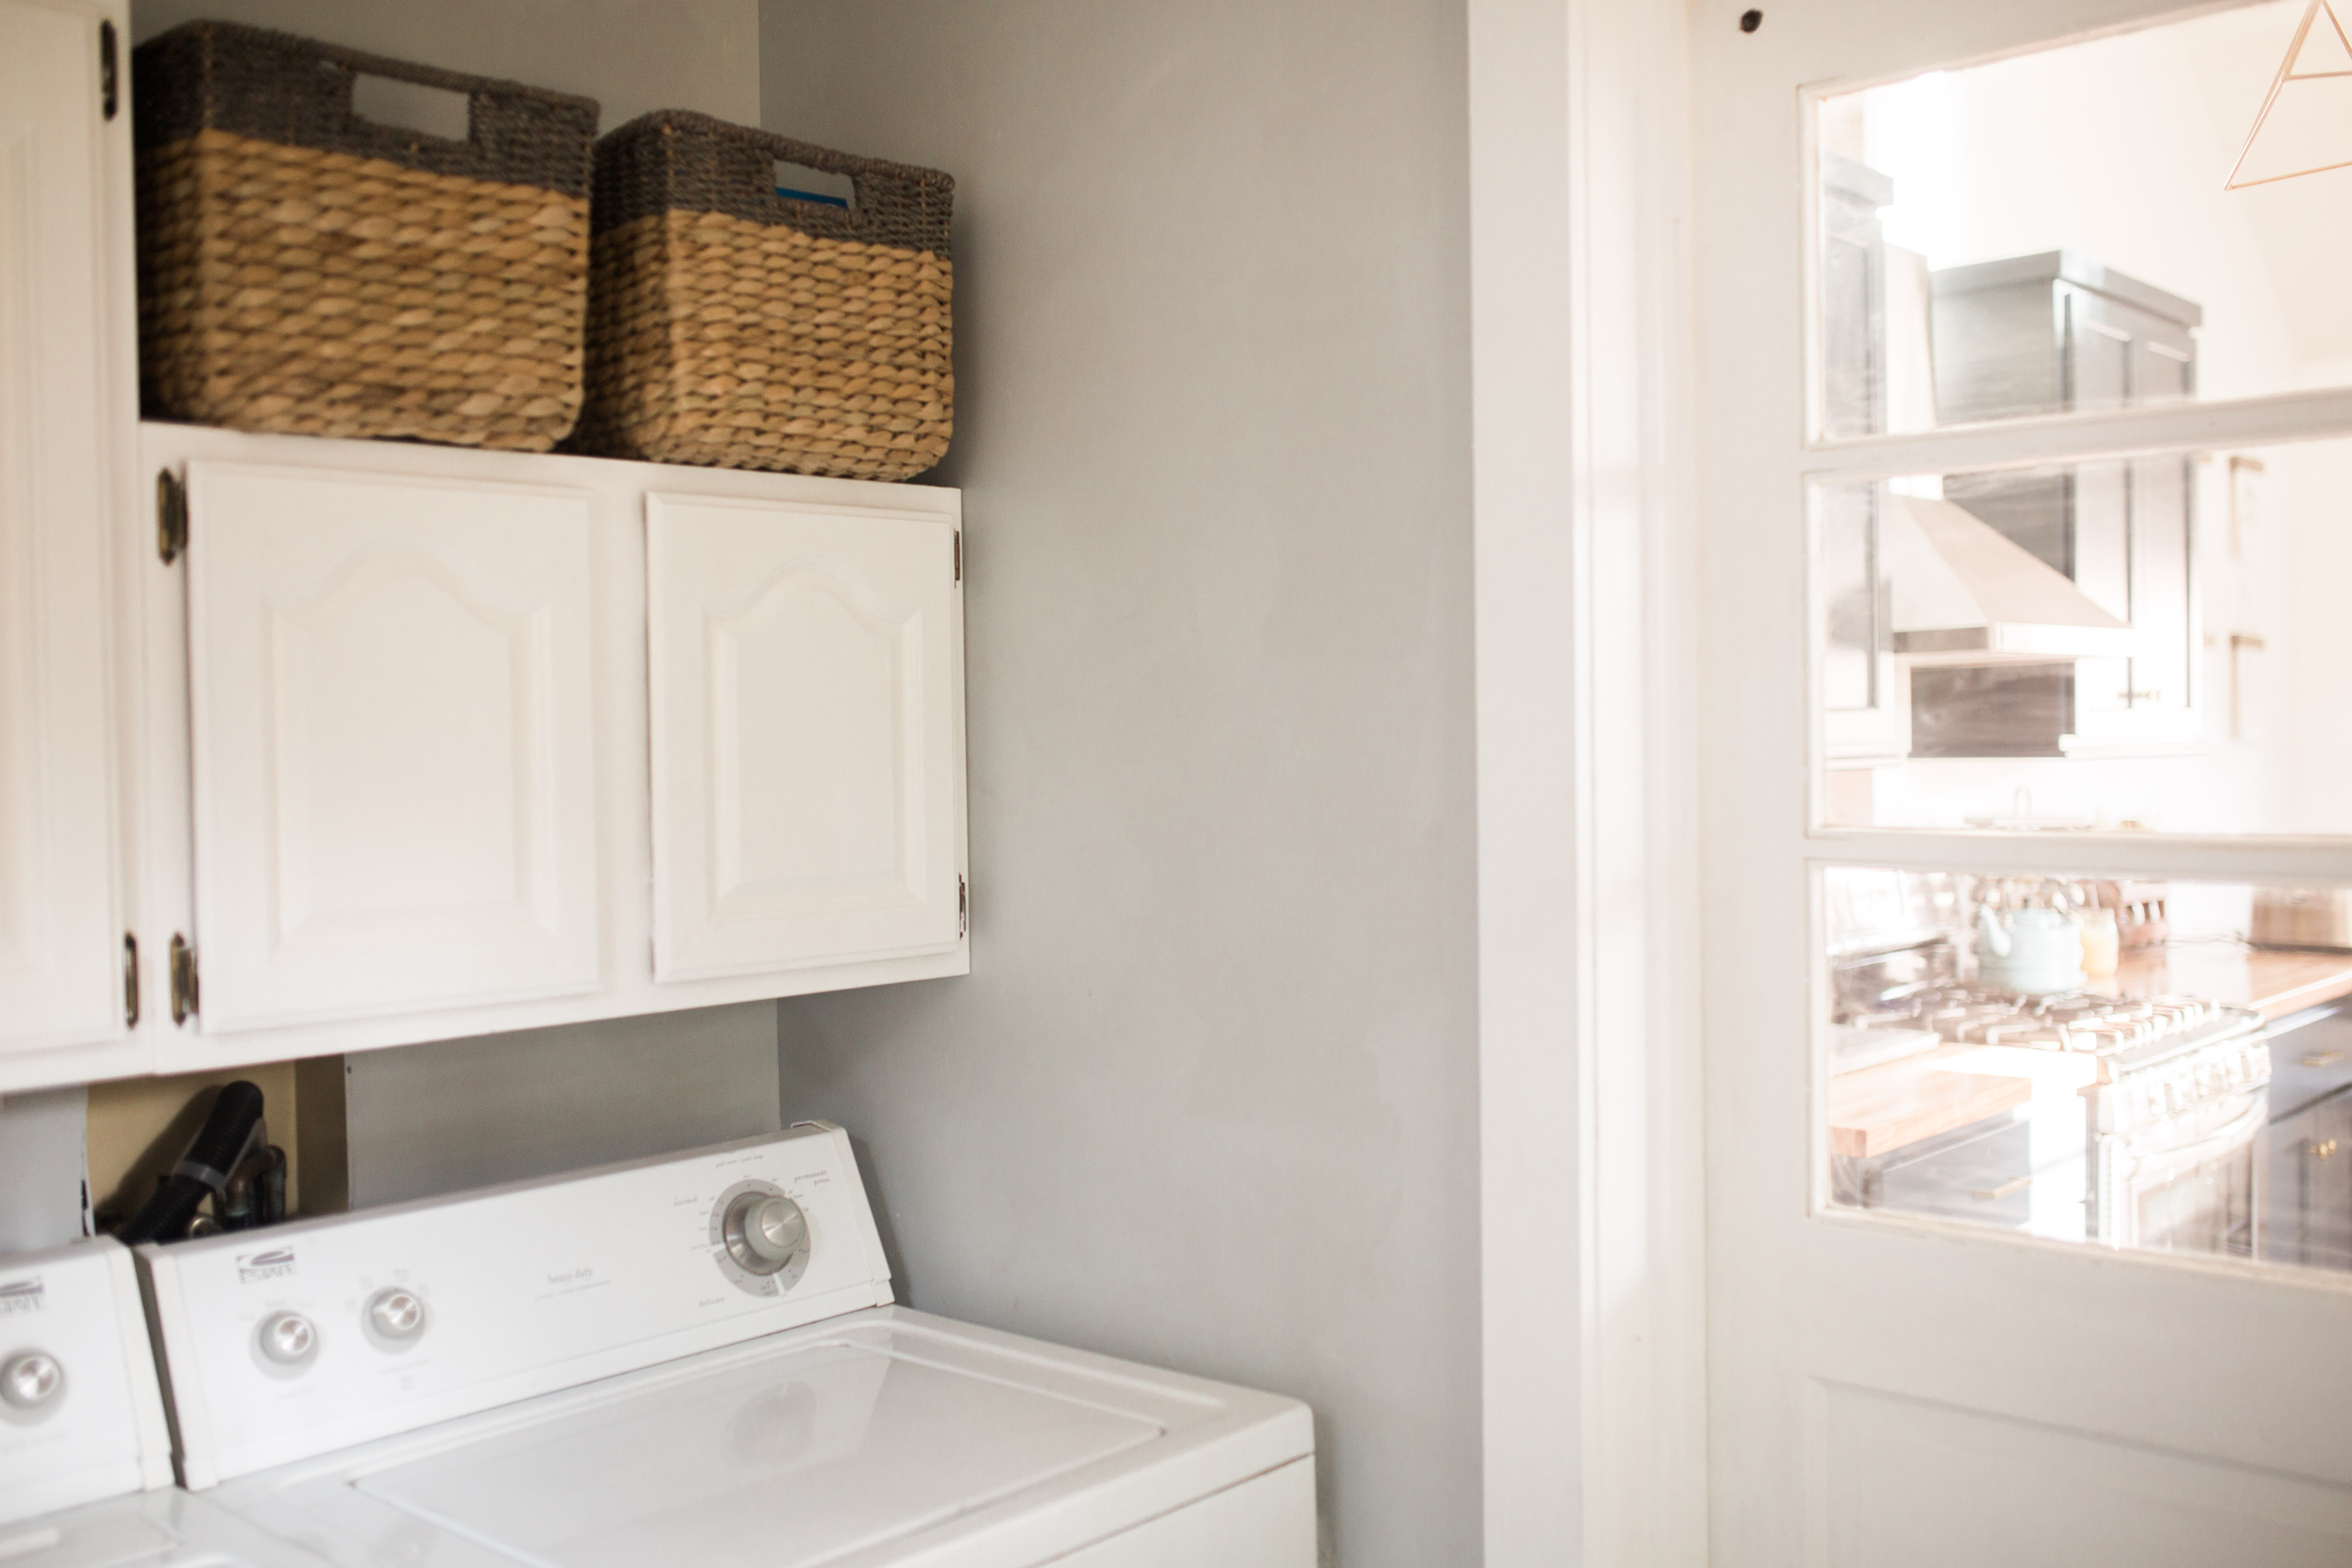
Oh, I also did some work in the laundry room/mud room that is right by the kitchen. Nothing super exciting (I never took any before photos even) but I might as well share this too! I re-drywalled this room since the walls were made of peg boards. I considered keeping them for an interesting feature and figured I could make them look cool somehow, but they were drenched in smoke smell, so I figured it would be best just to have it all new! If I remember correctly too, those walls may have not even been insulated..? So I painted the walls, painted the cabinets, added new tile, and just those little projects went a long way!
Thanks for checking out these updates! I’ve been very excited to share the hard work I have done (with the help of many people) and have just appreciated the interest people have taken in the projects I have taken on. I learned pretty much everything as I went and am happy I decided to take on a house that I could truly make my own.
.jpg "Tessa Tillett Photography (5 of 18)")
.jpg)
.jpg)
.jpg)
.jpg "Tessa Tillett Photography (7 of 8)")
.jpg)